The Back Room Backlog Becomes a Star Sun Room


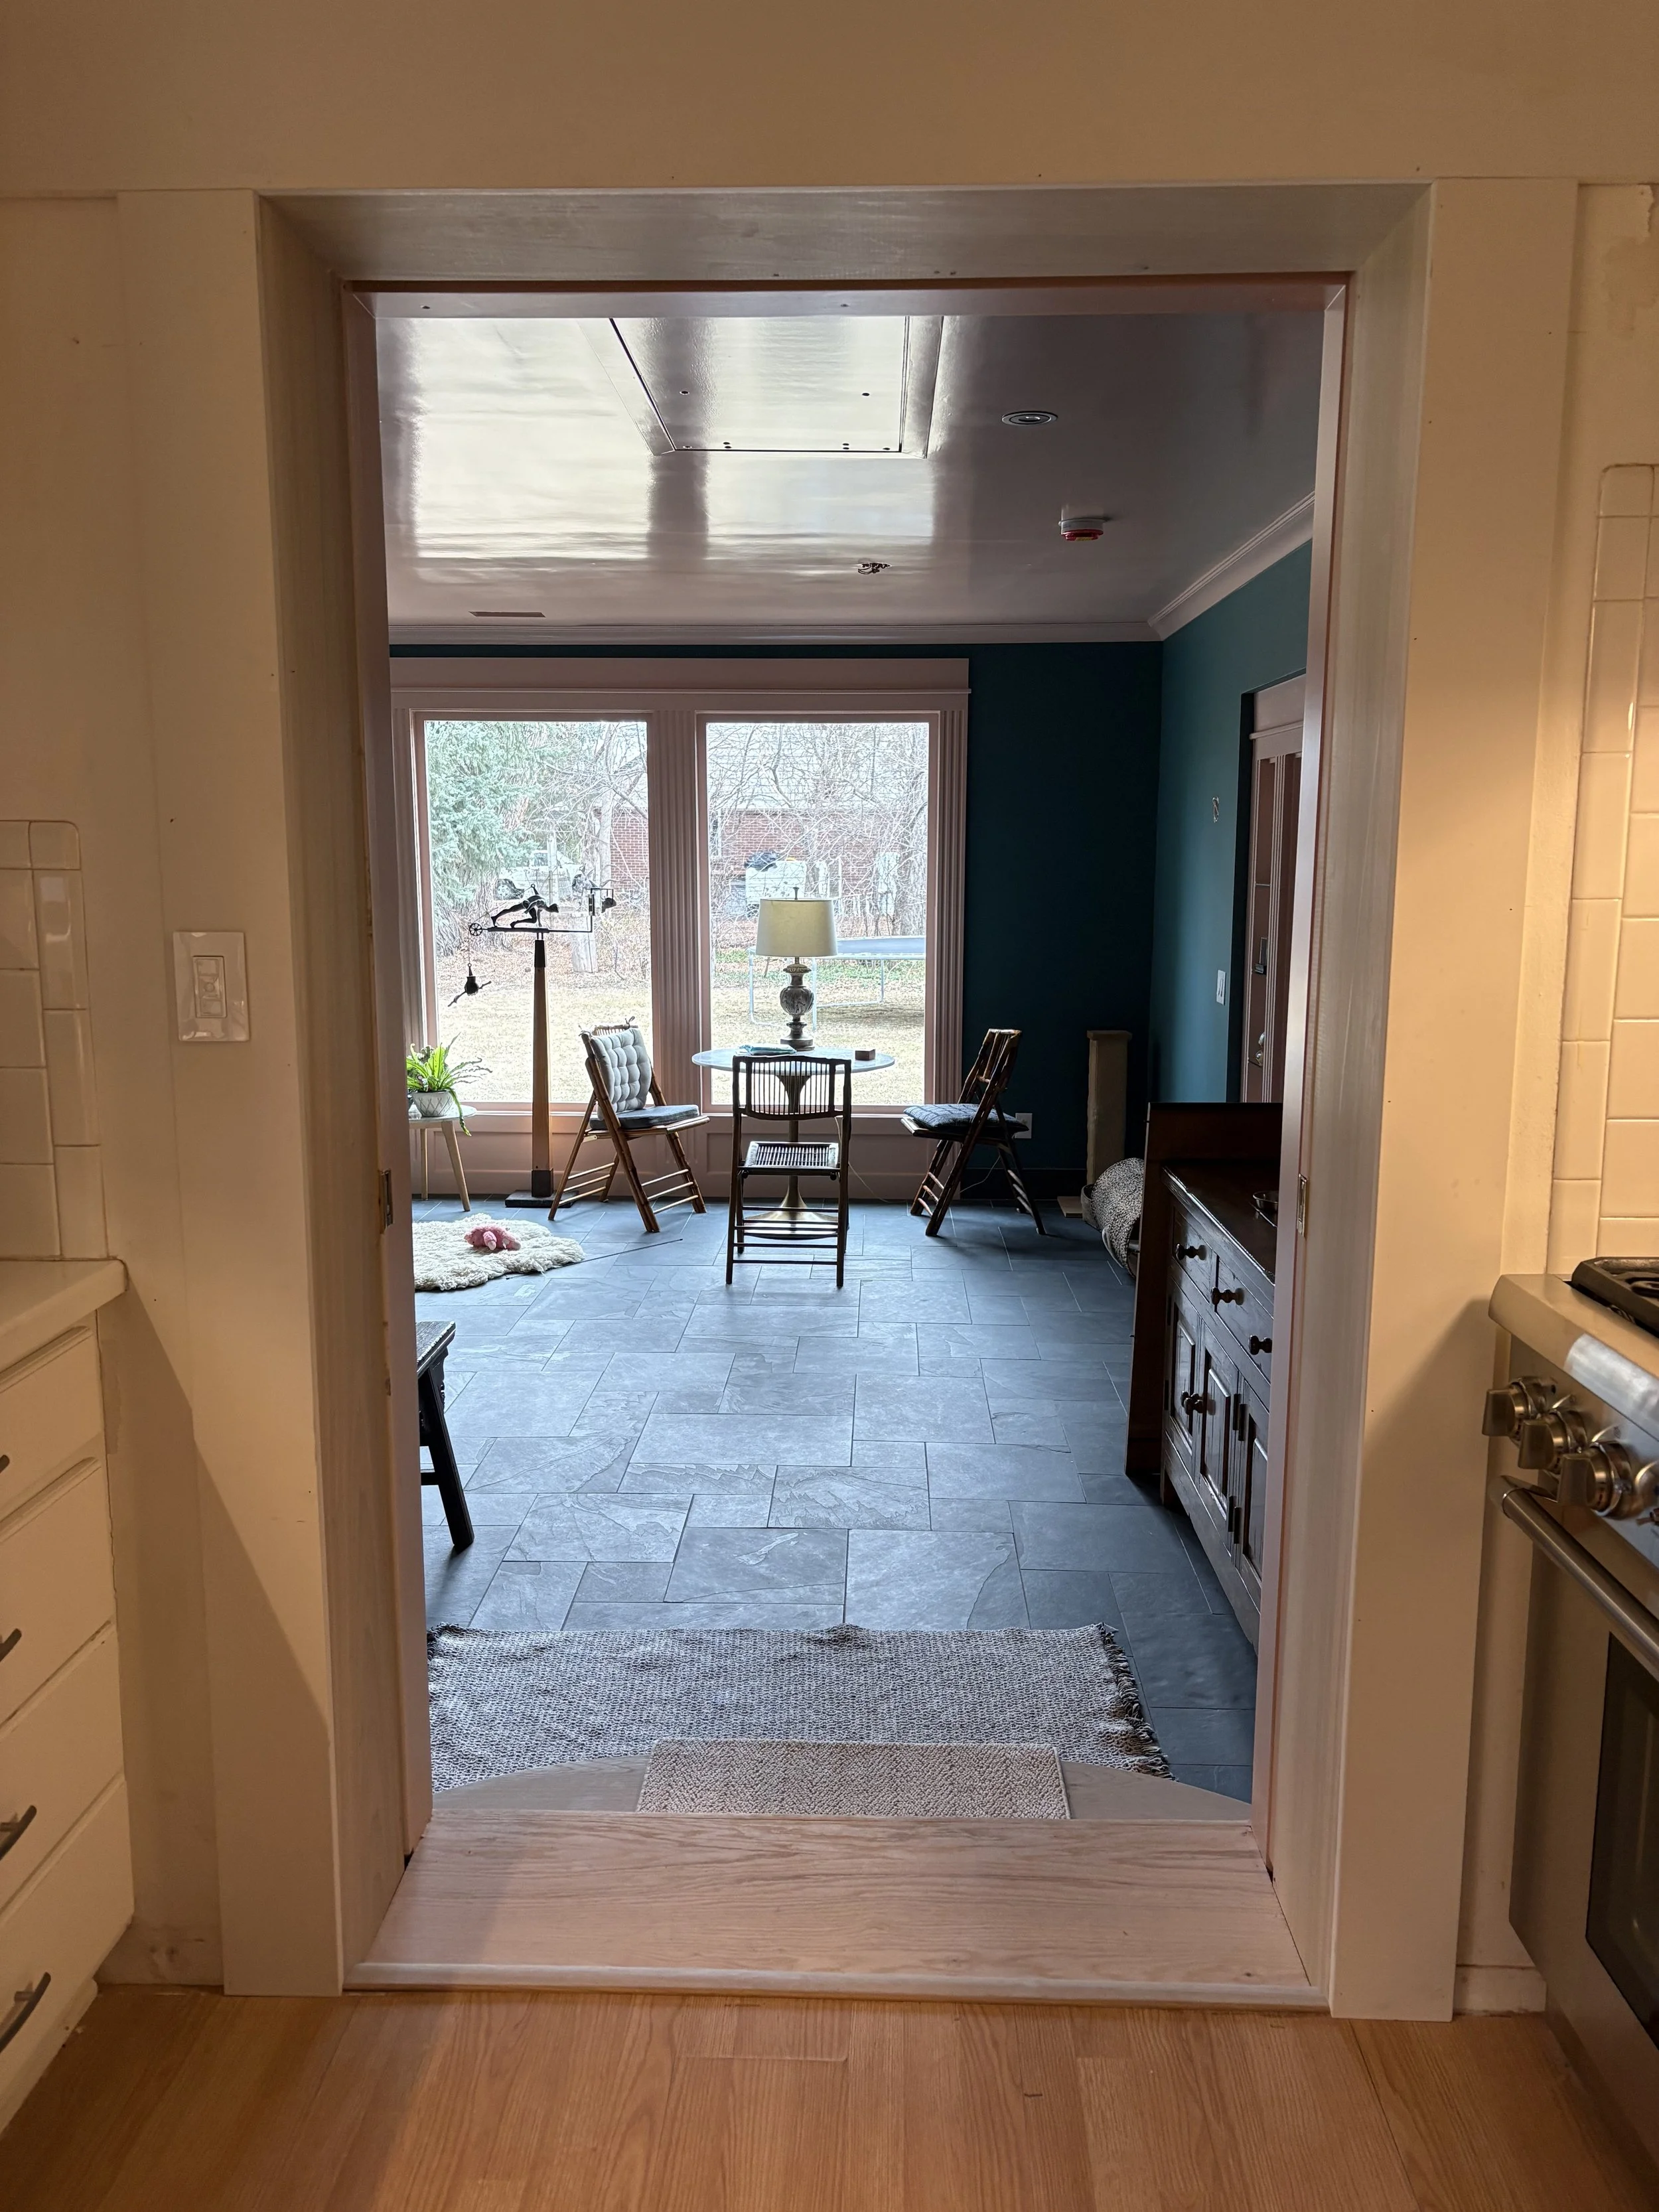
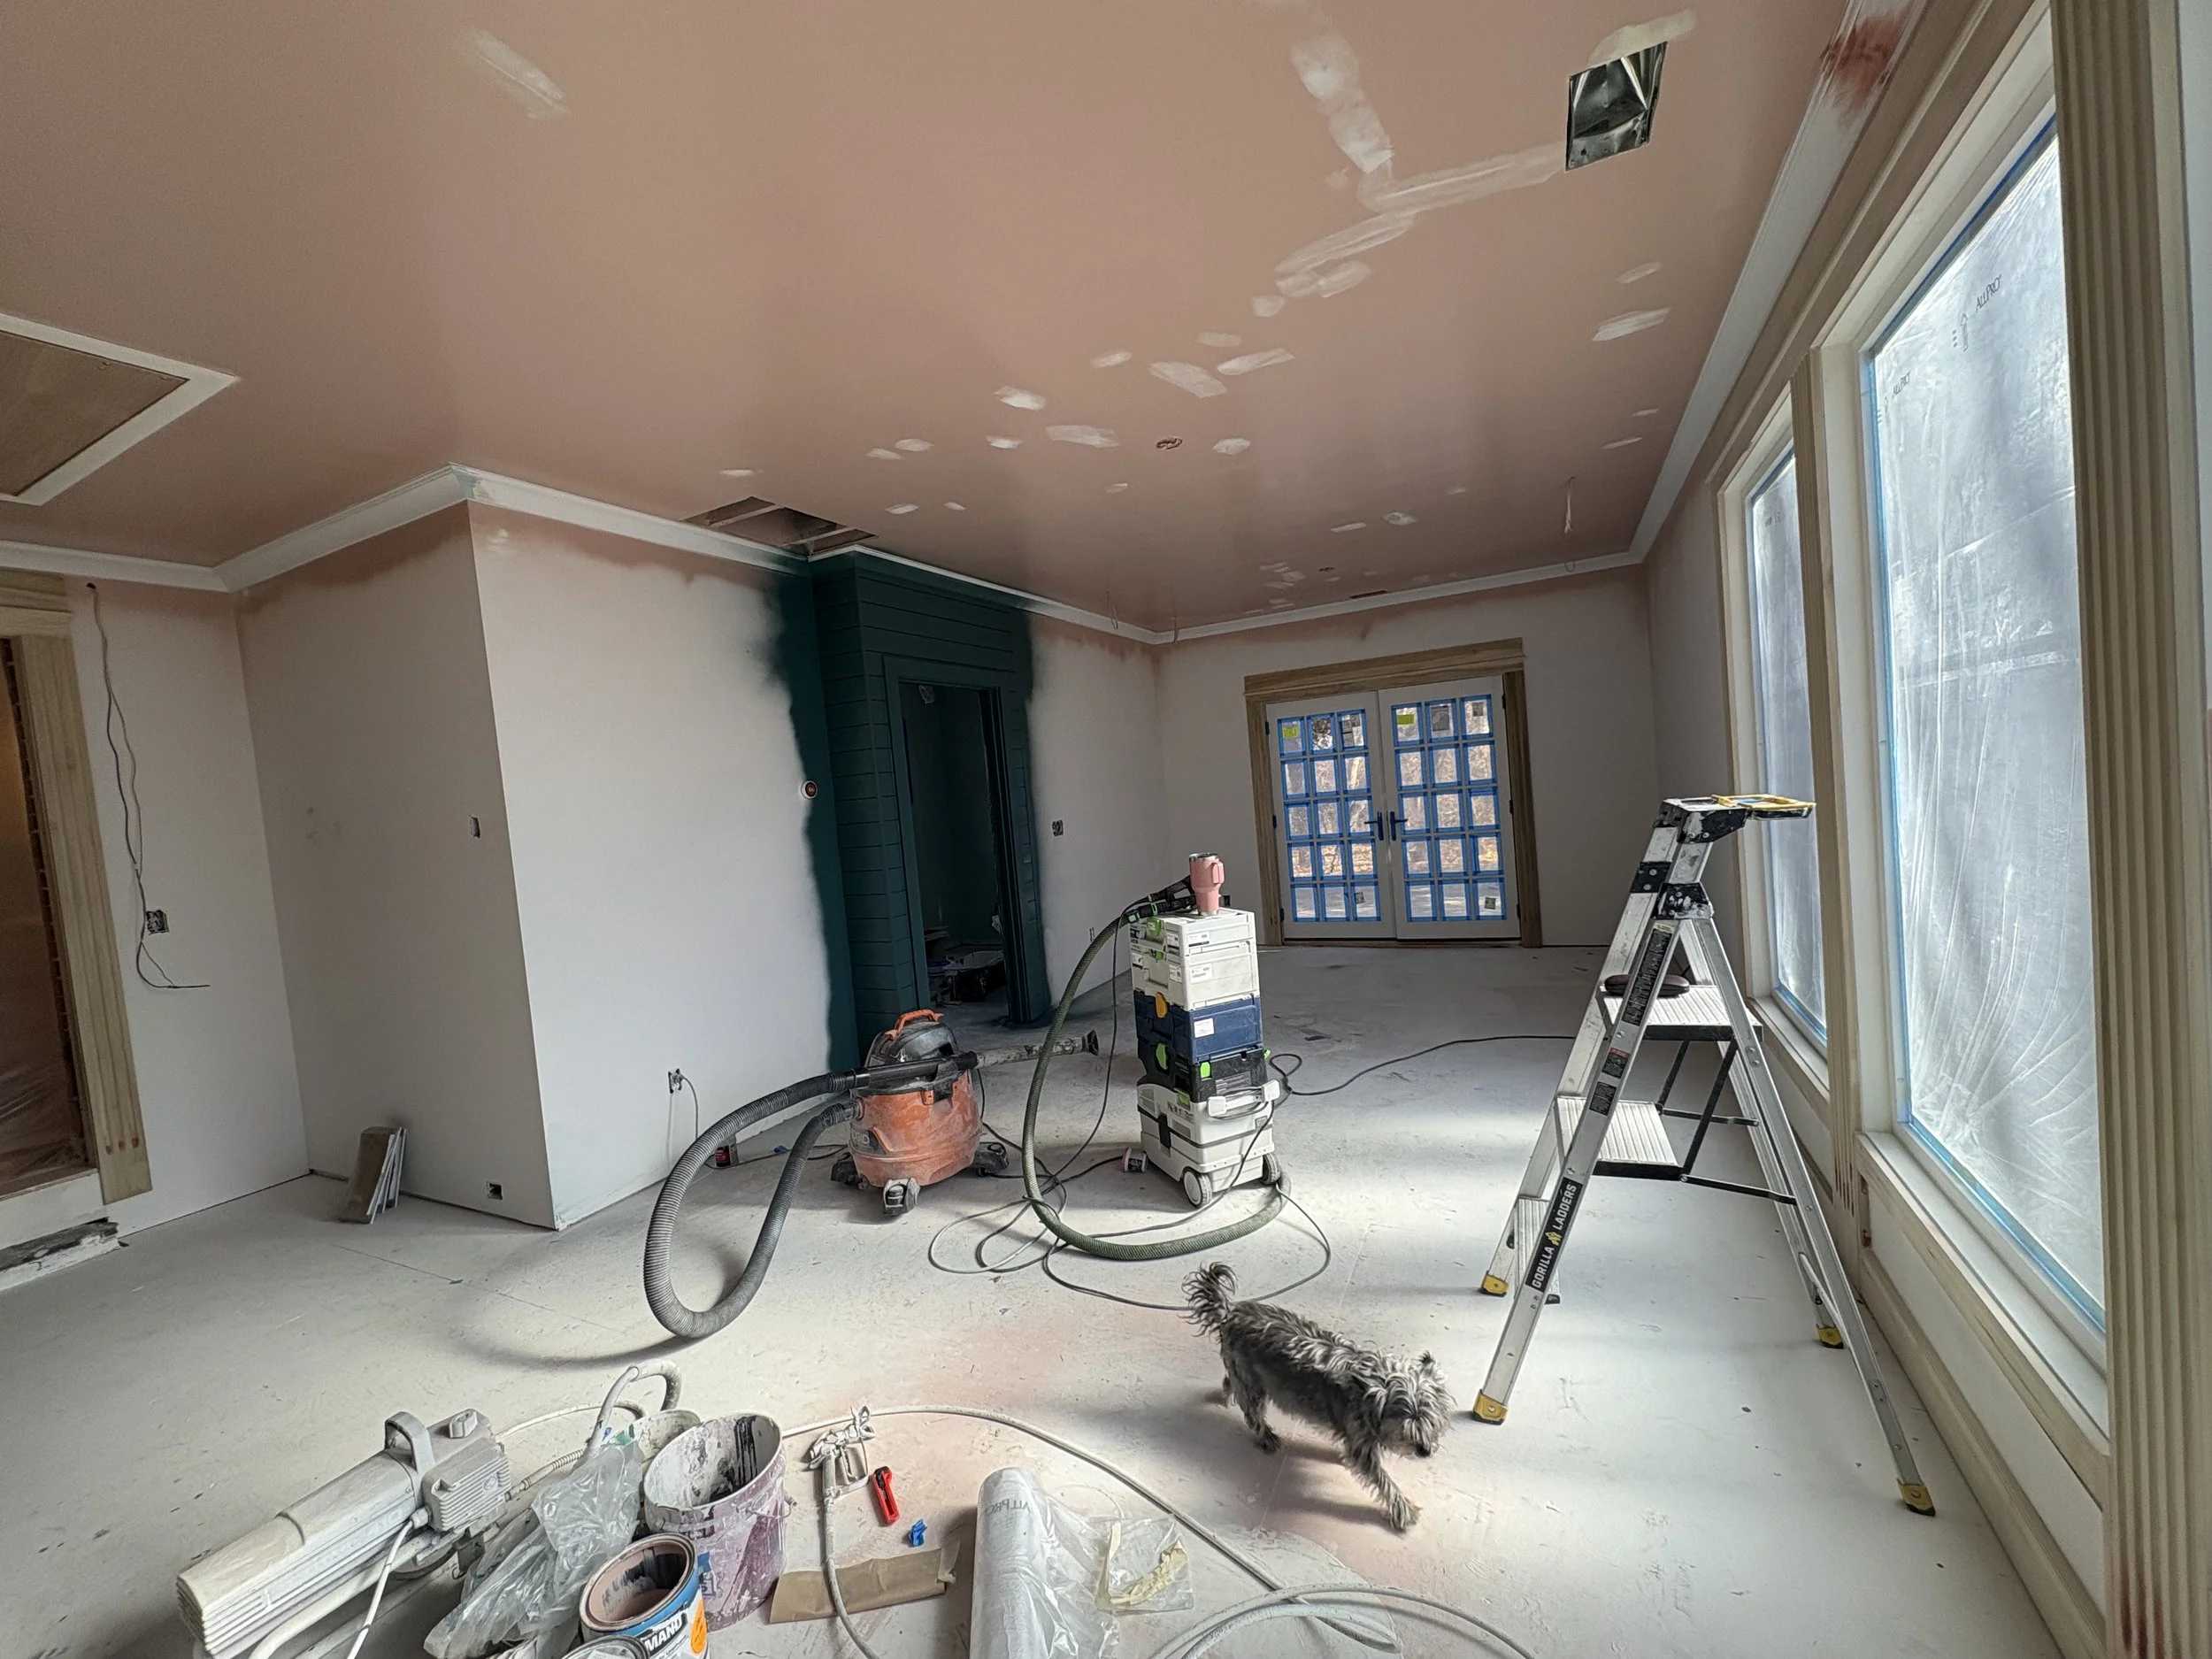

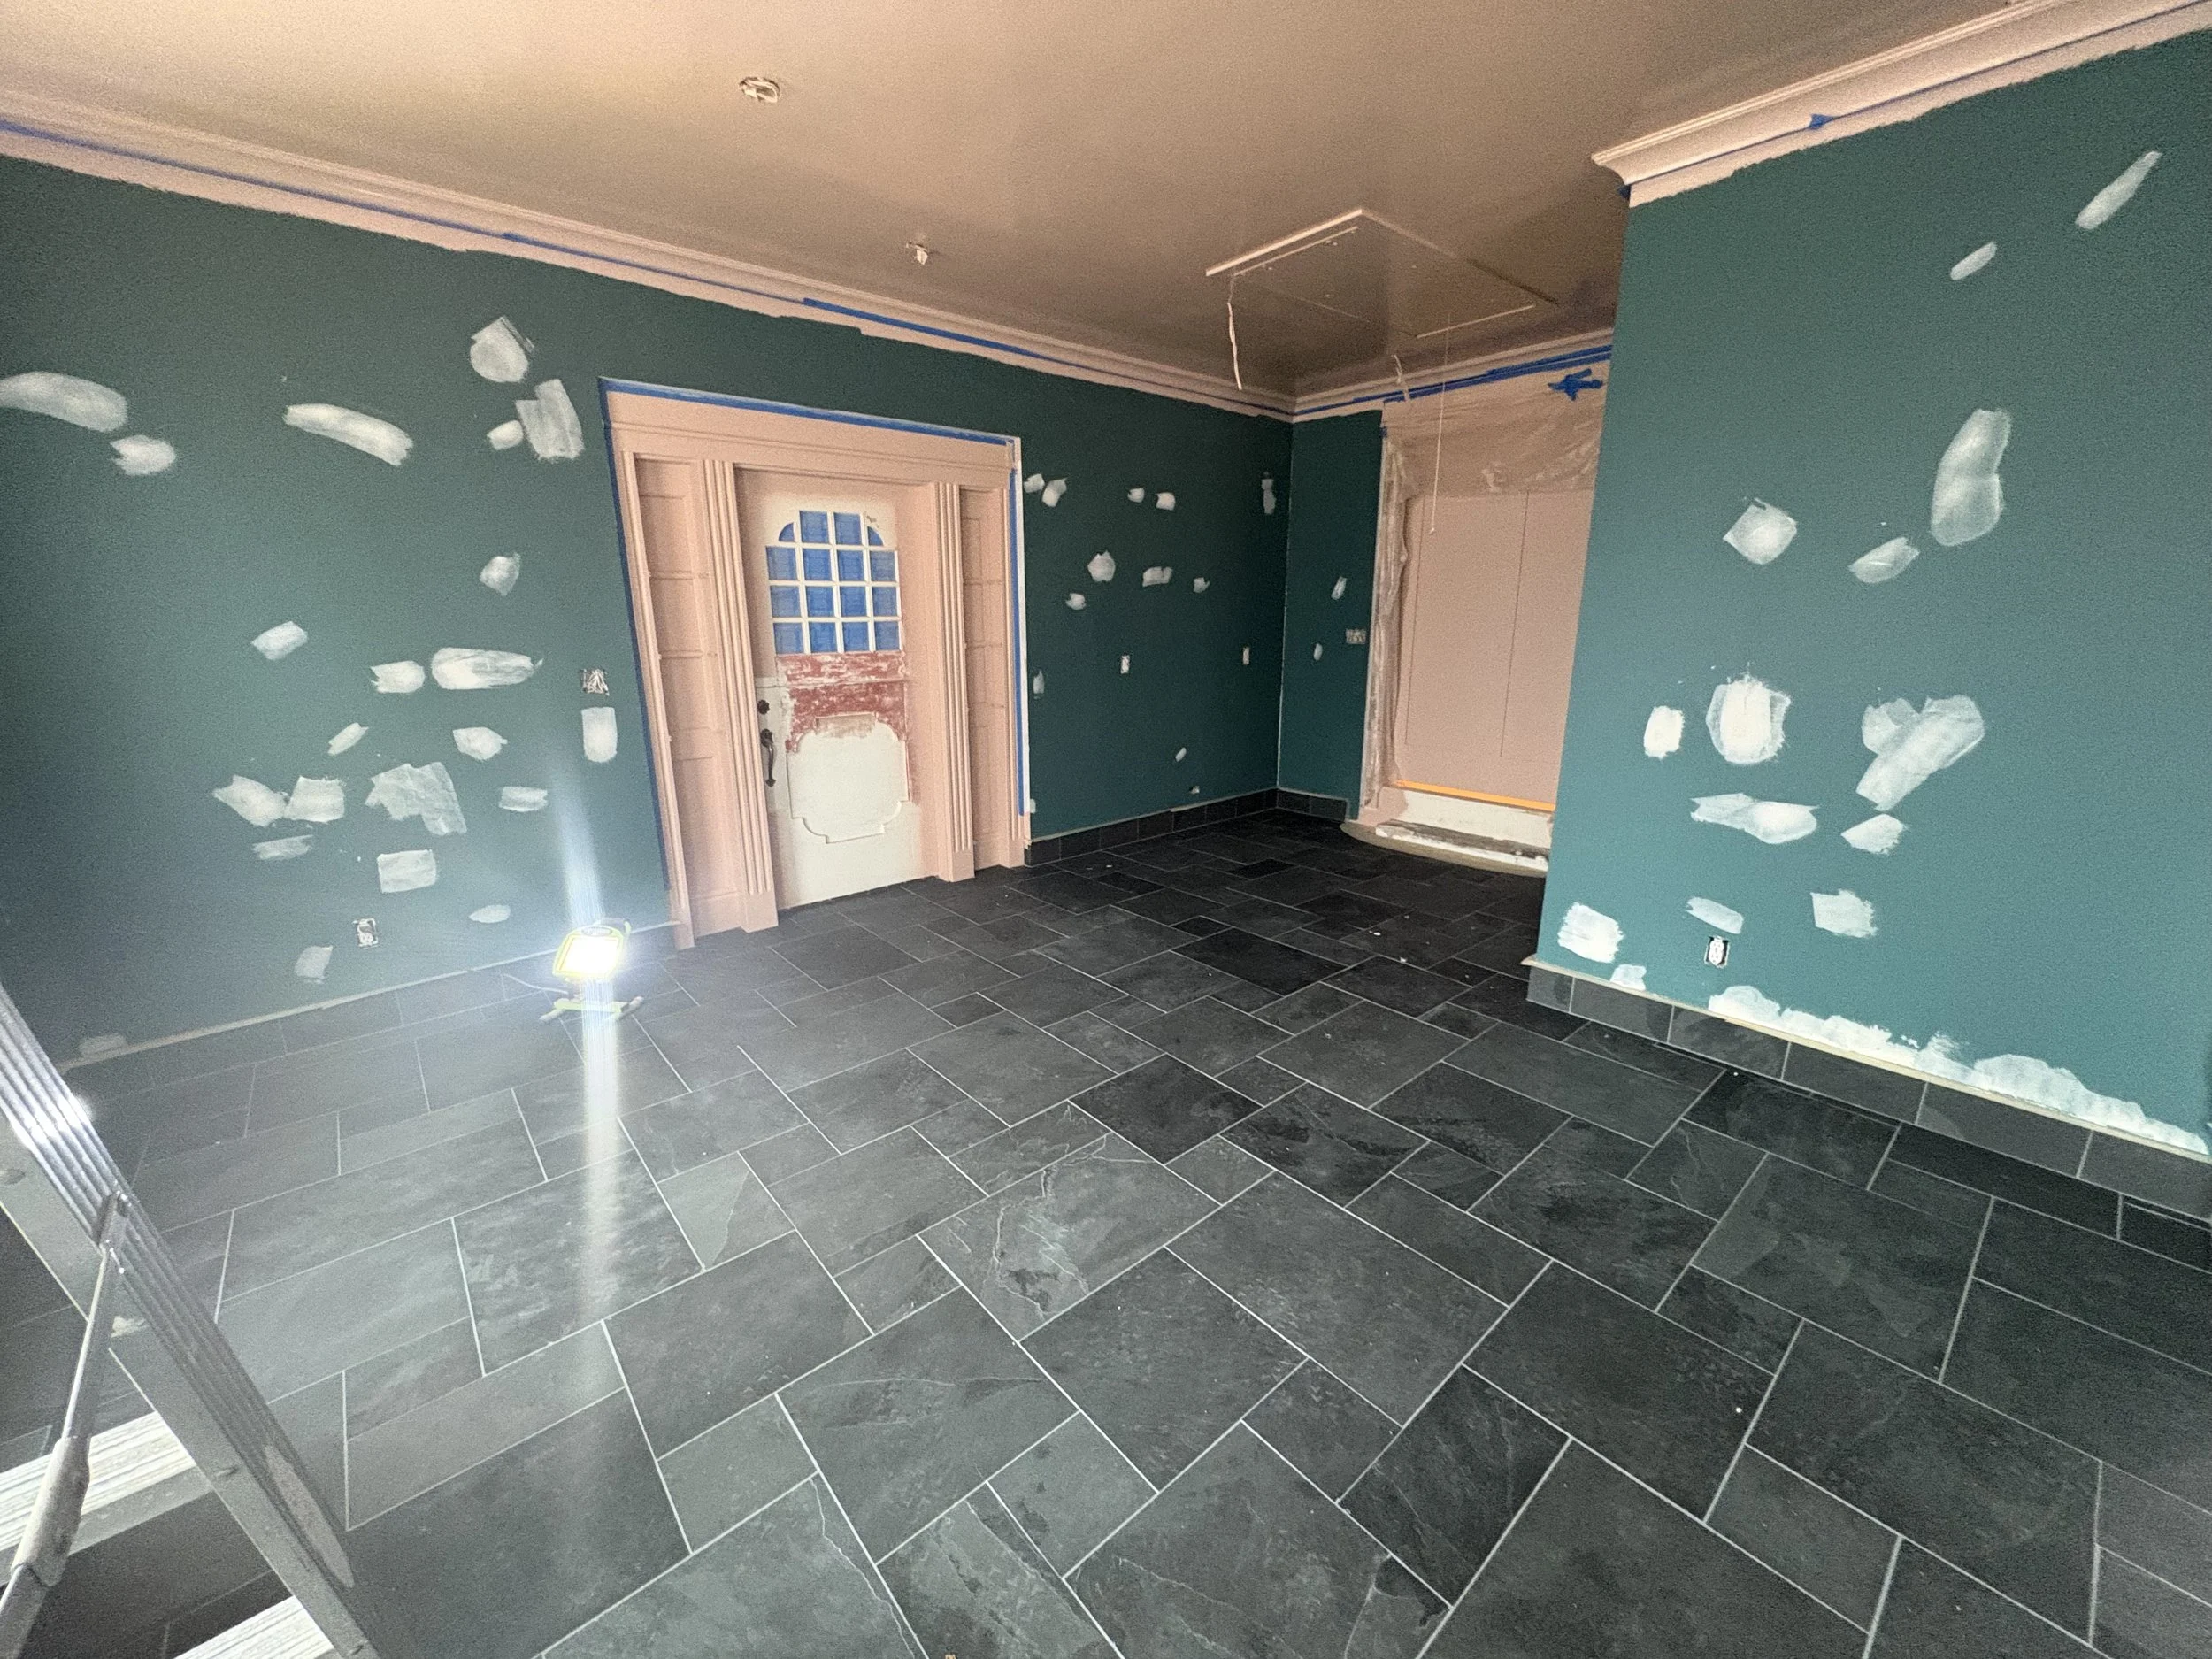


What was just the “back room,” once a sun porch off the original old farmhouse; it was a clutter staging ground for projects, plants, and animals… and also the client’s office, which had been wide open to this bigger back room (until we put a door up last year). The built-in lighting was all over the place without coherence, with huge, different, and outdated fixures. The carpet was impacted by many years of animals, so some light remediation was necessary. We’d been talking about upgrading the space for a good year, knowing we’d eventually get to the kitchen, so were thinking of creating a more inviting area with better light and flow between the kitchen and great room. In all honesty, we mostly knew what we were going for when we started, but it took some real-time design workshopping to dial things in.
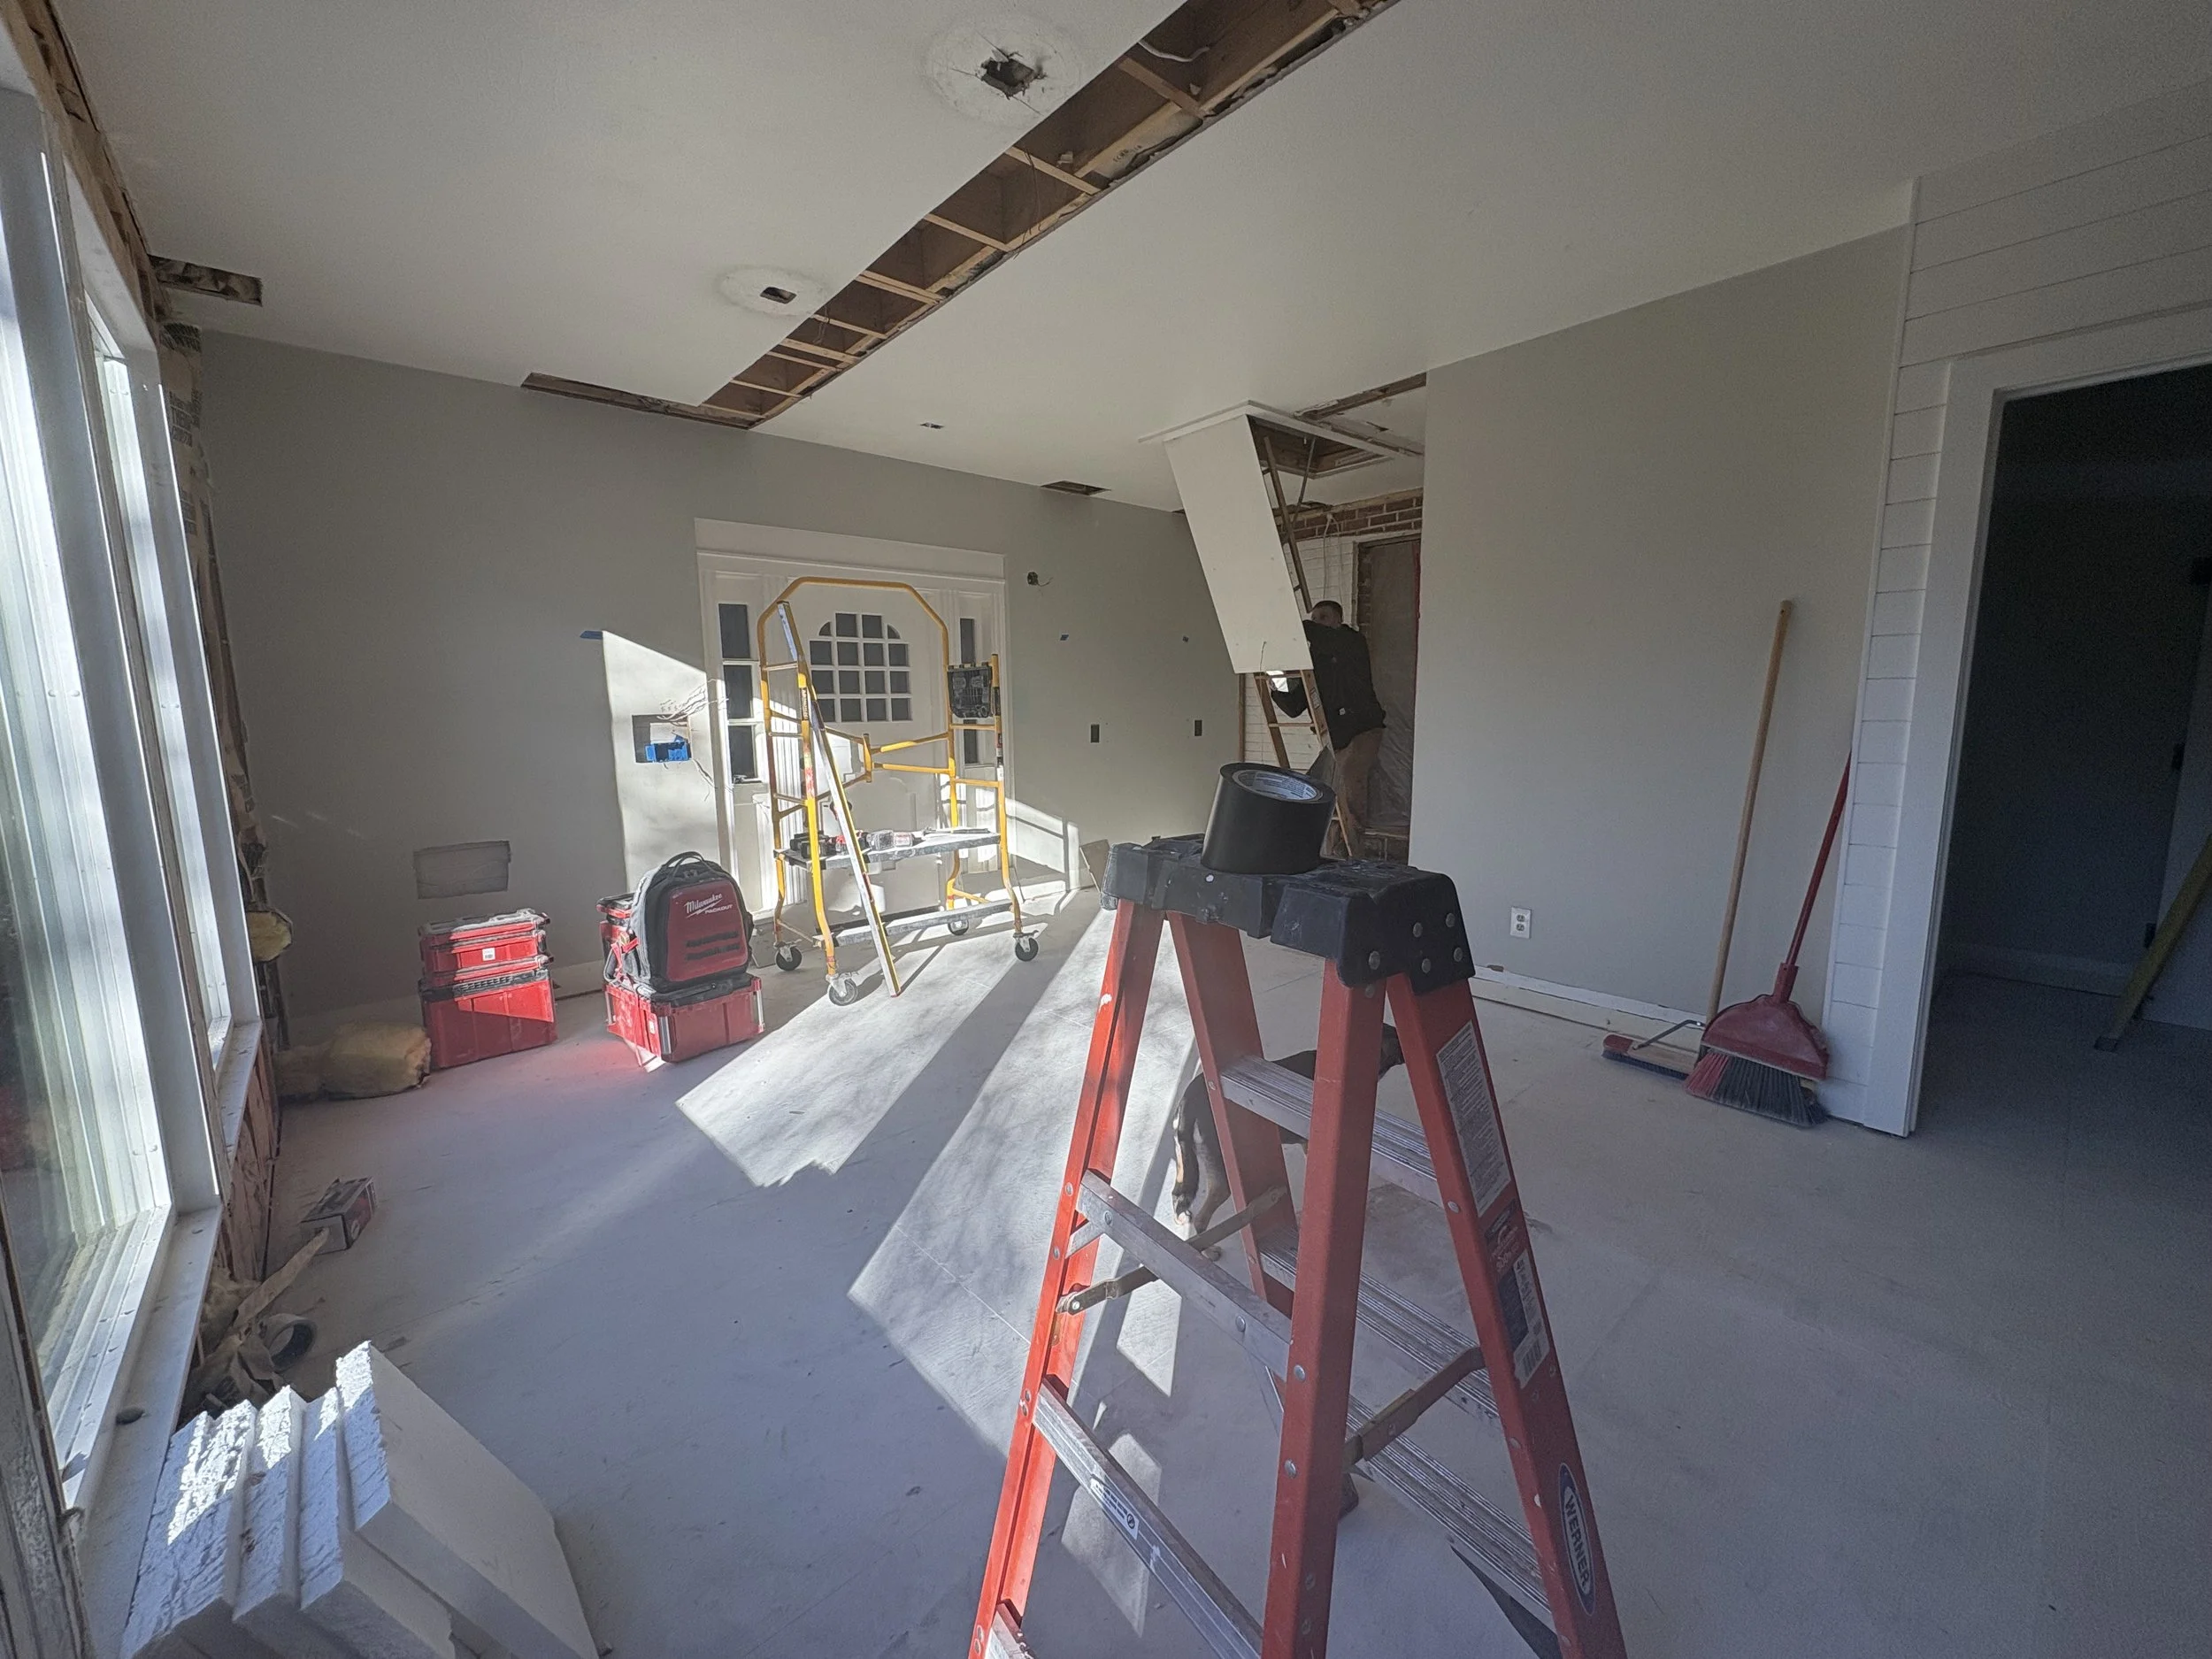
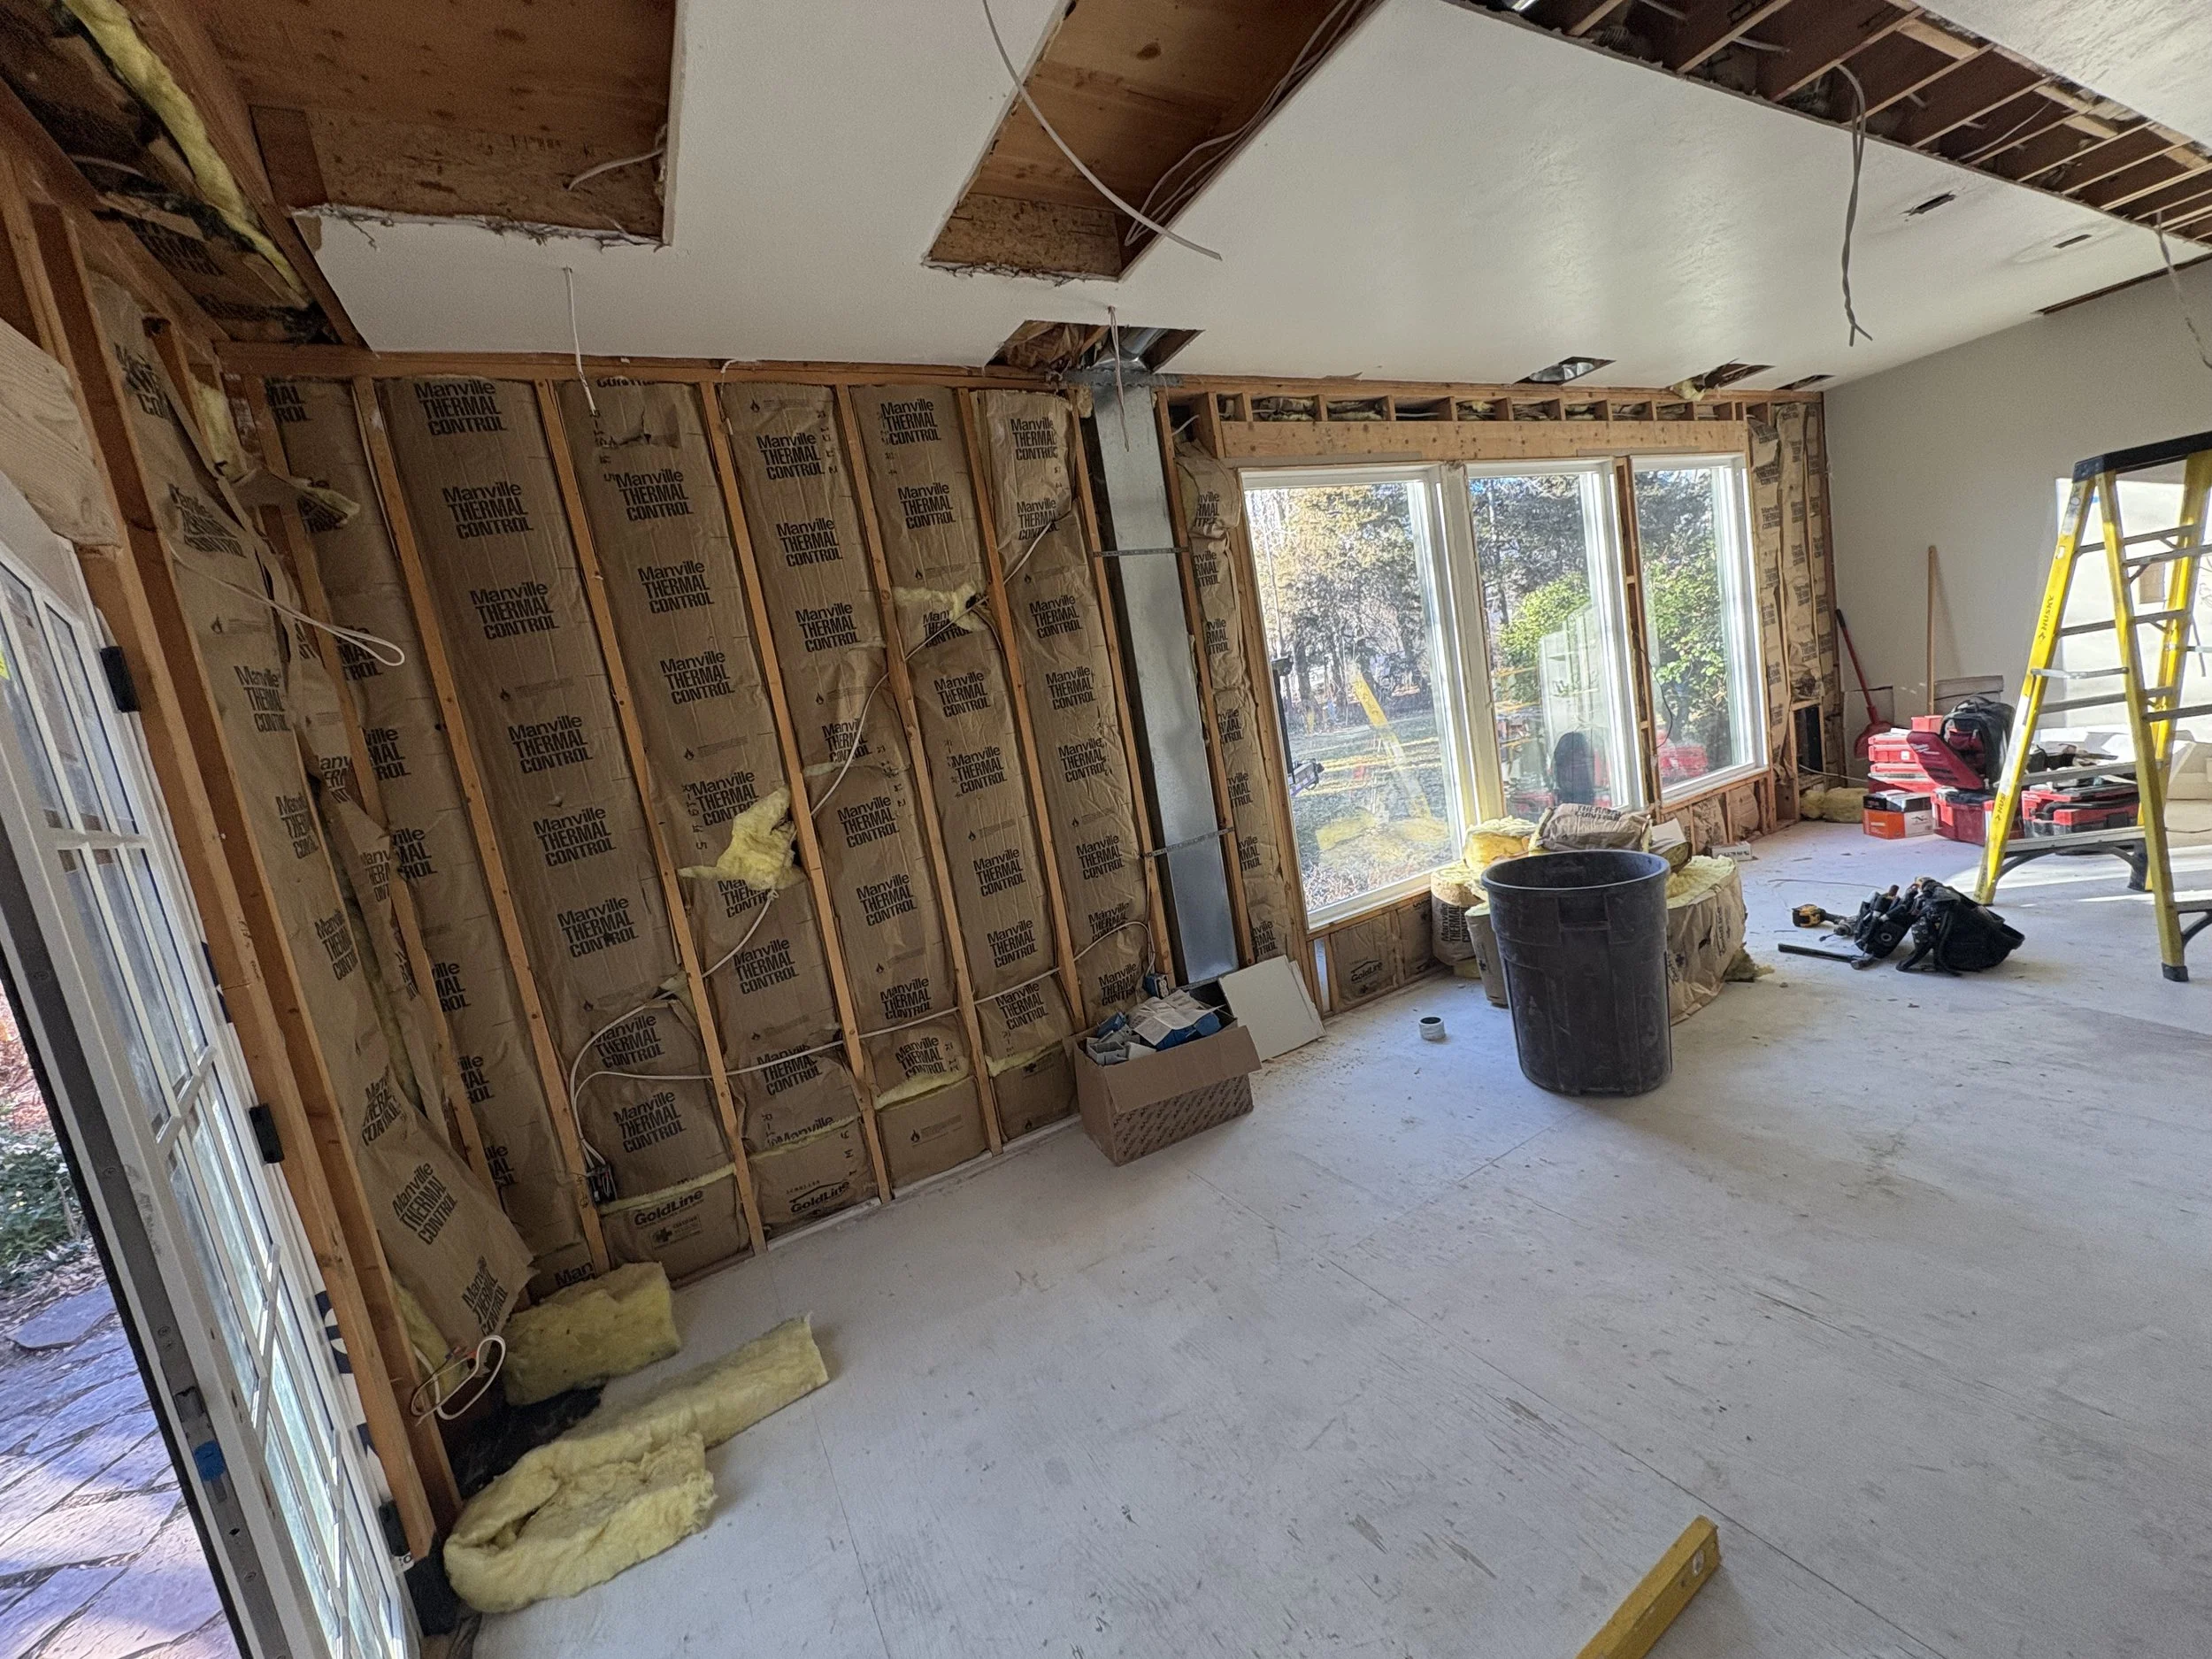
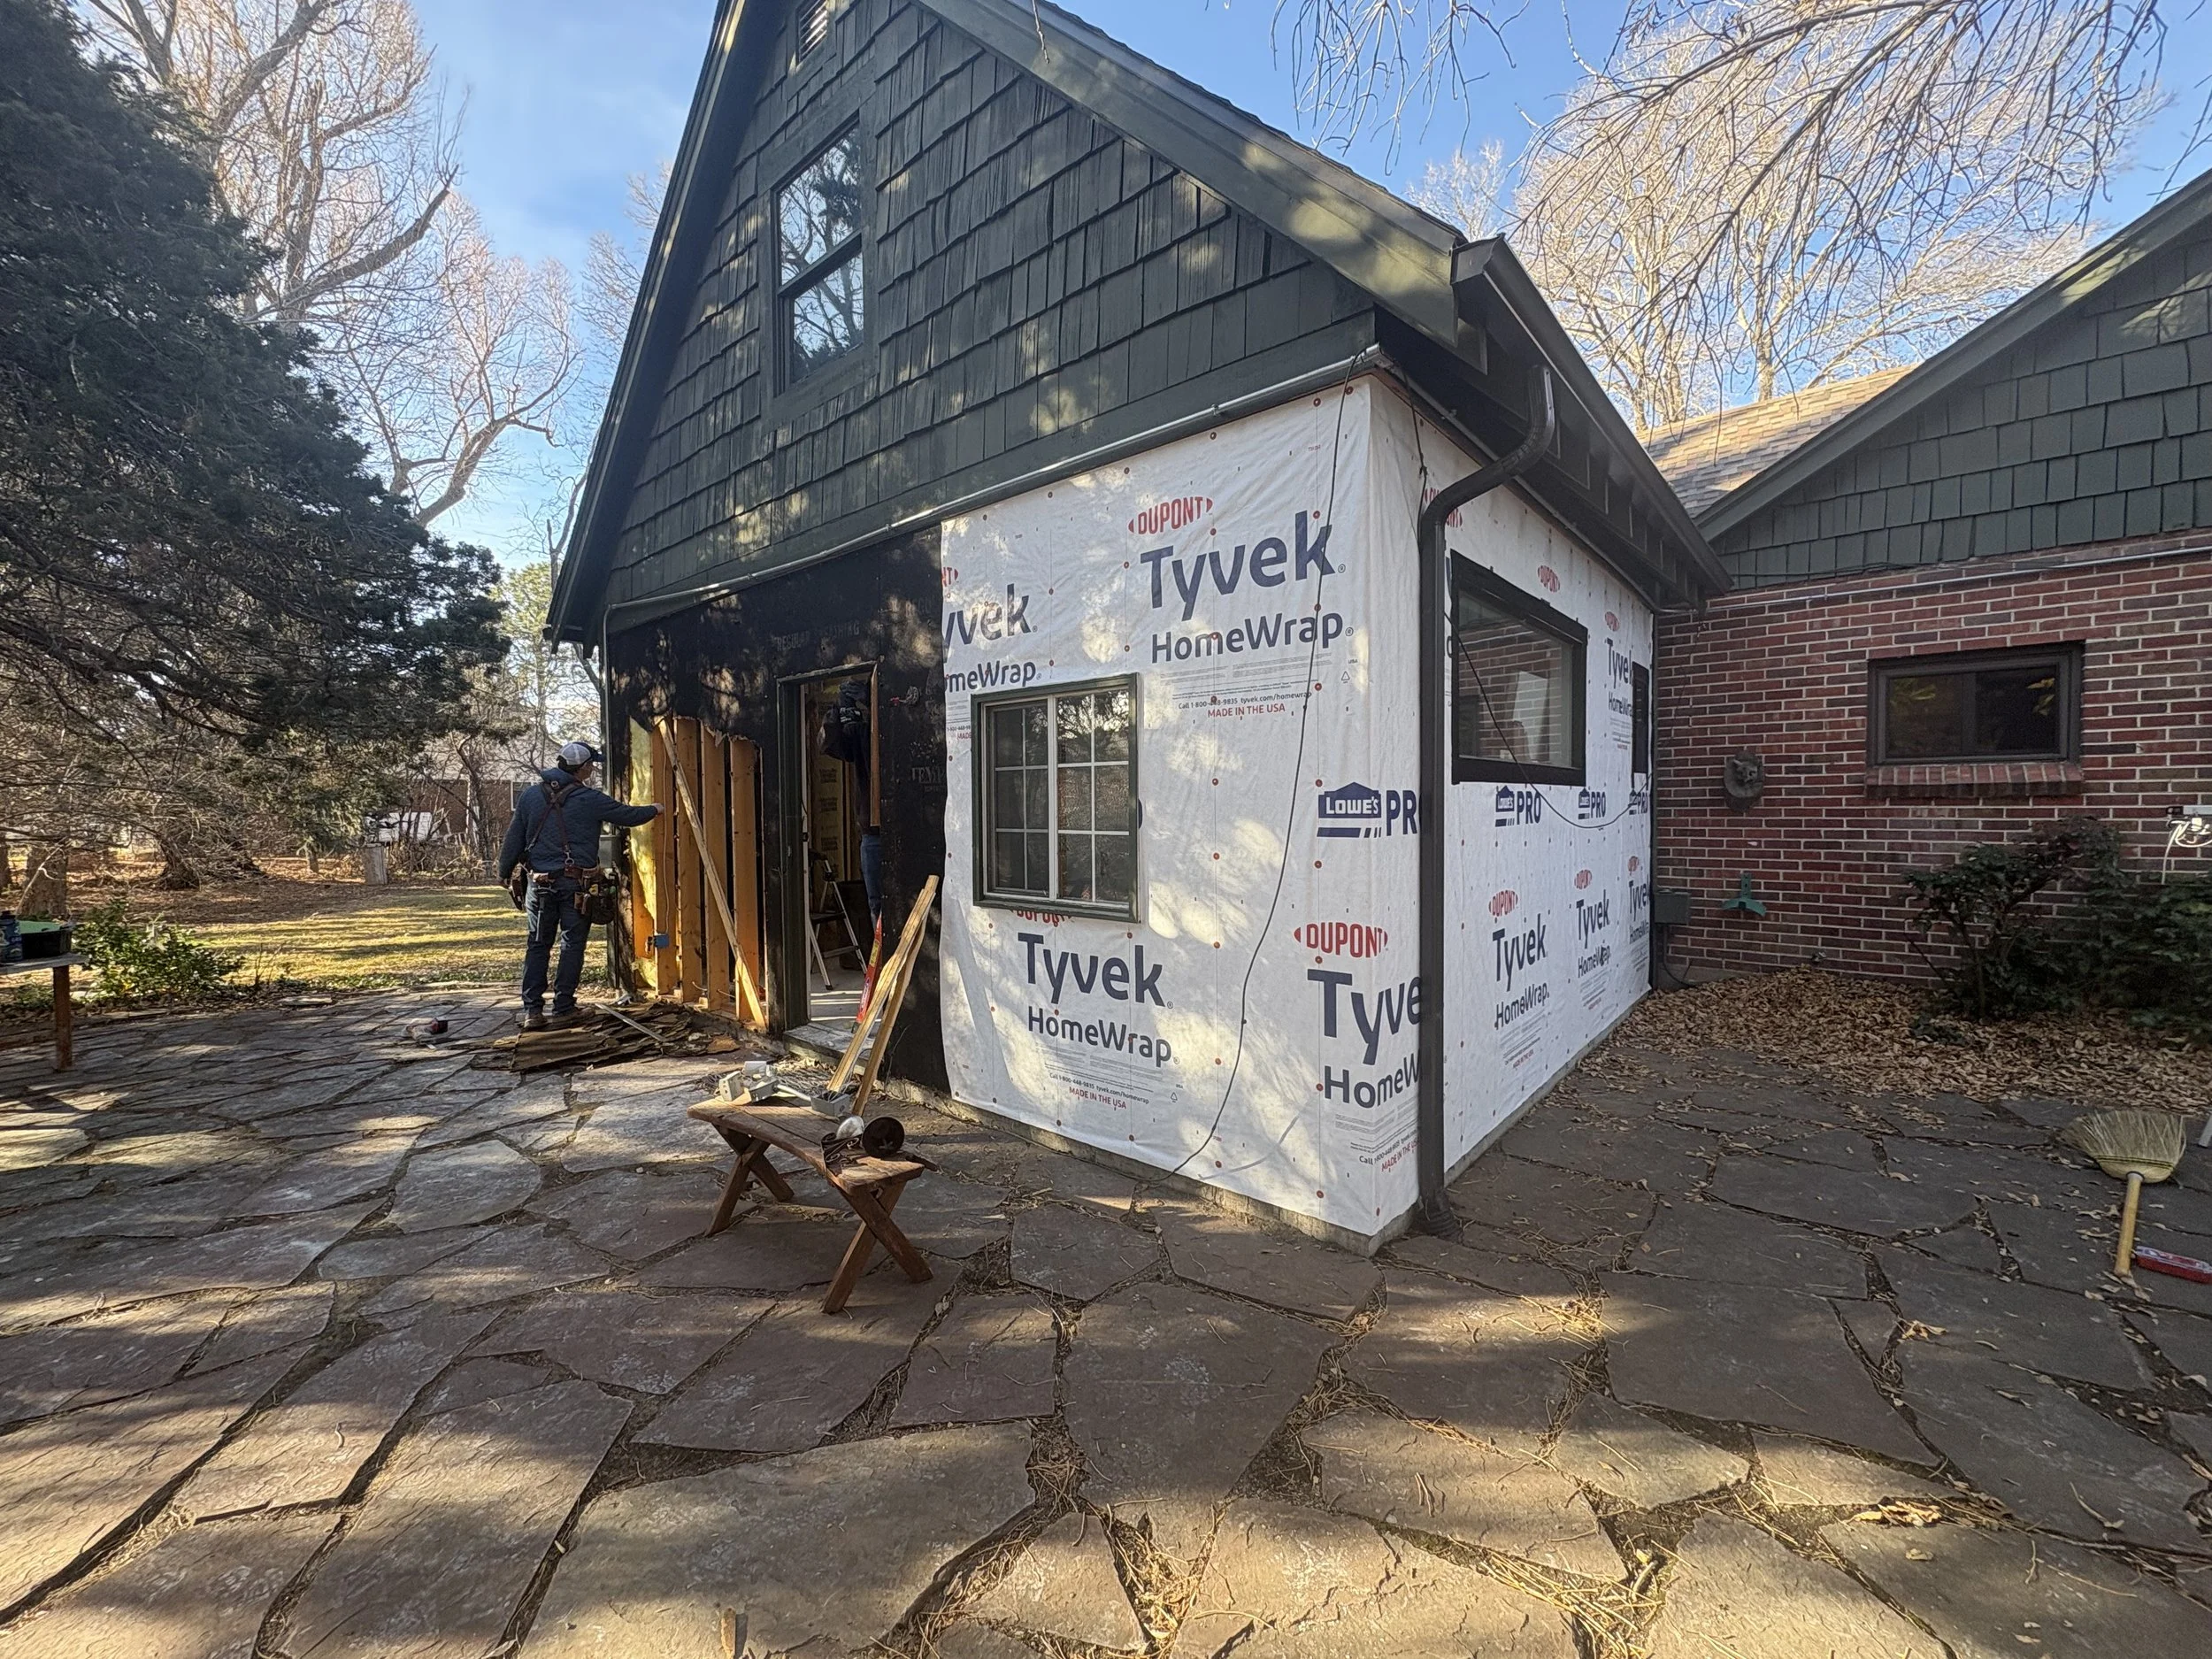
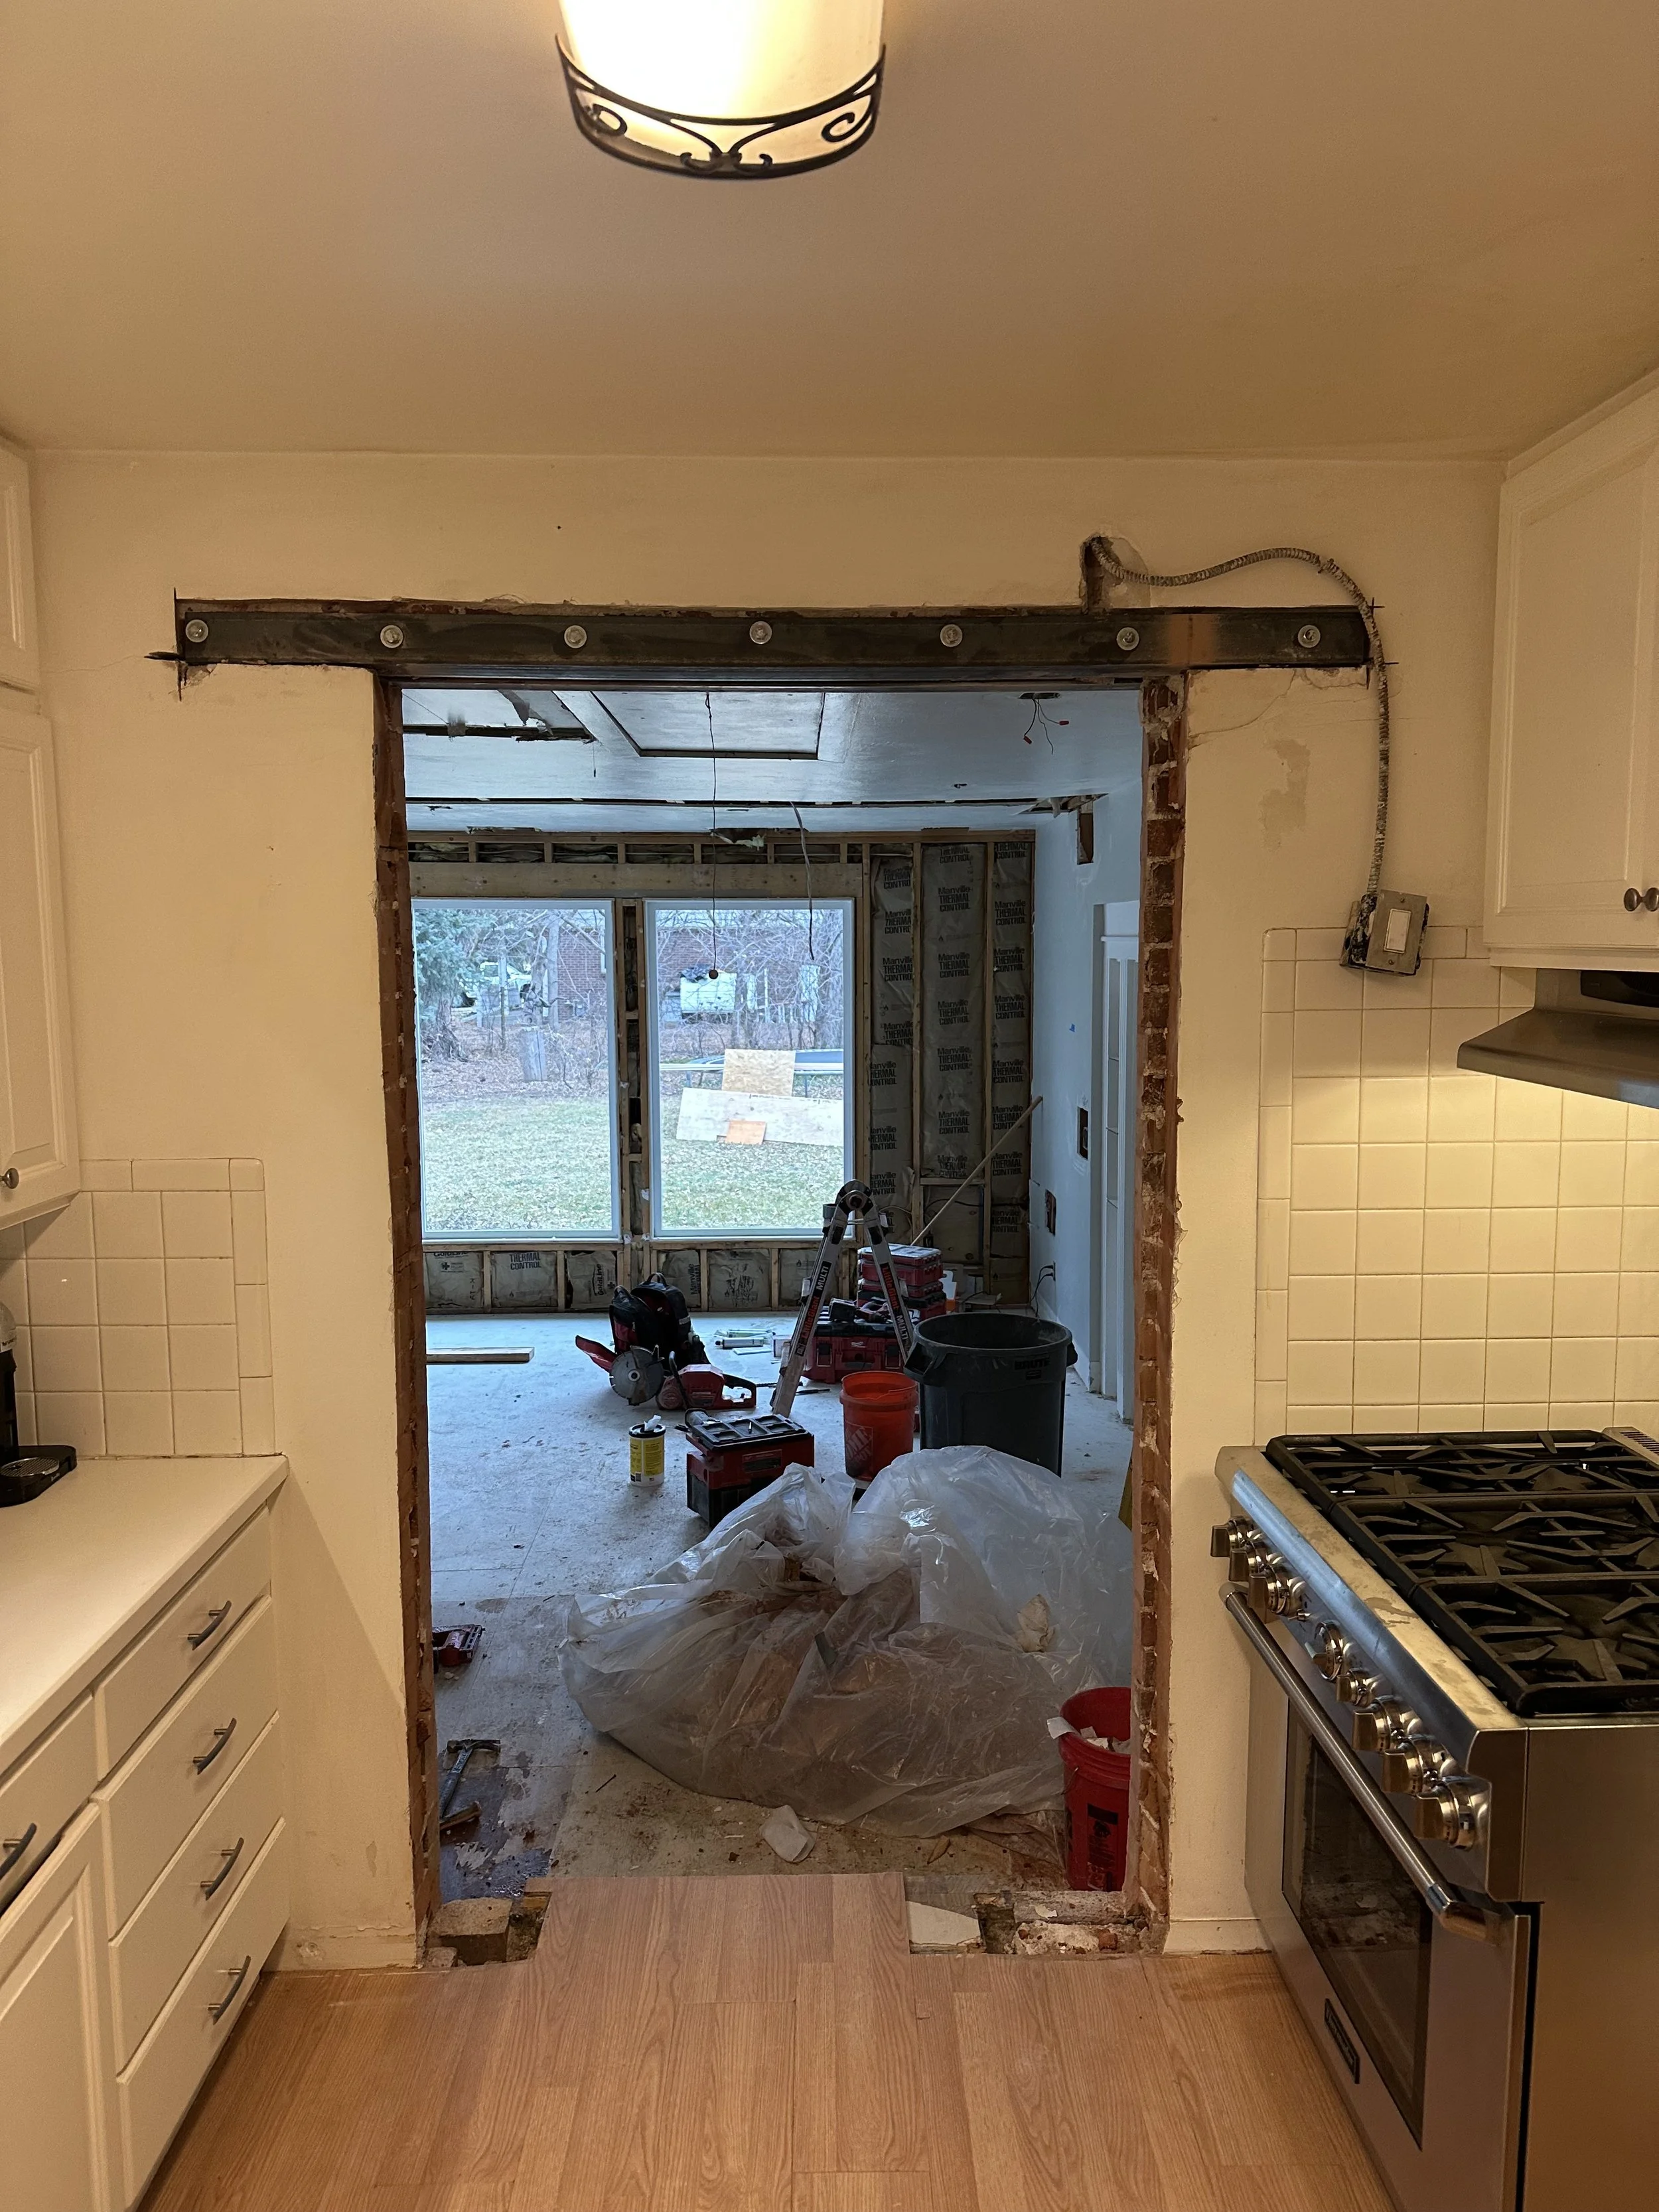
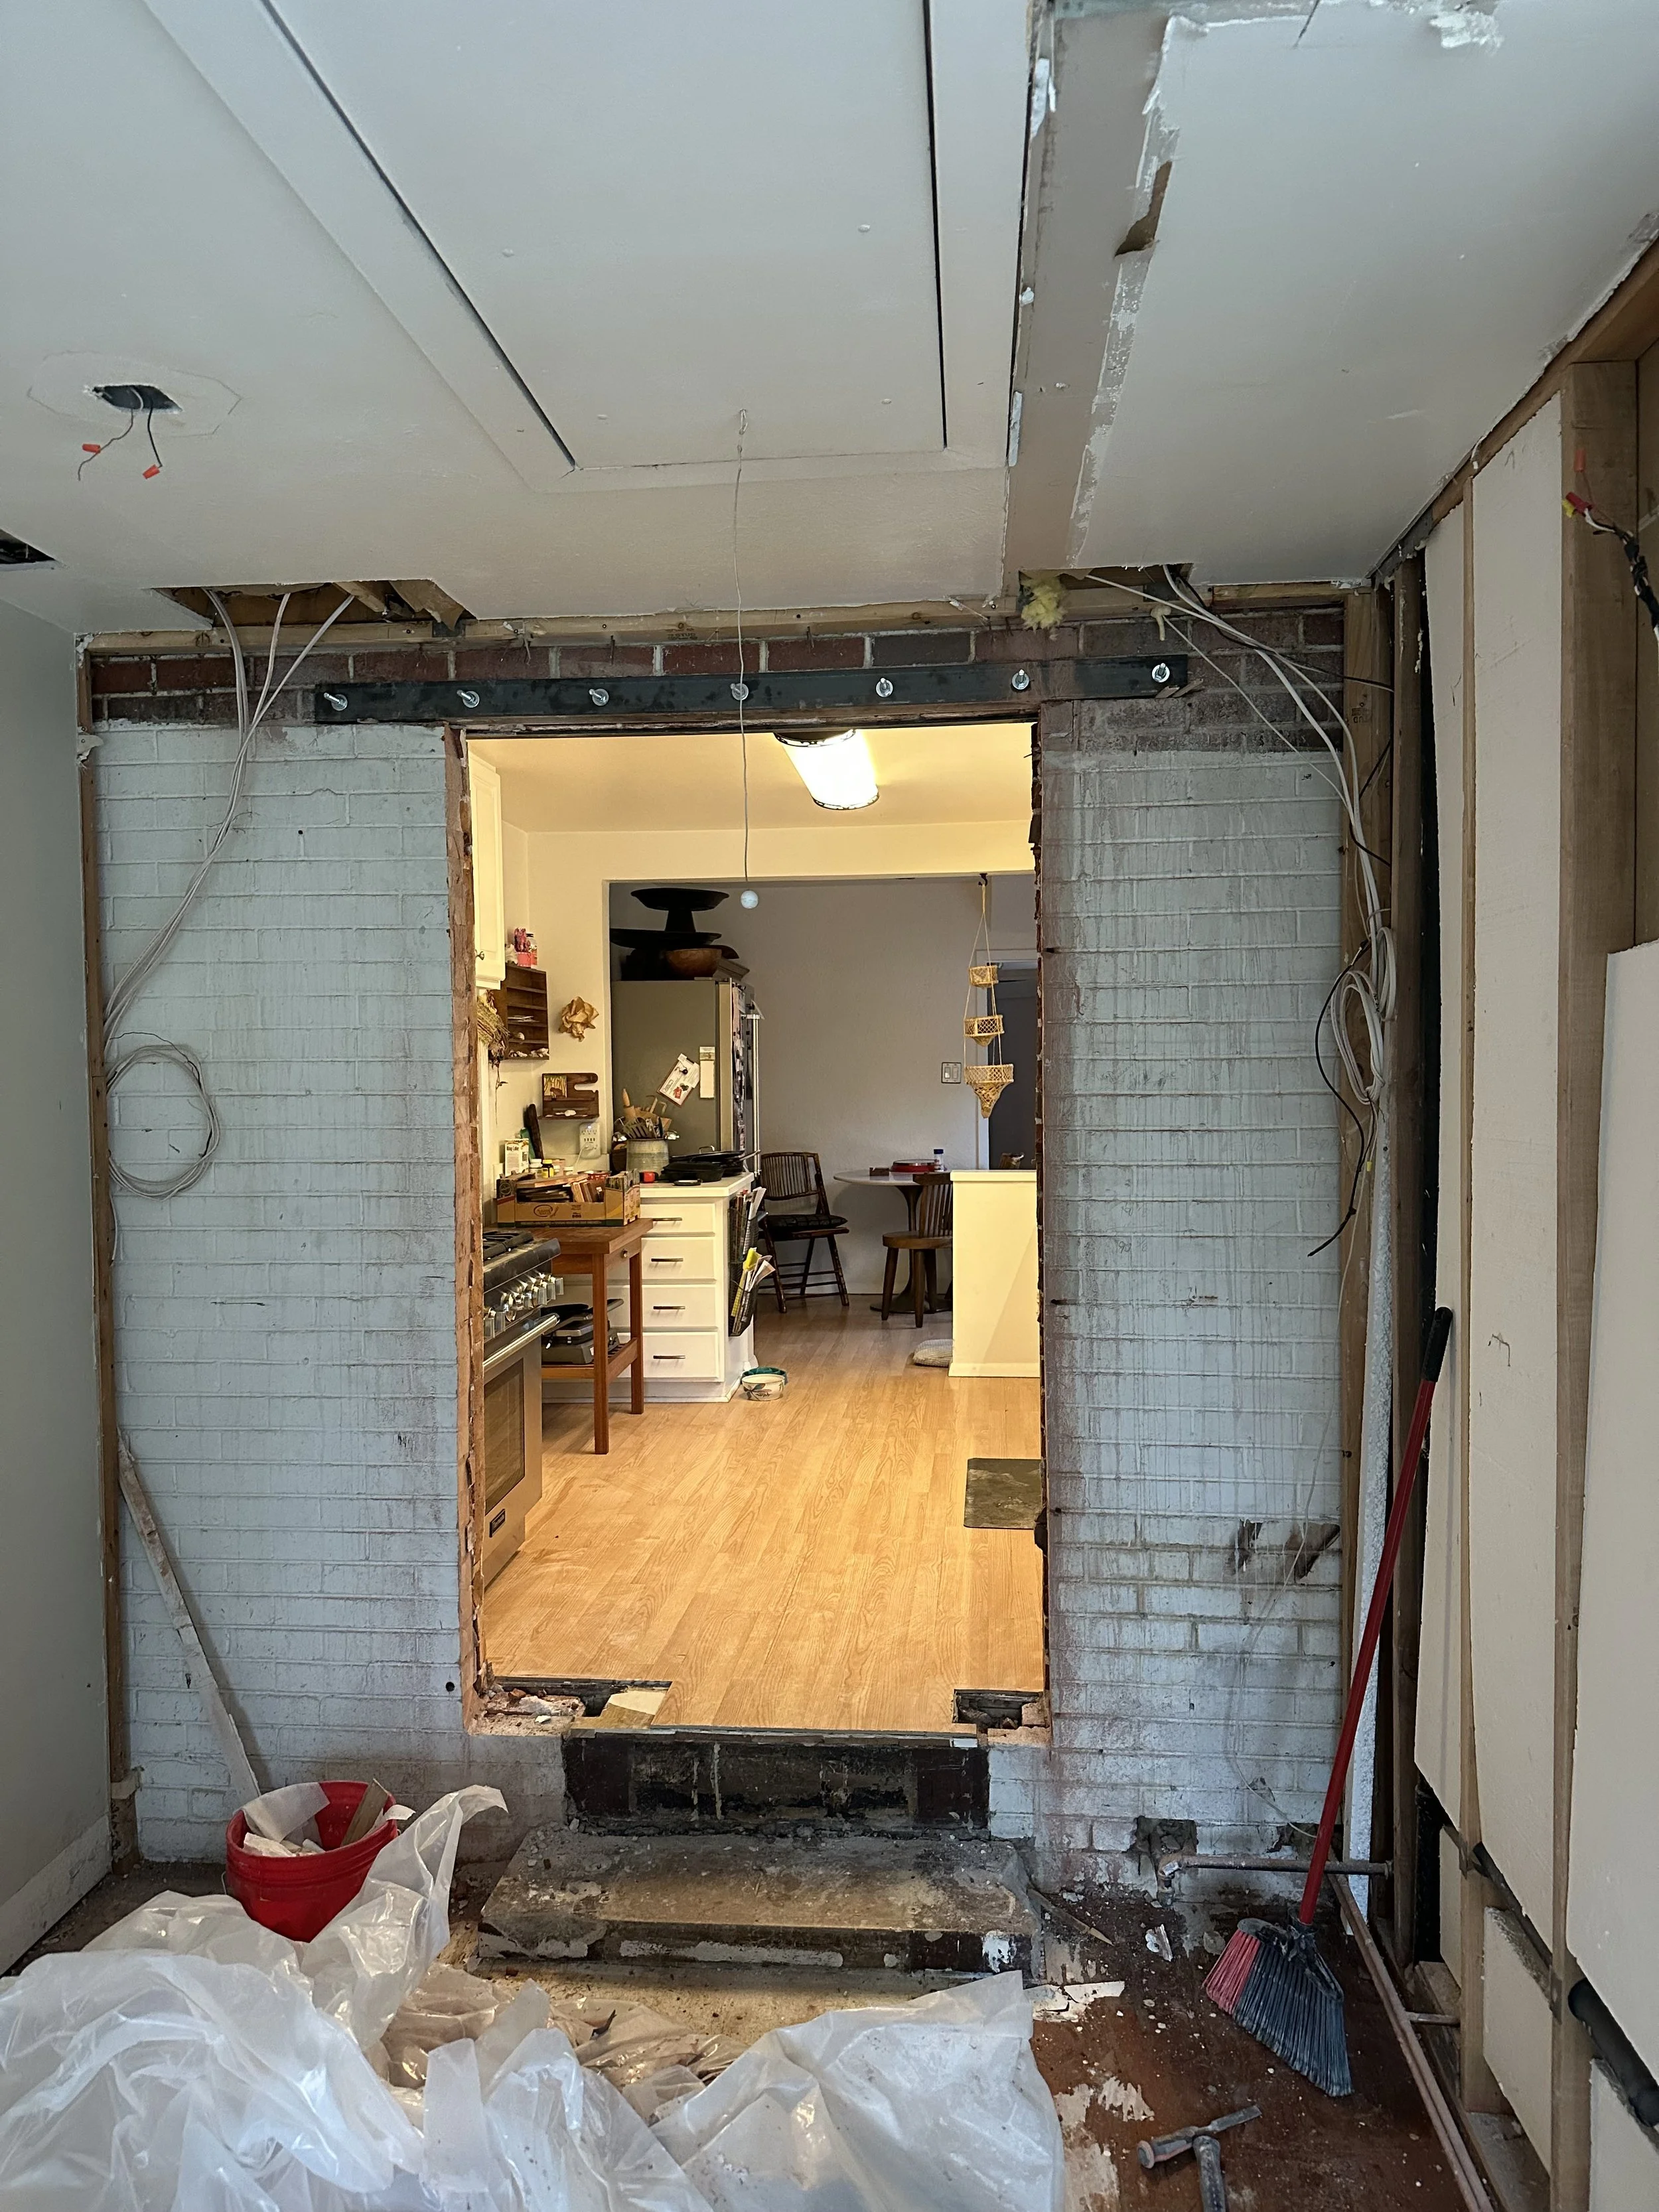
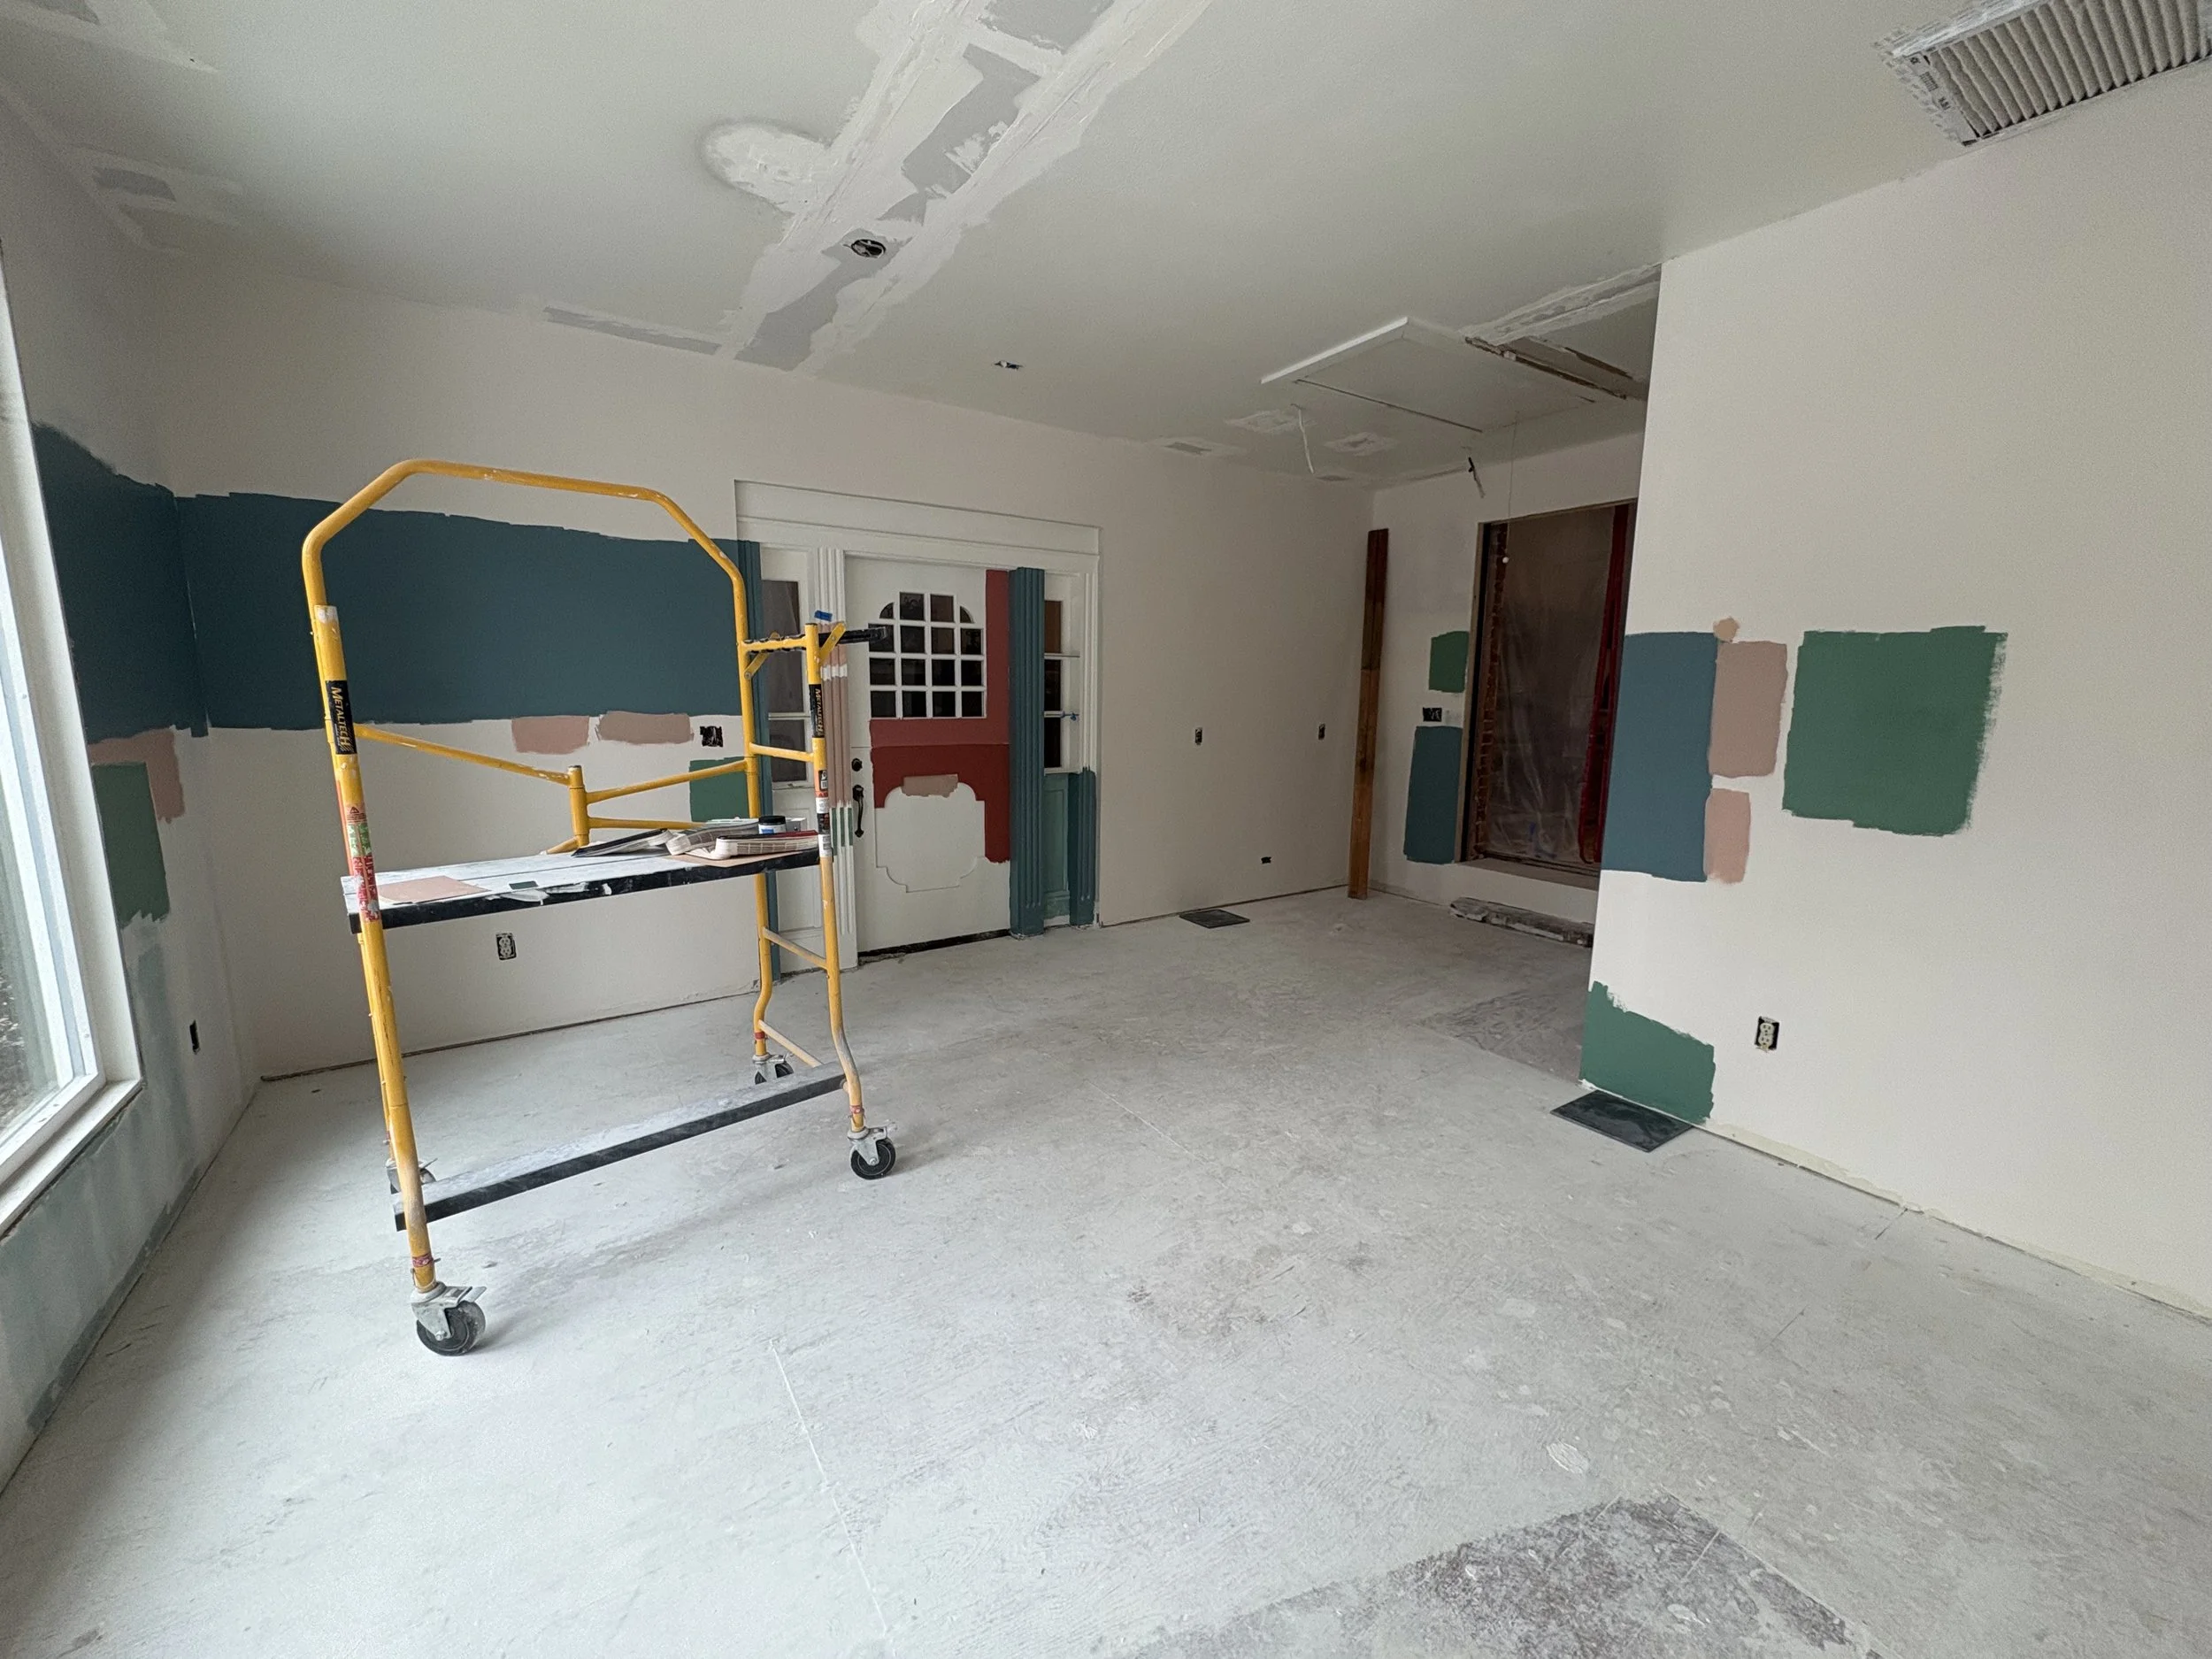
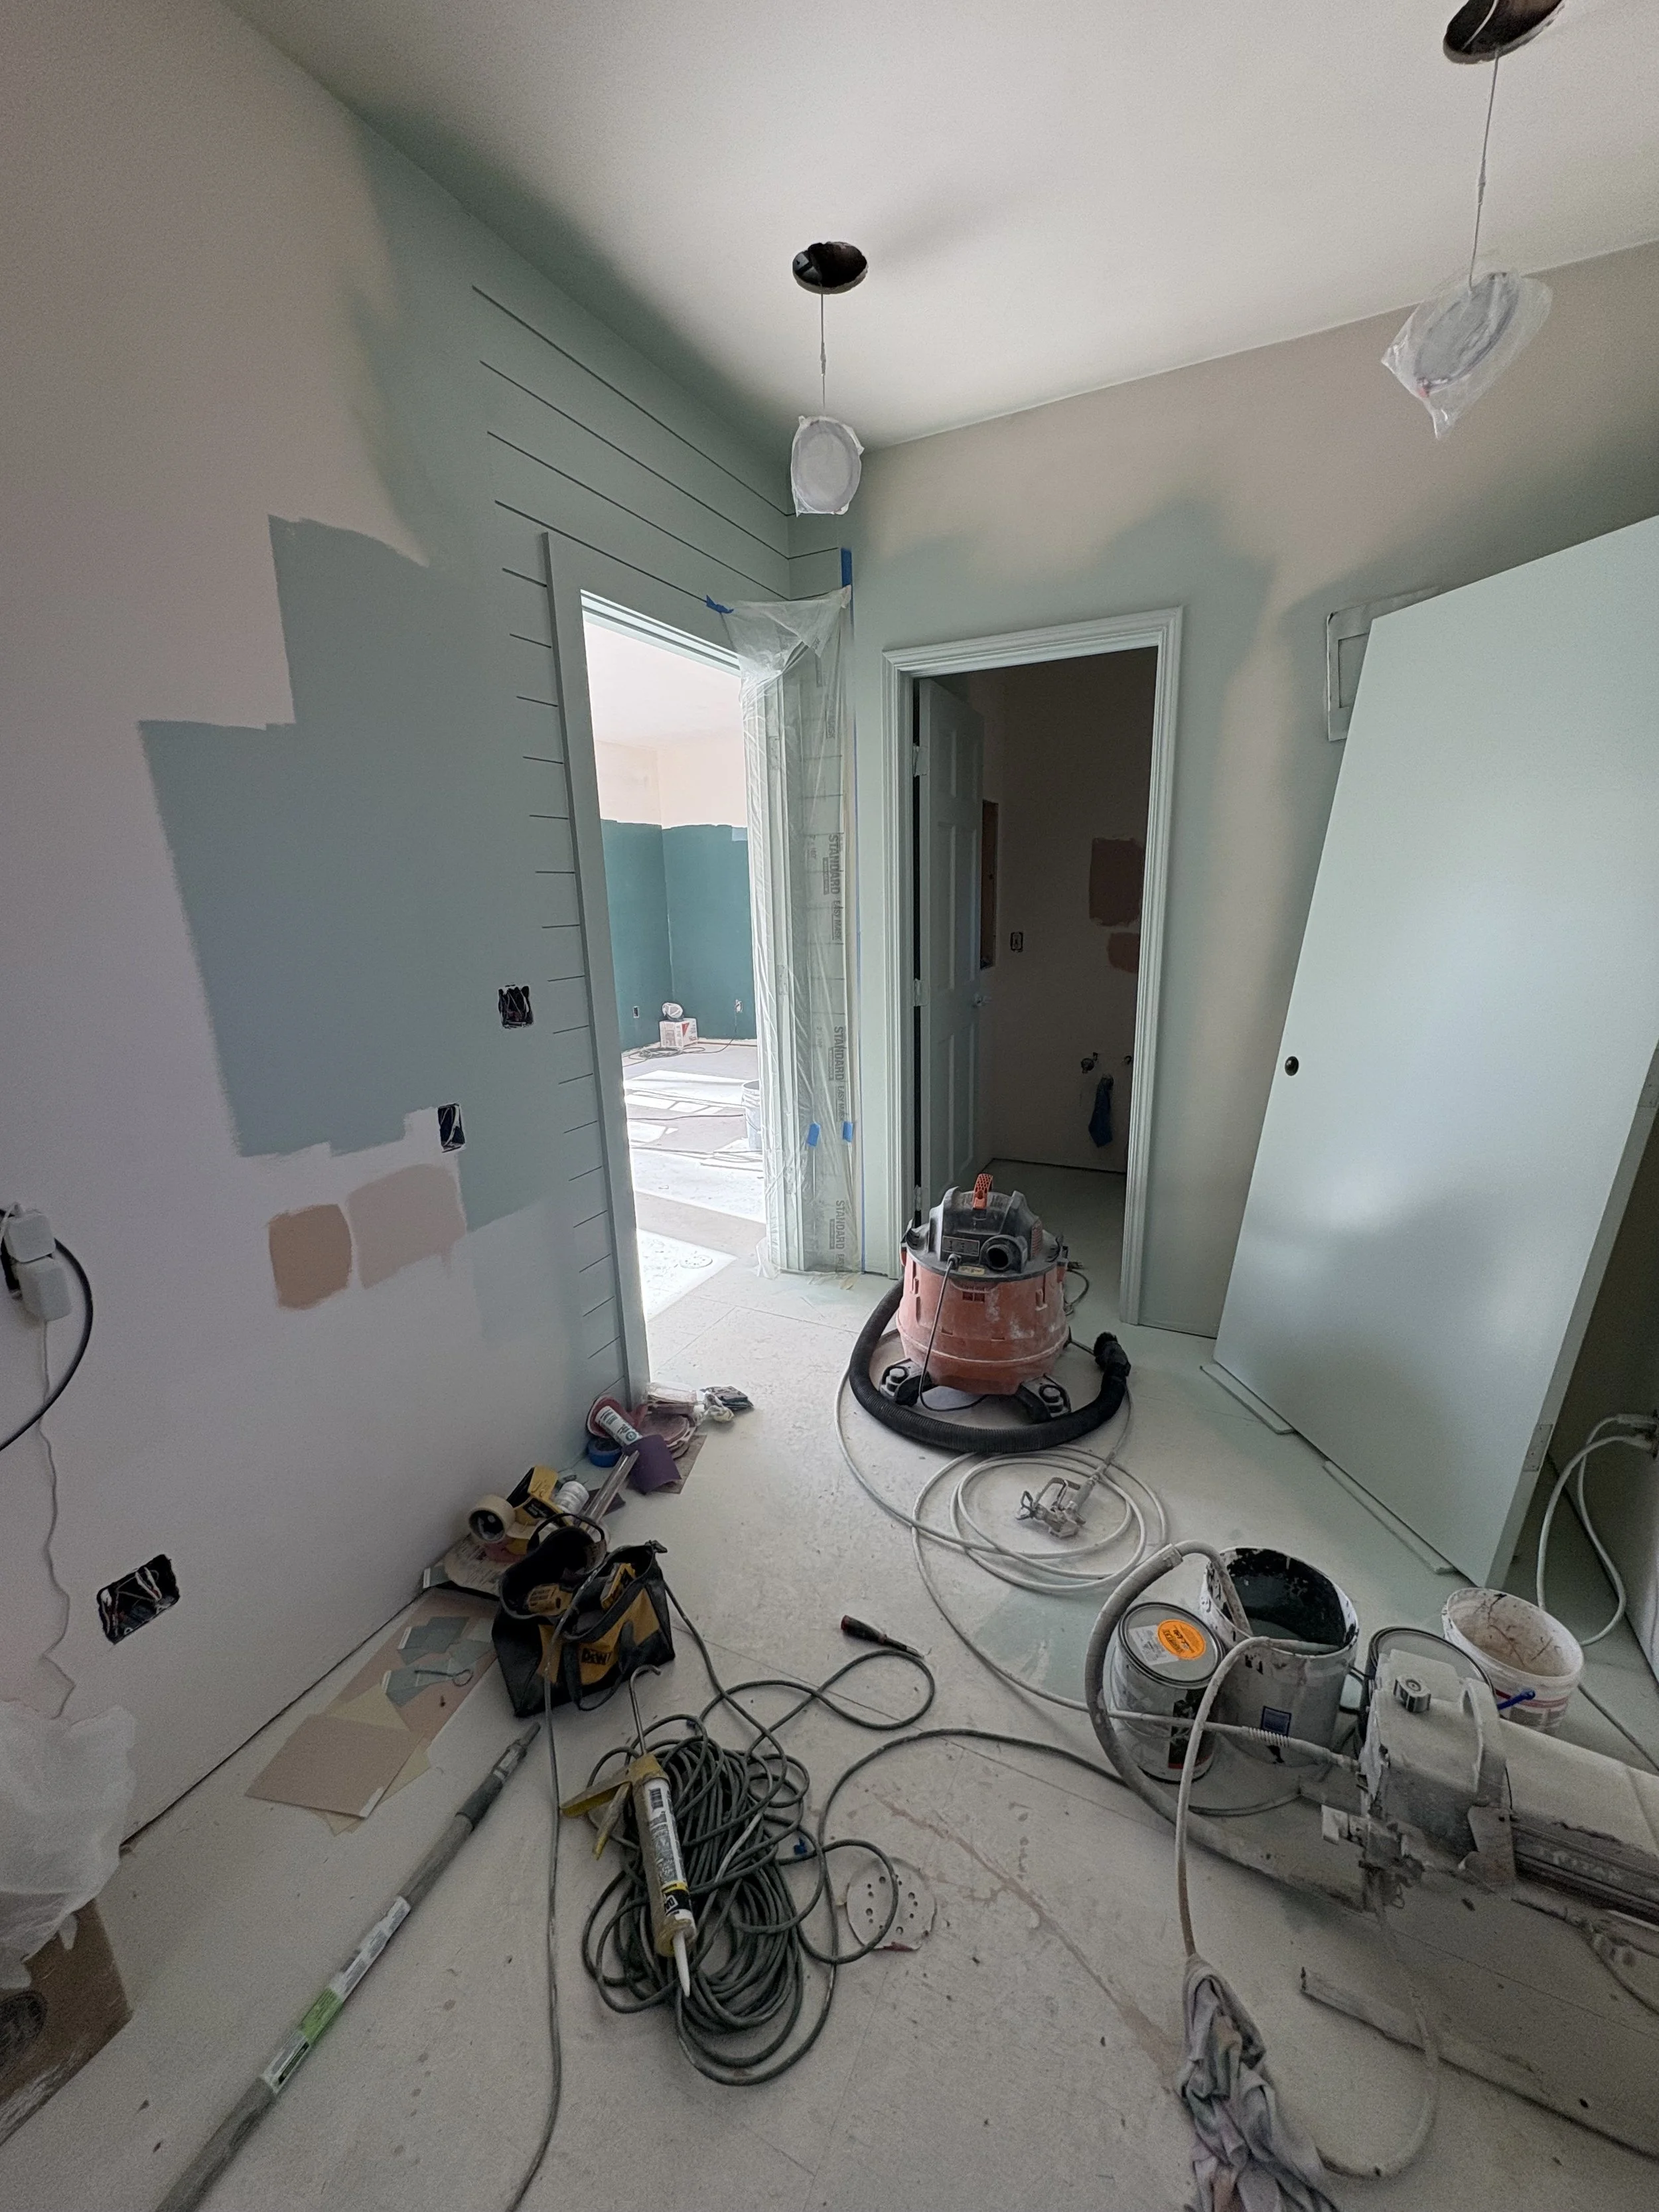
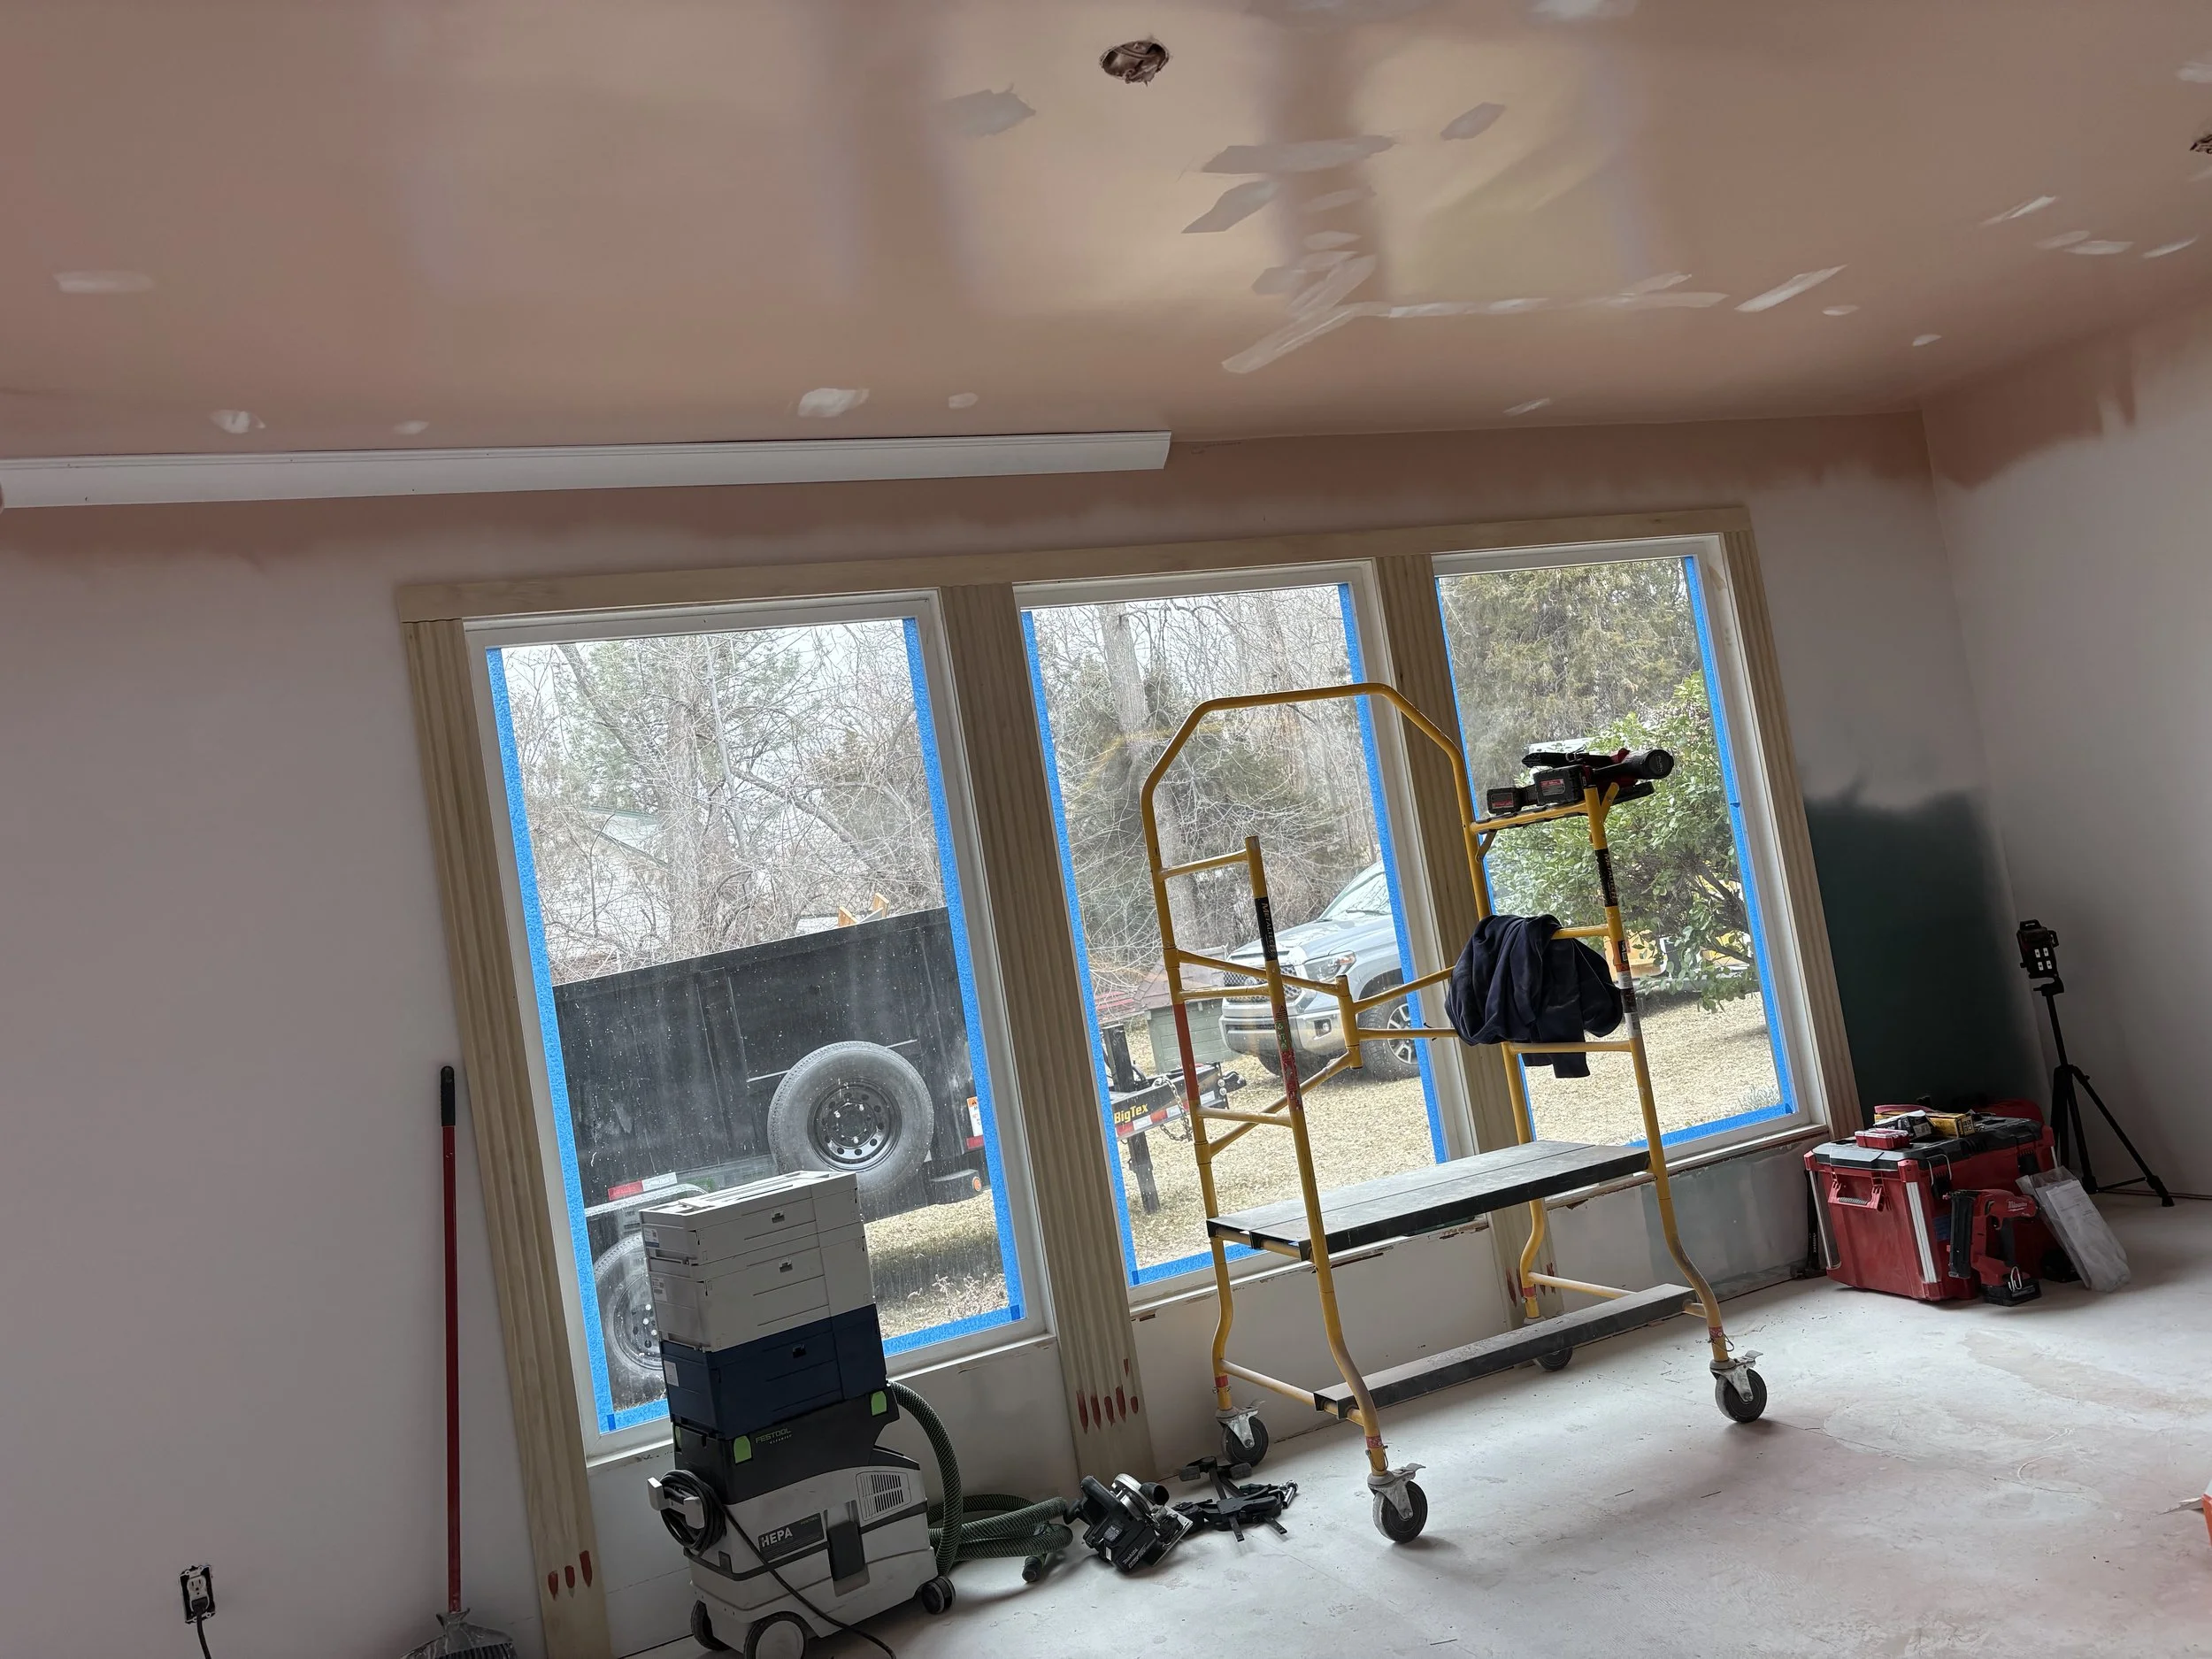
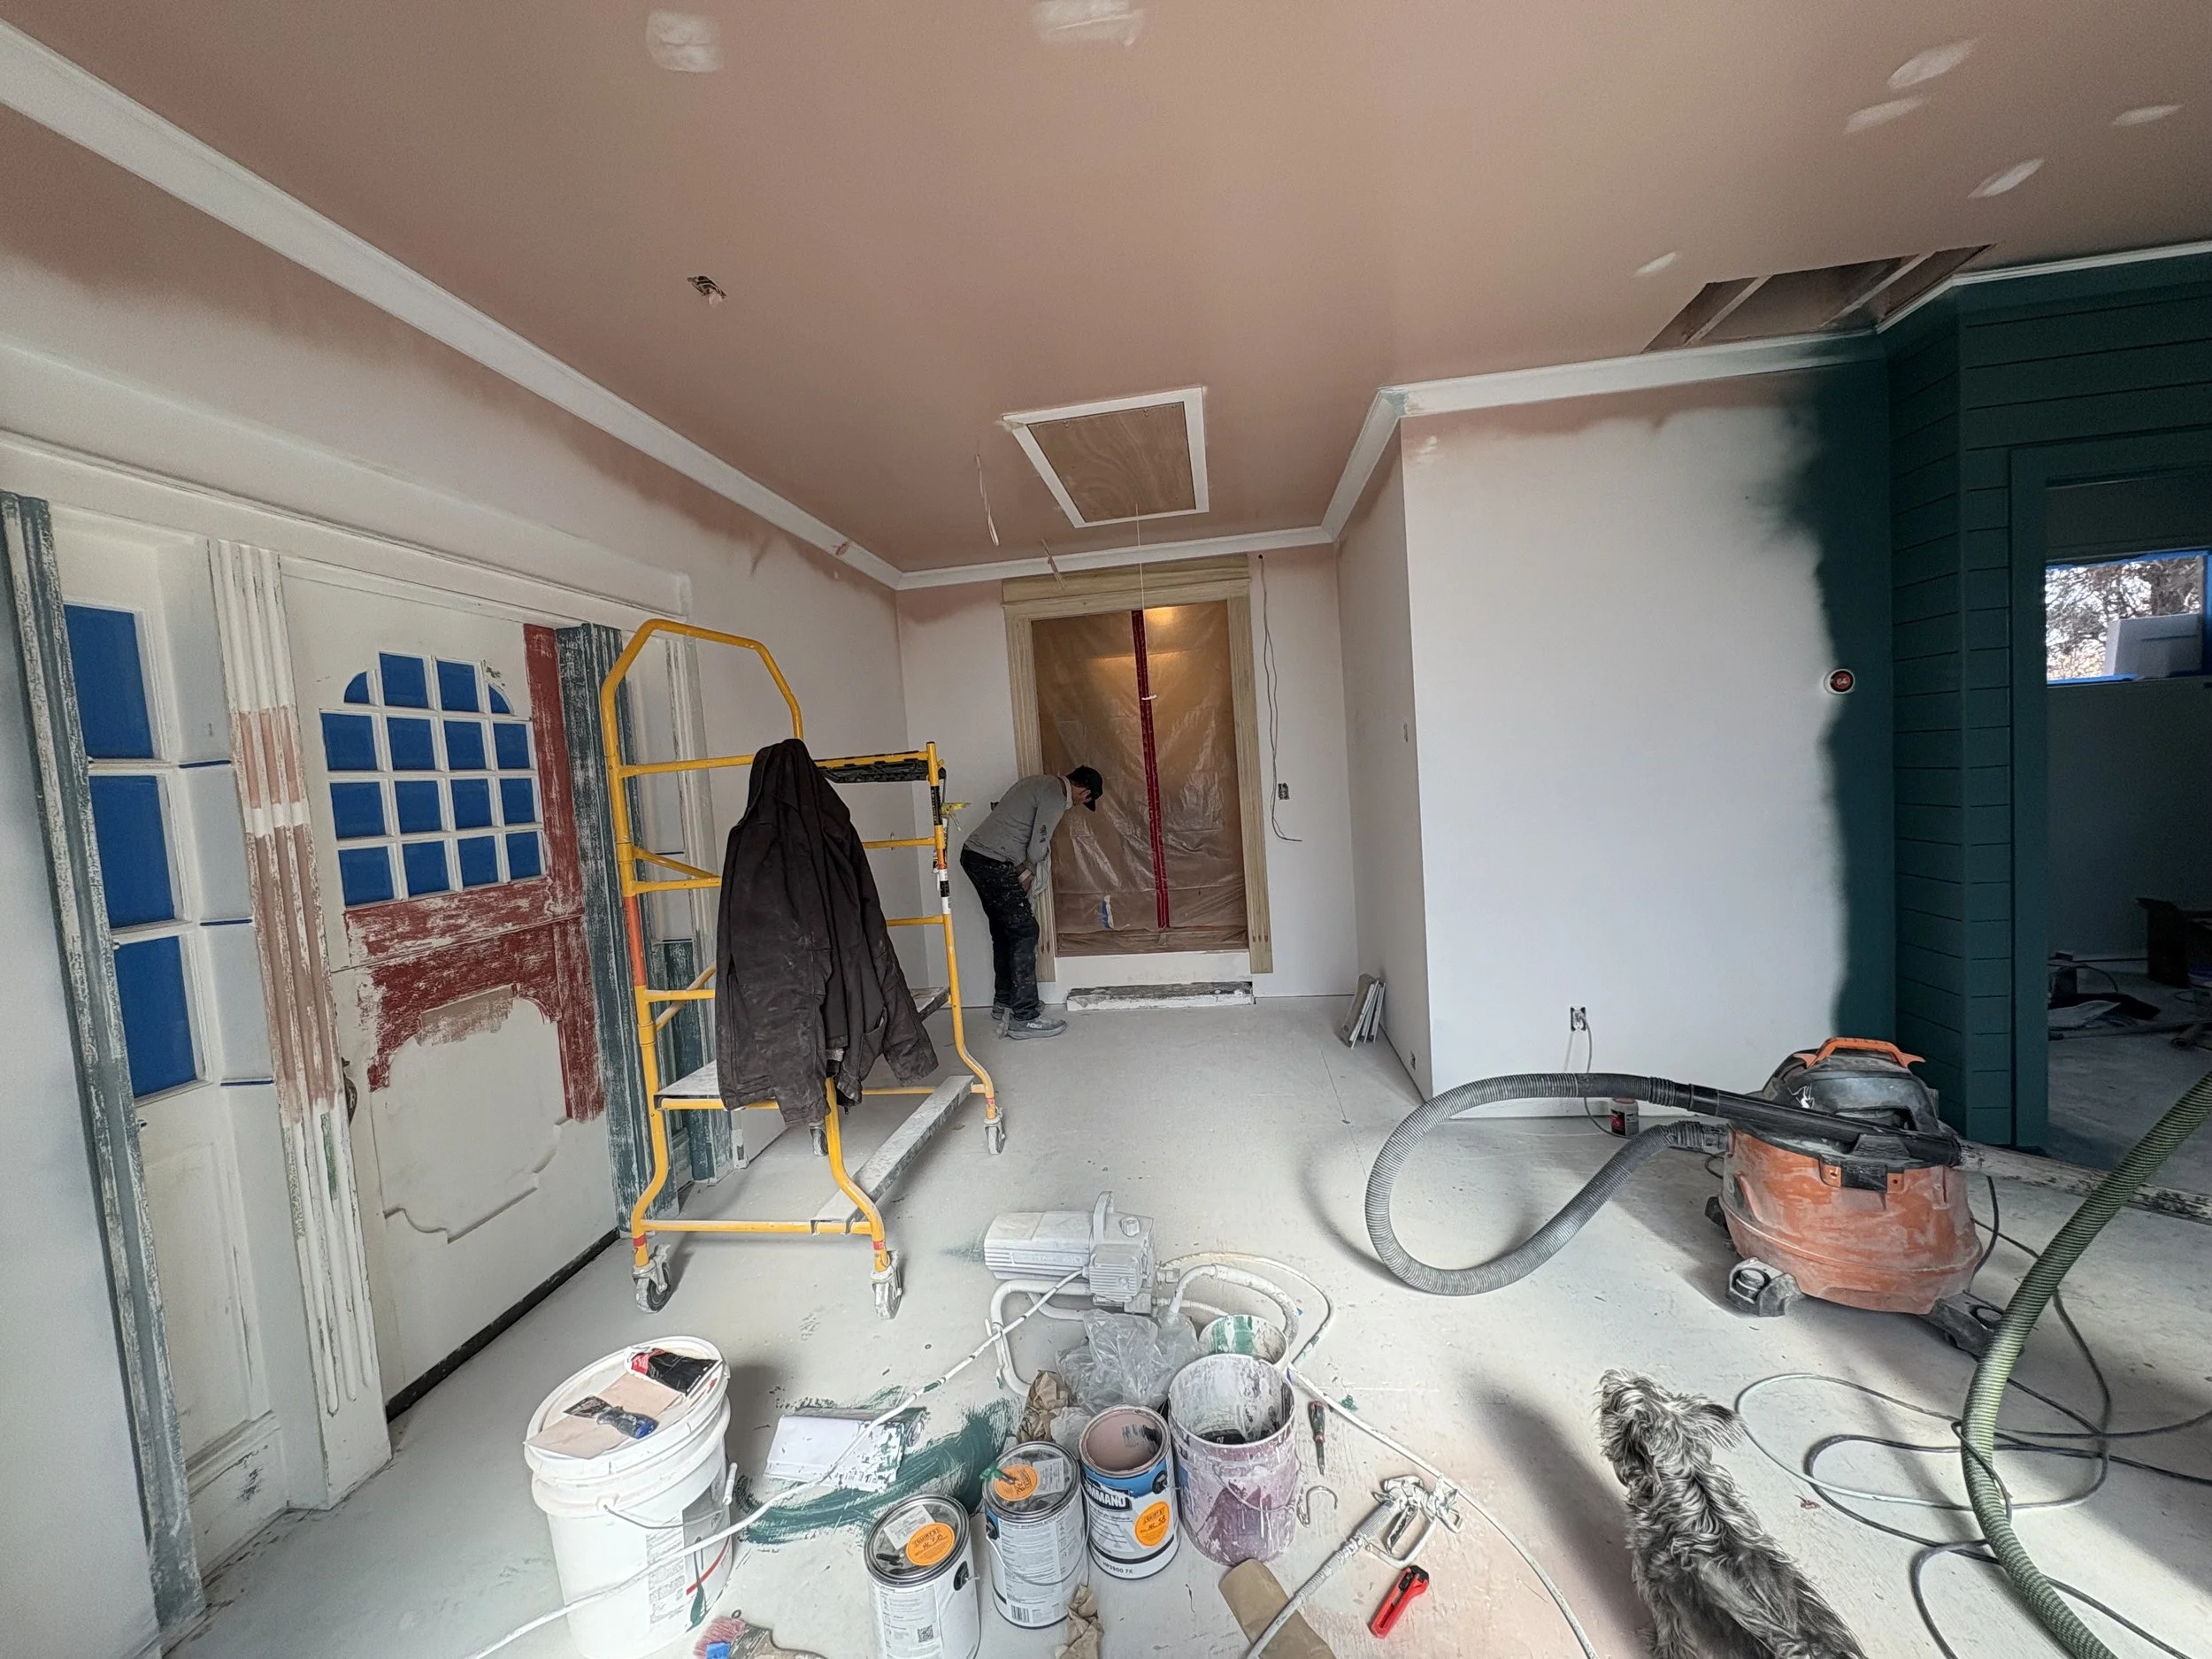
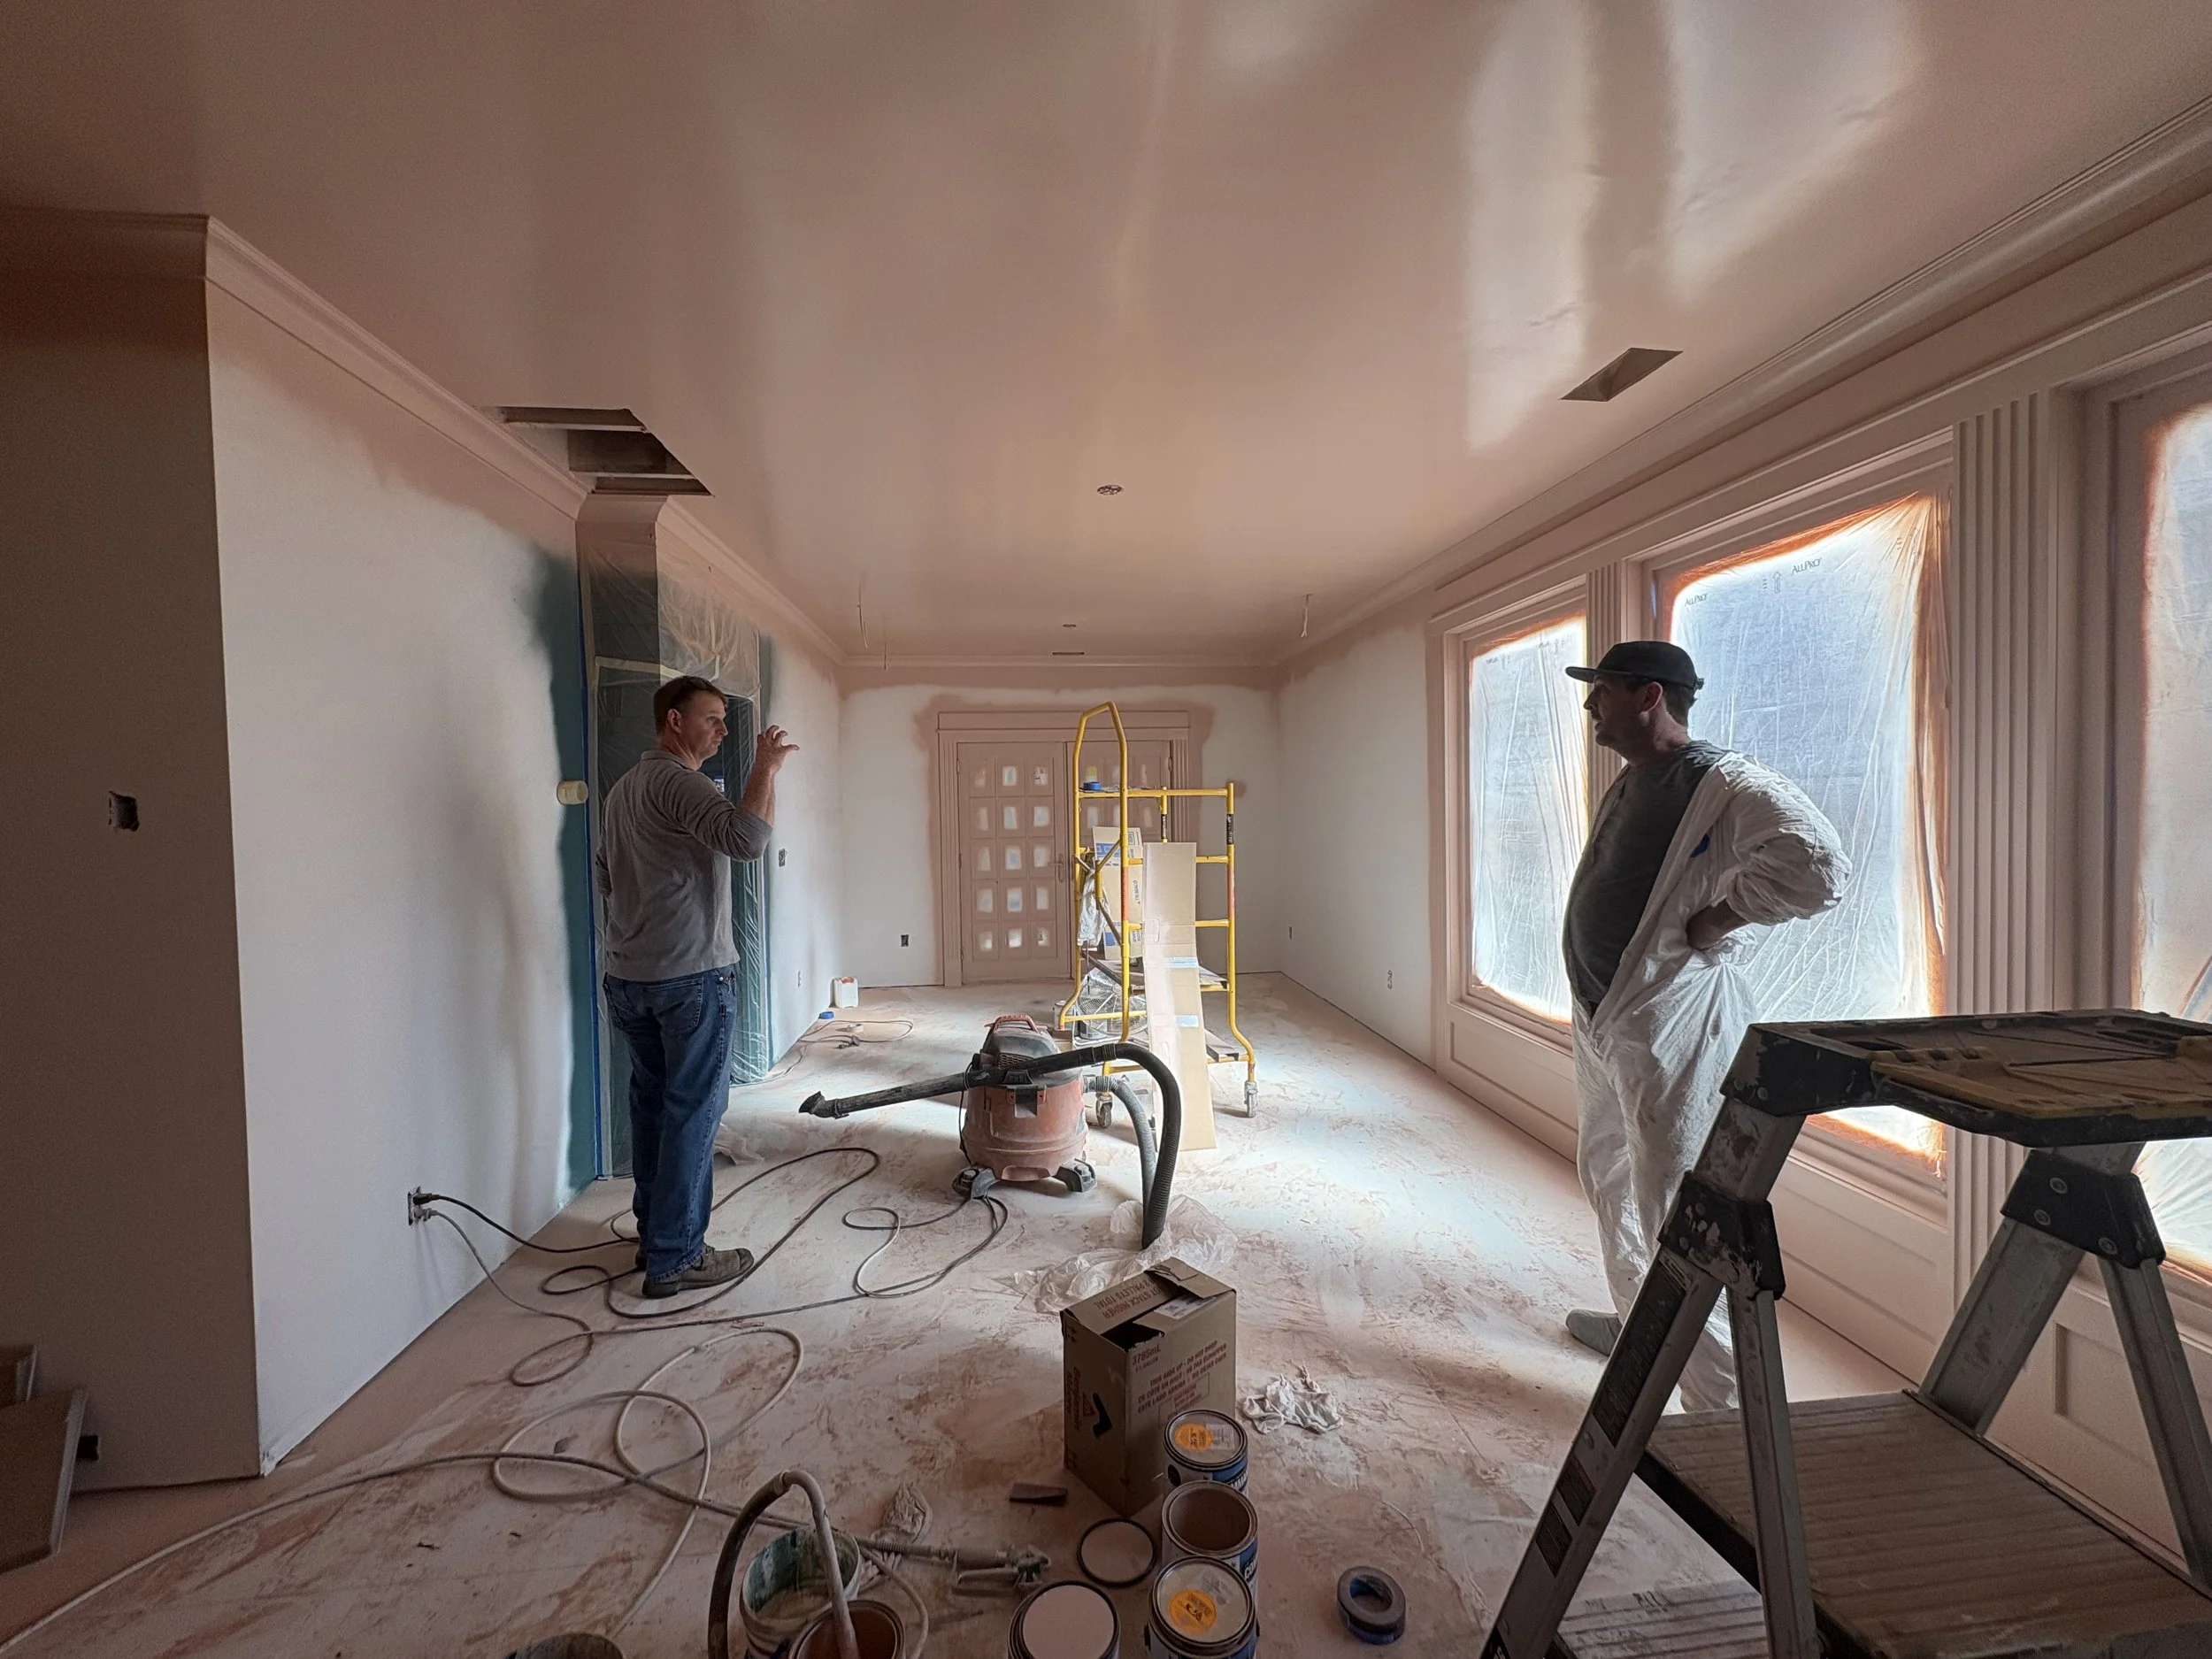
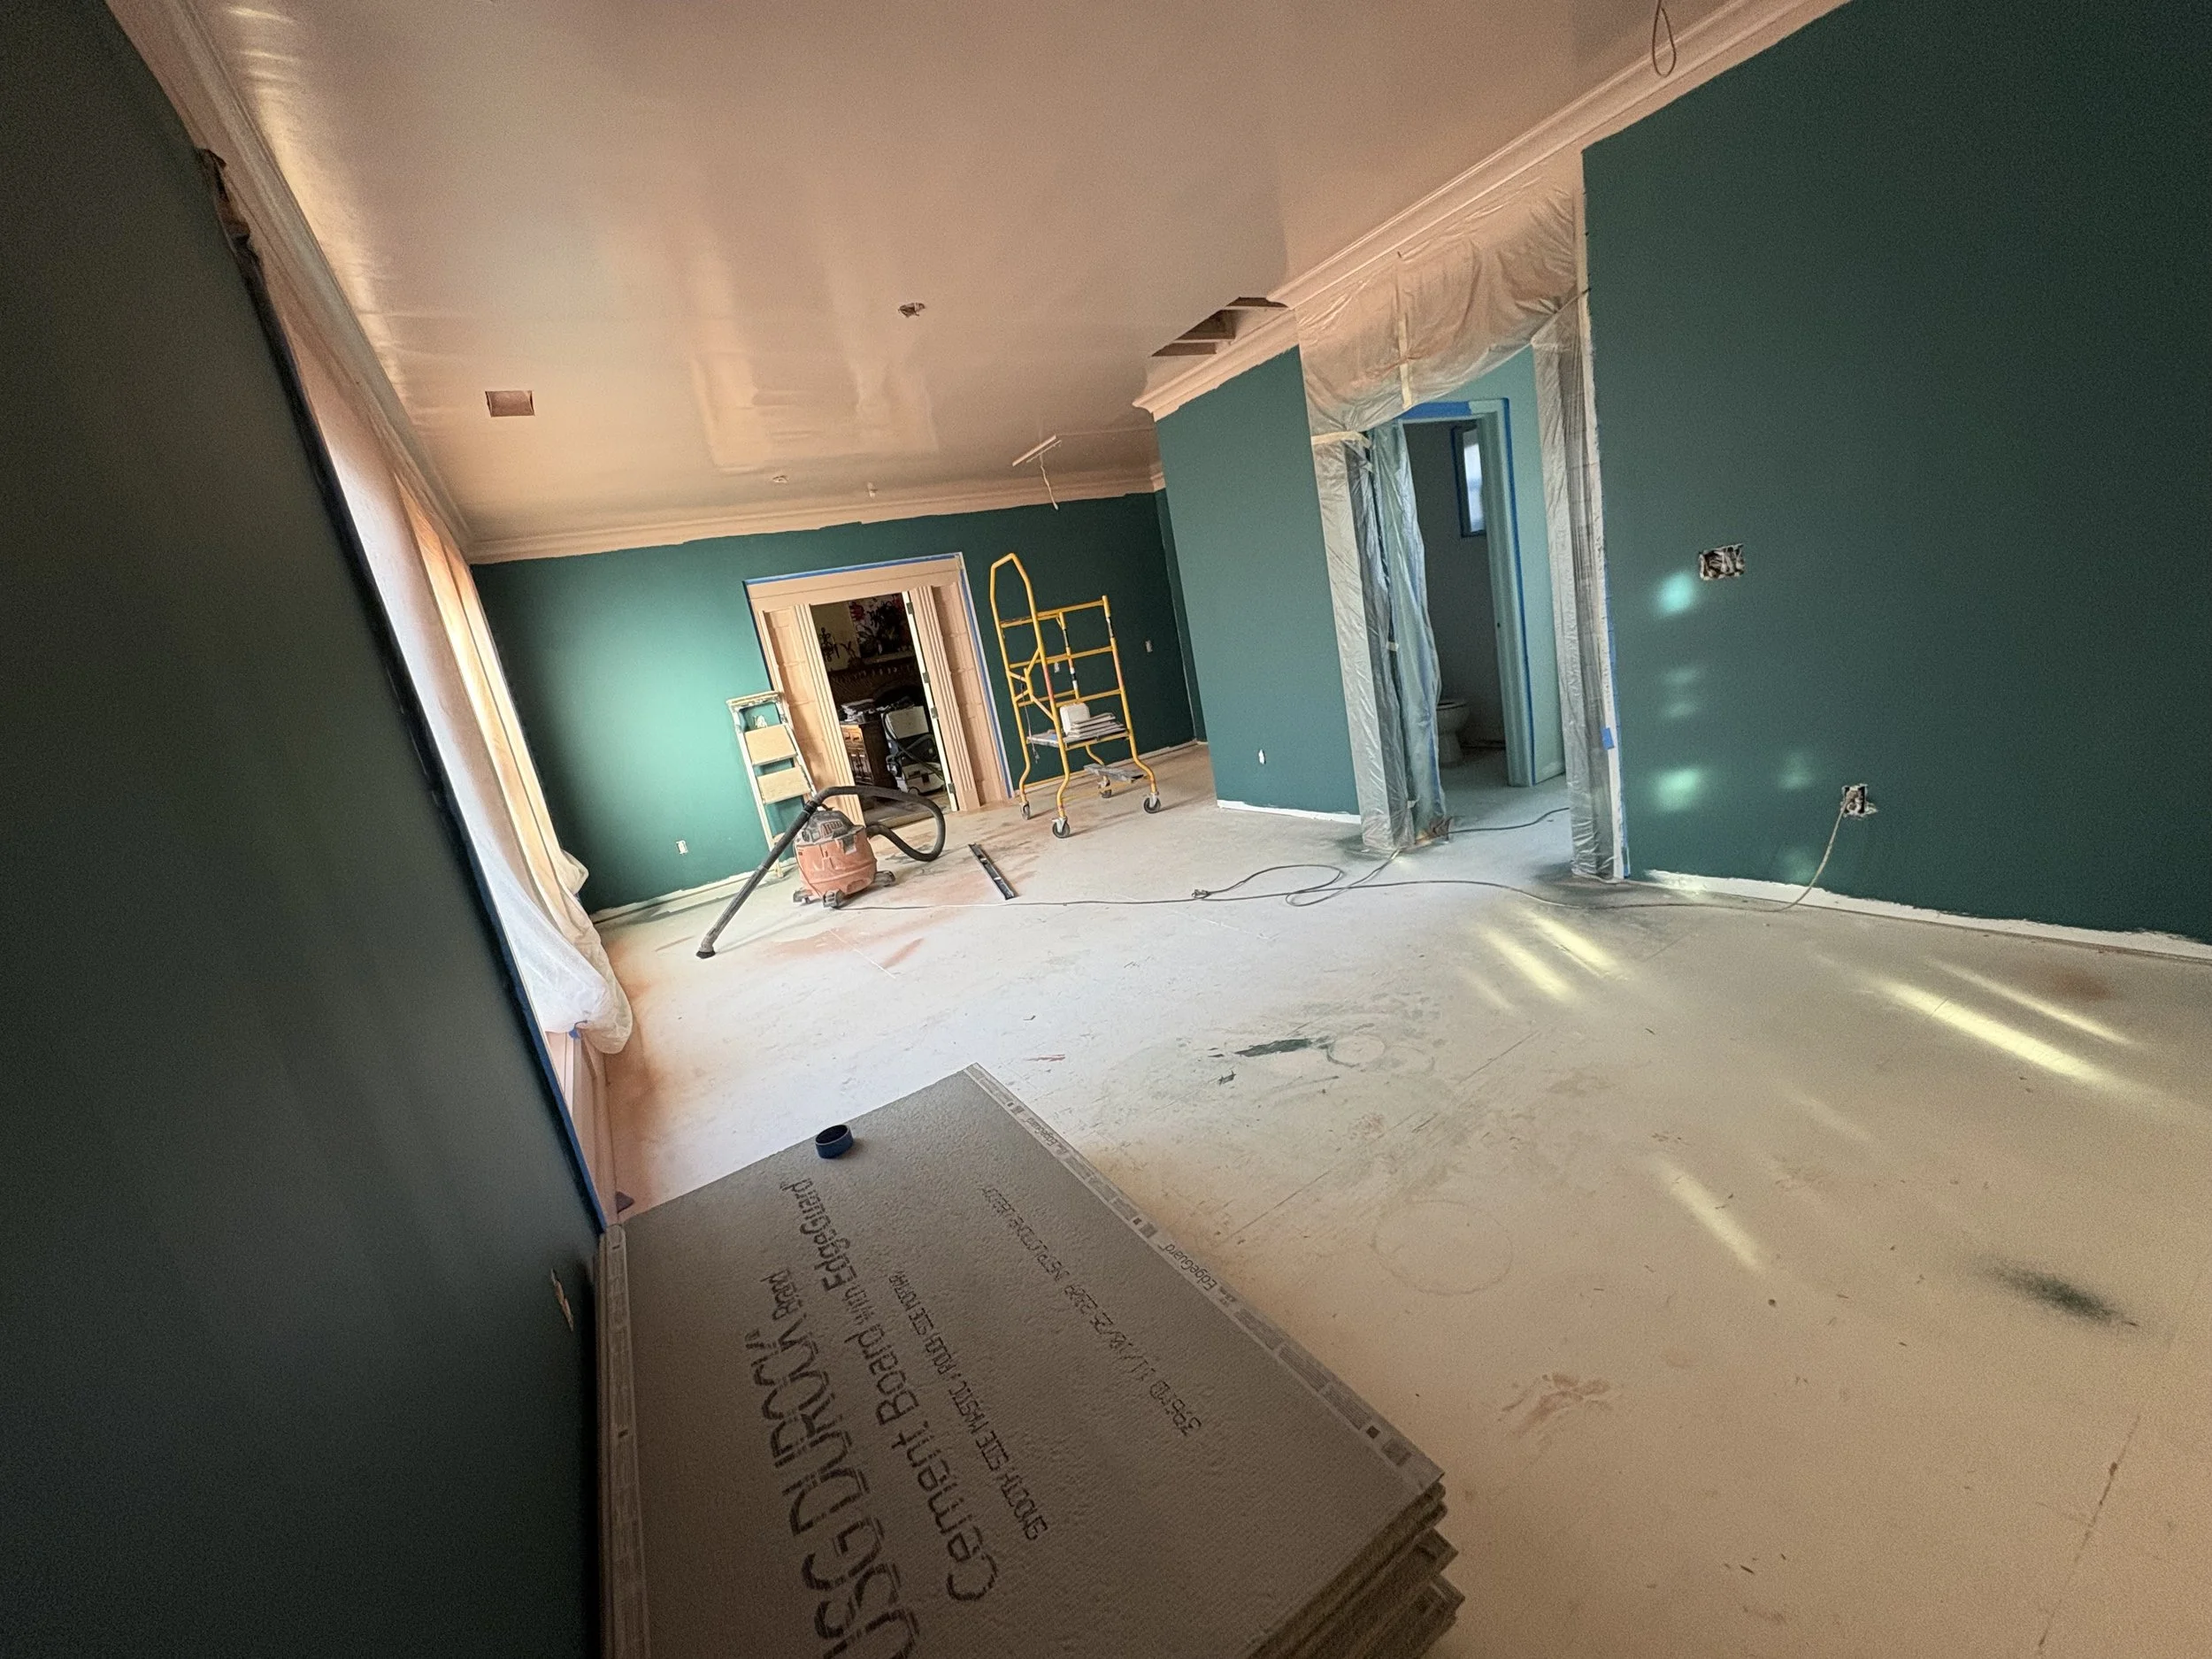
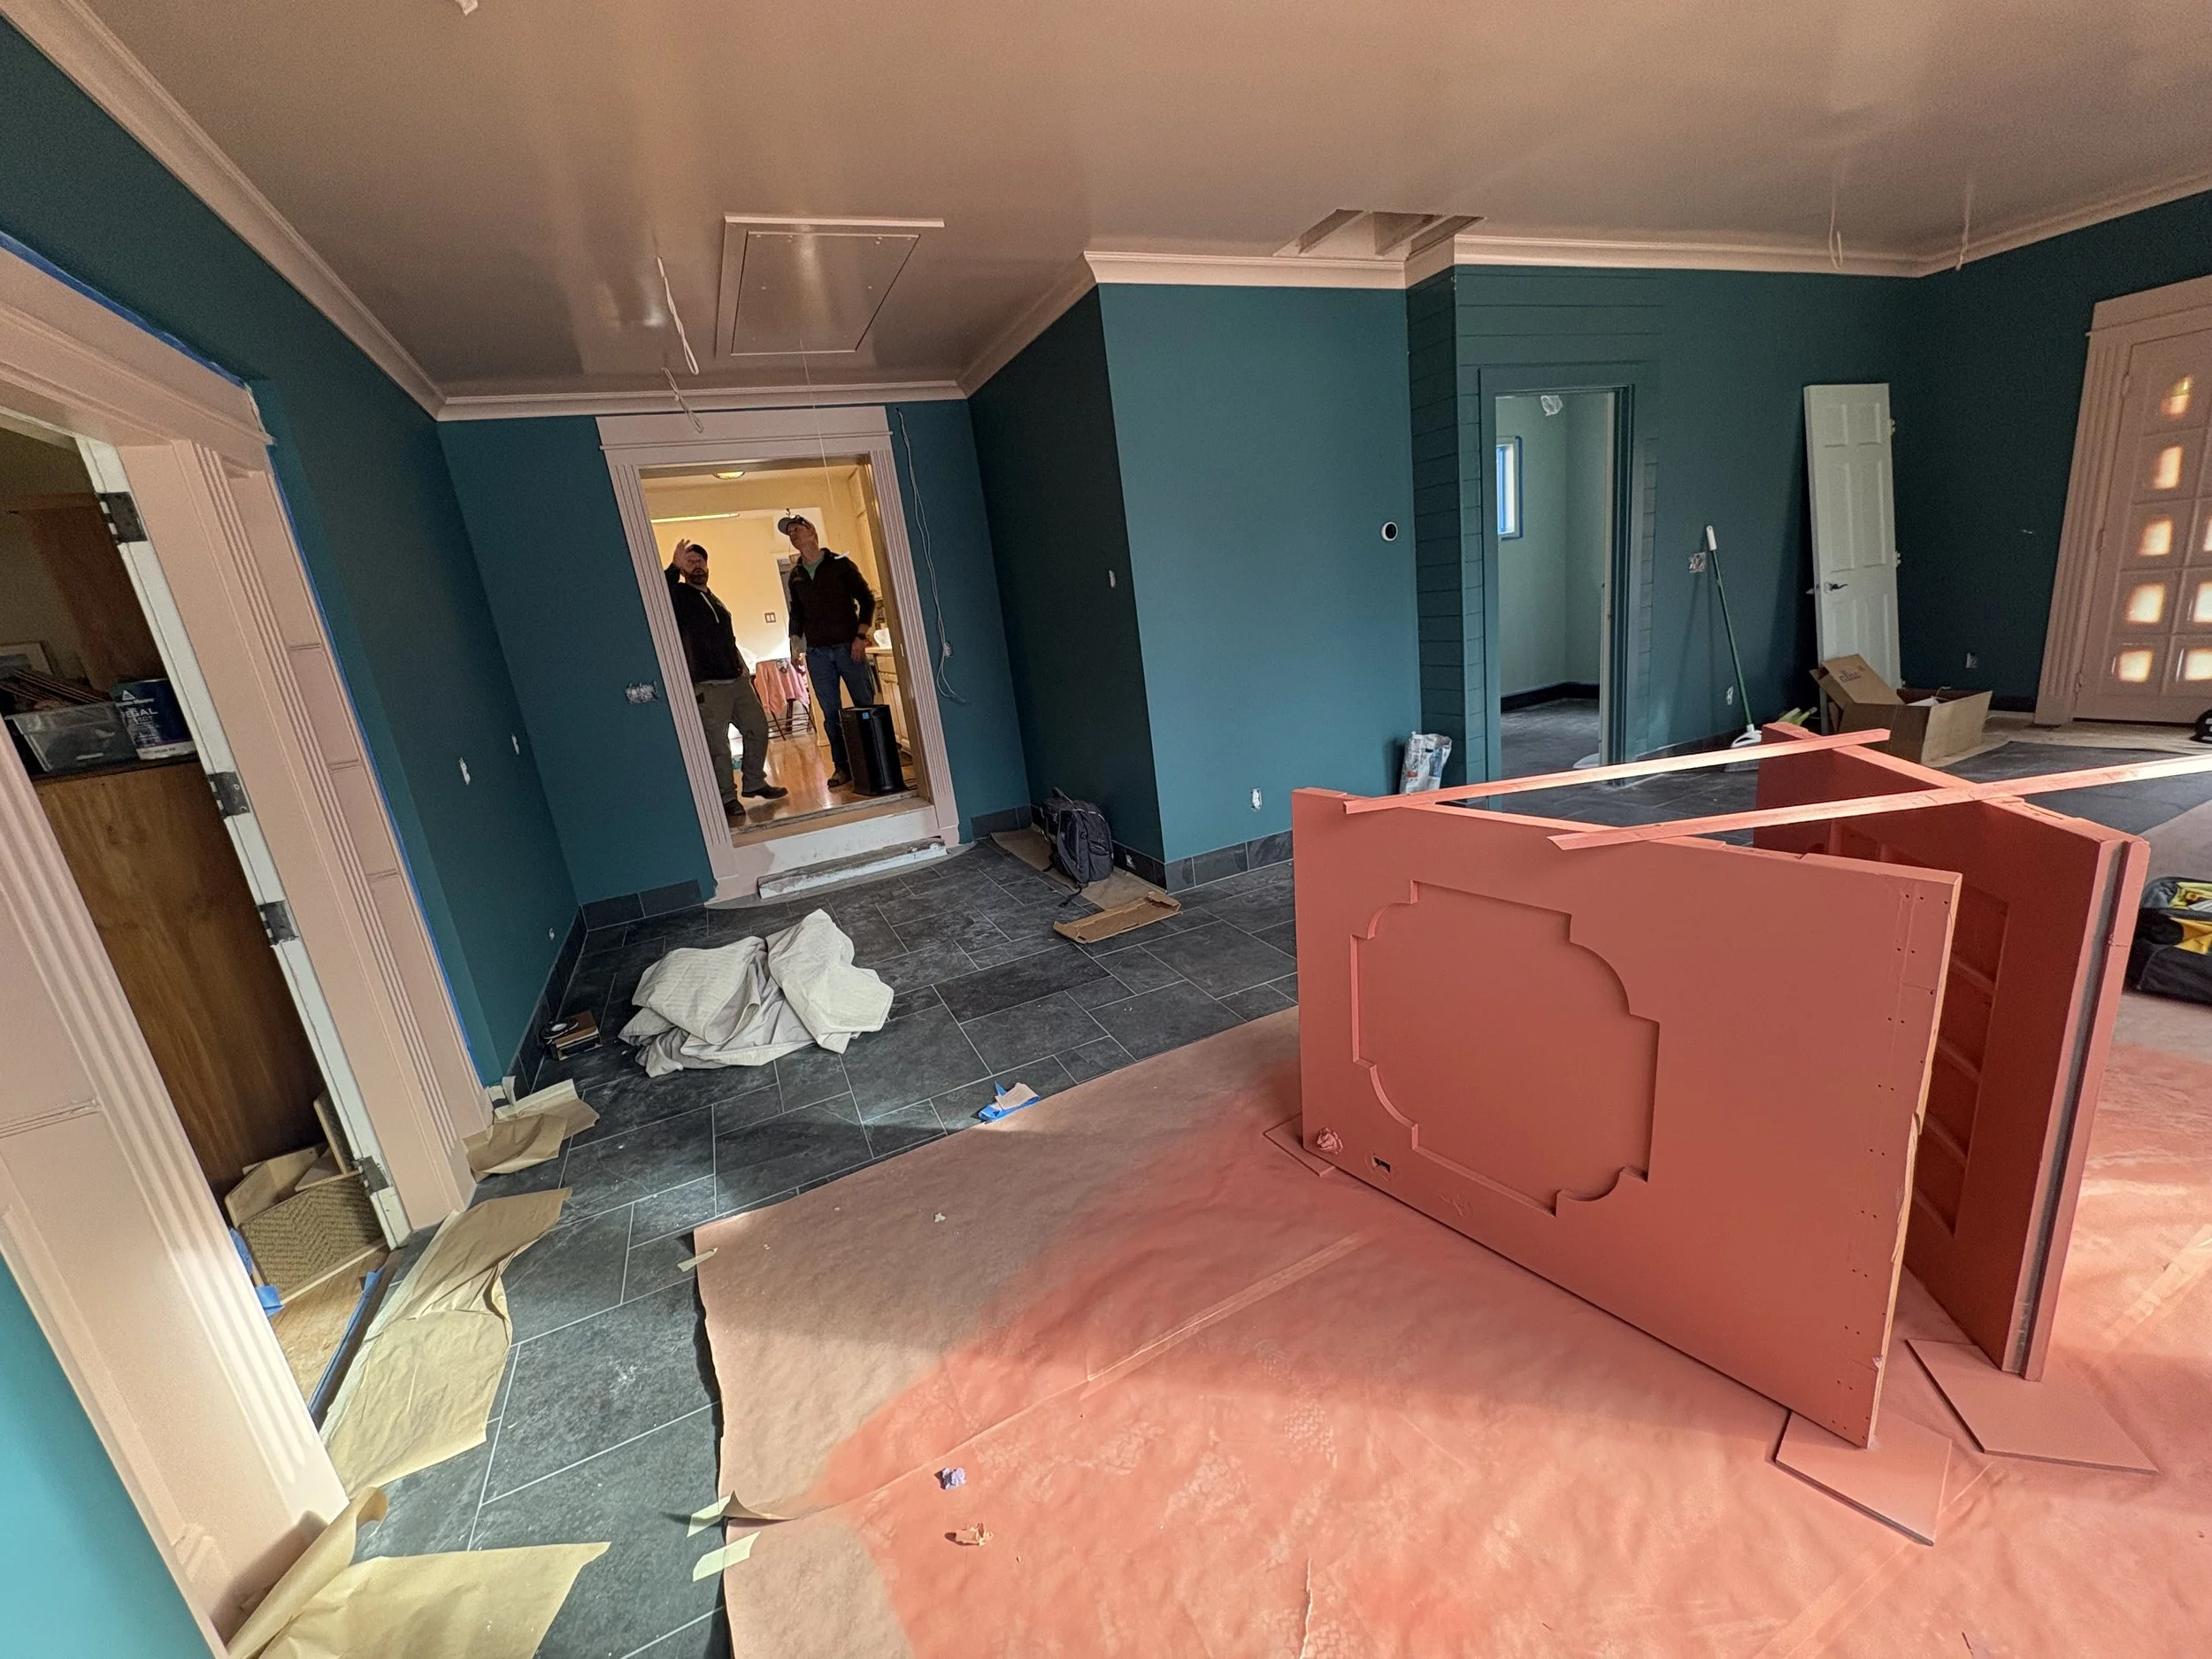
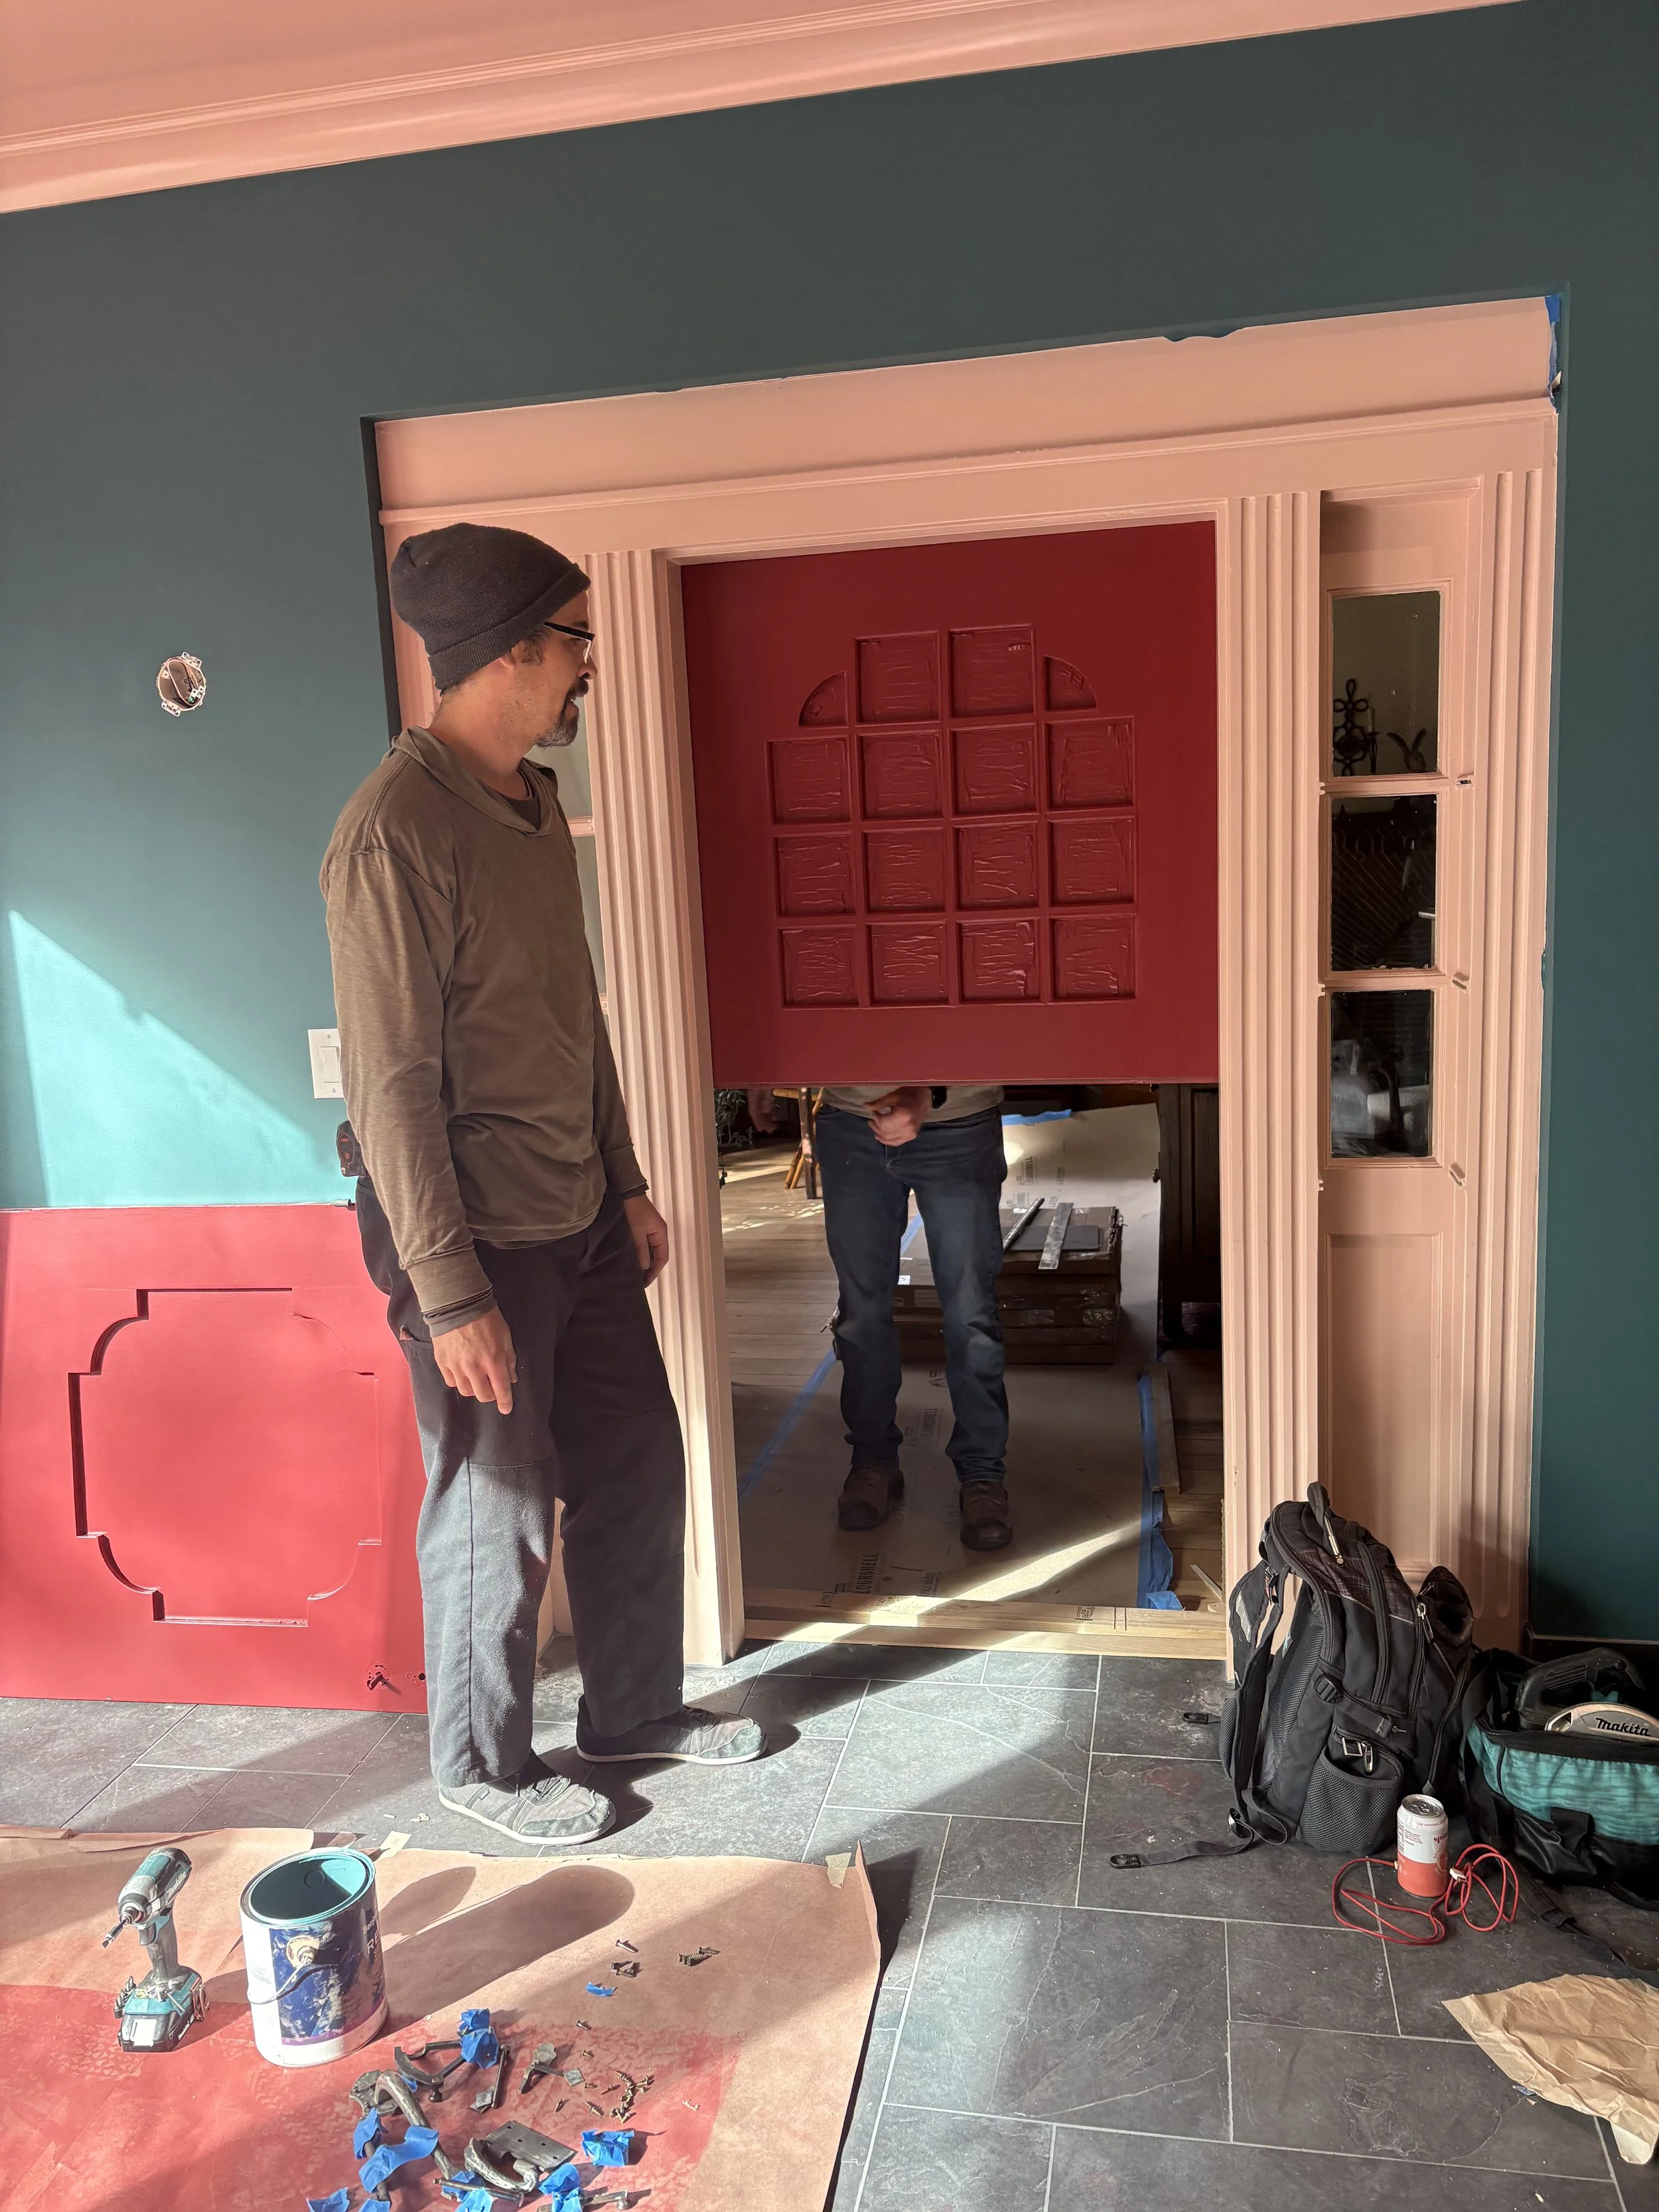
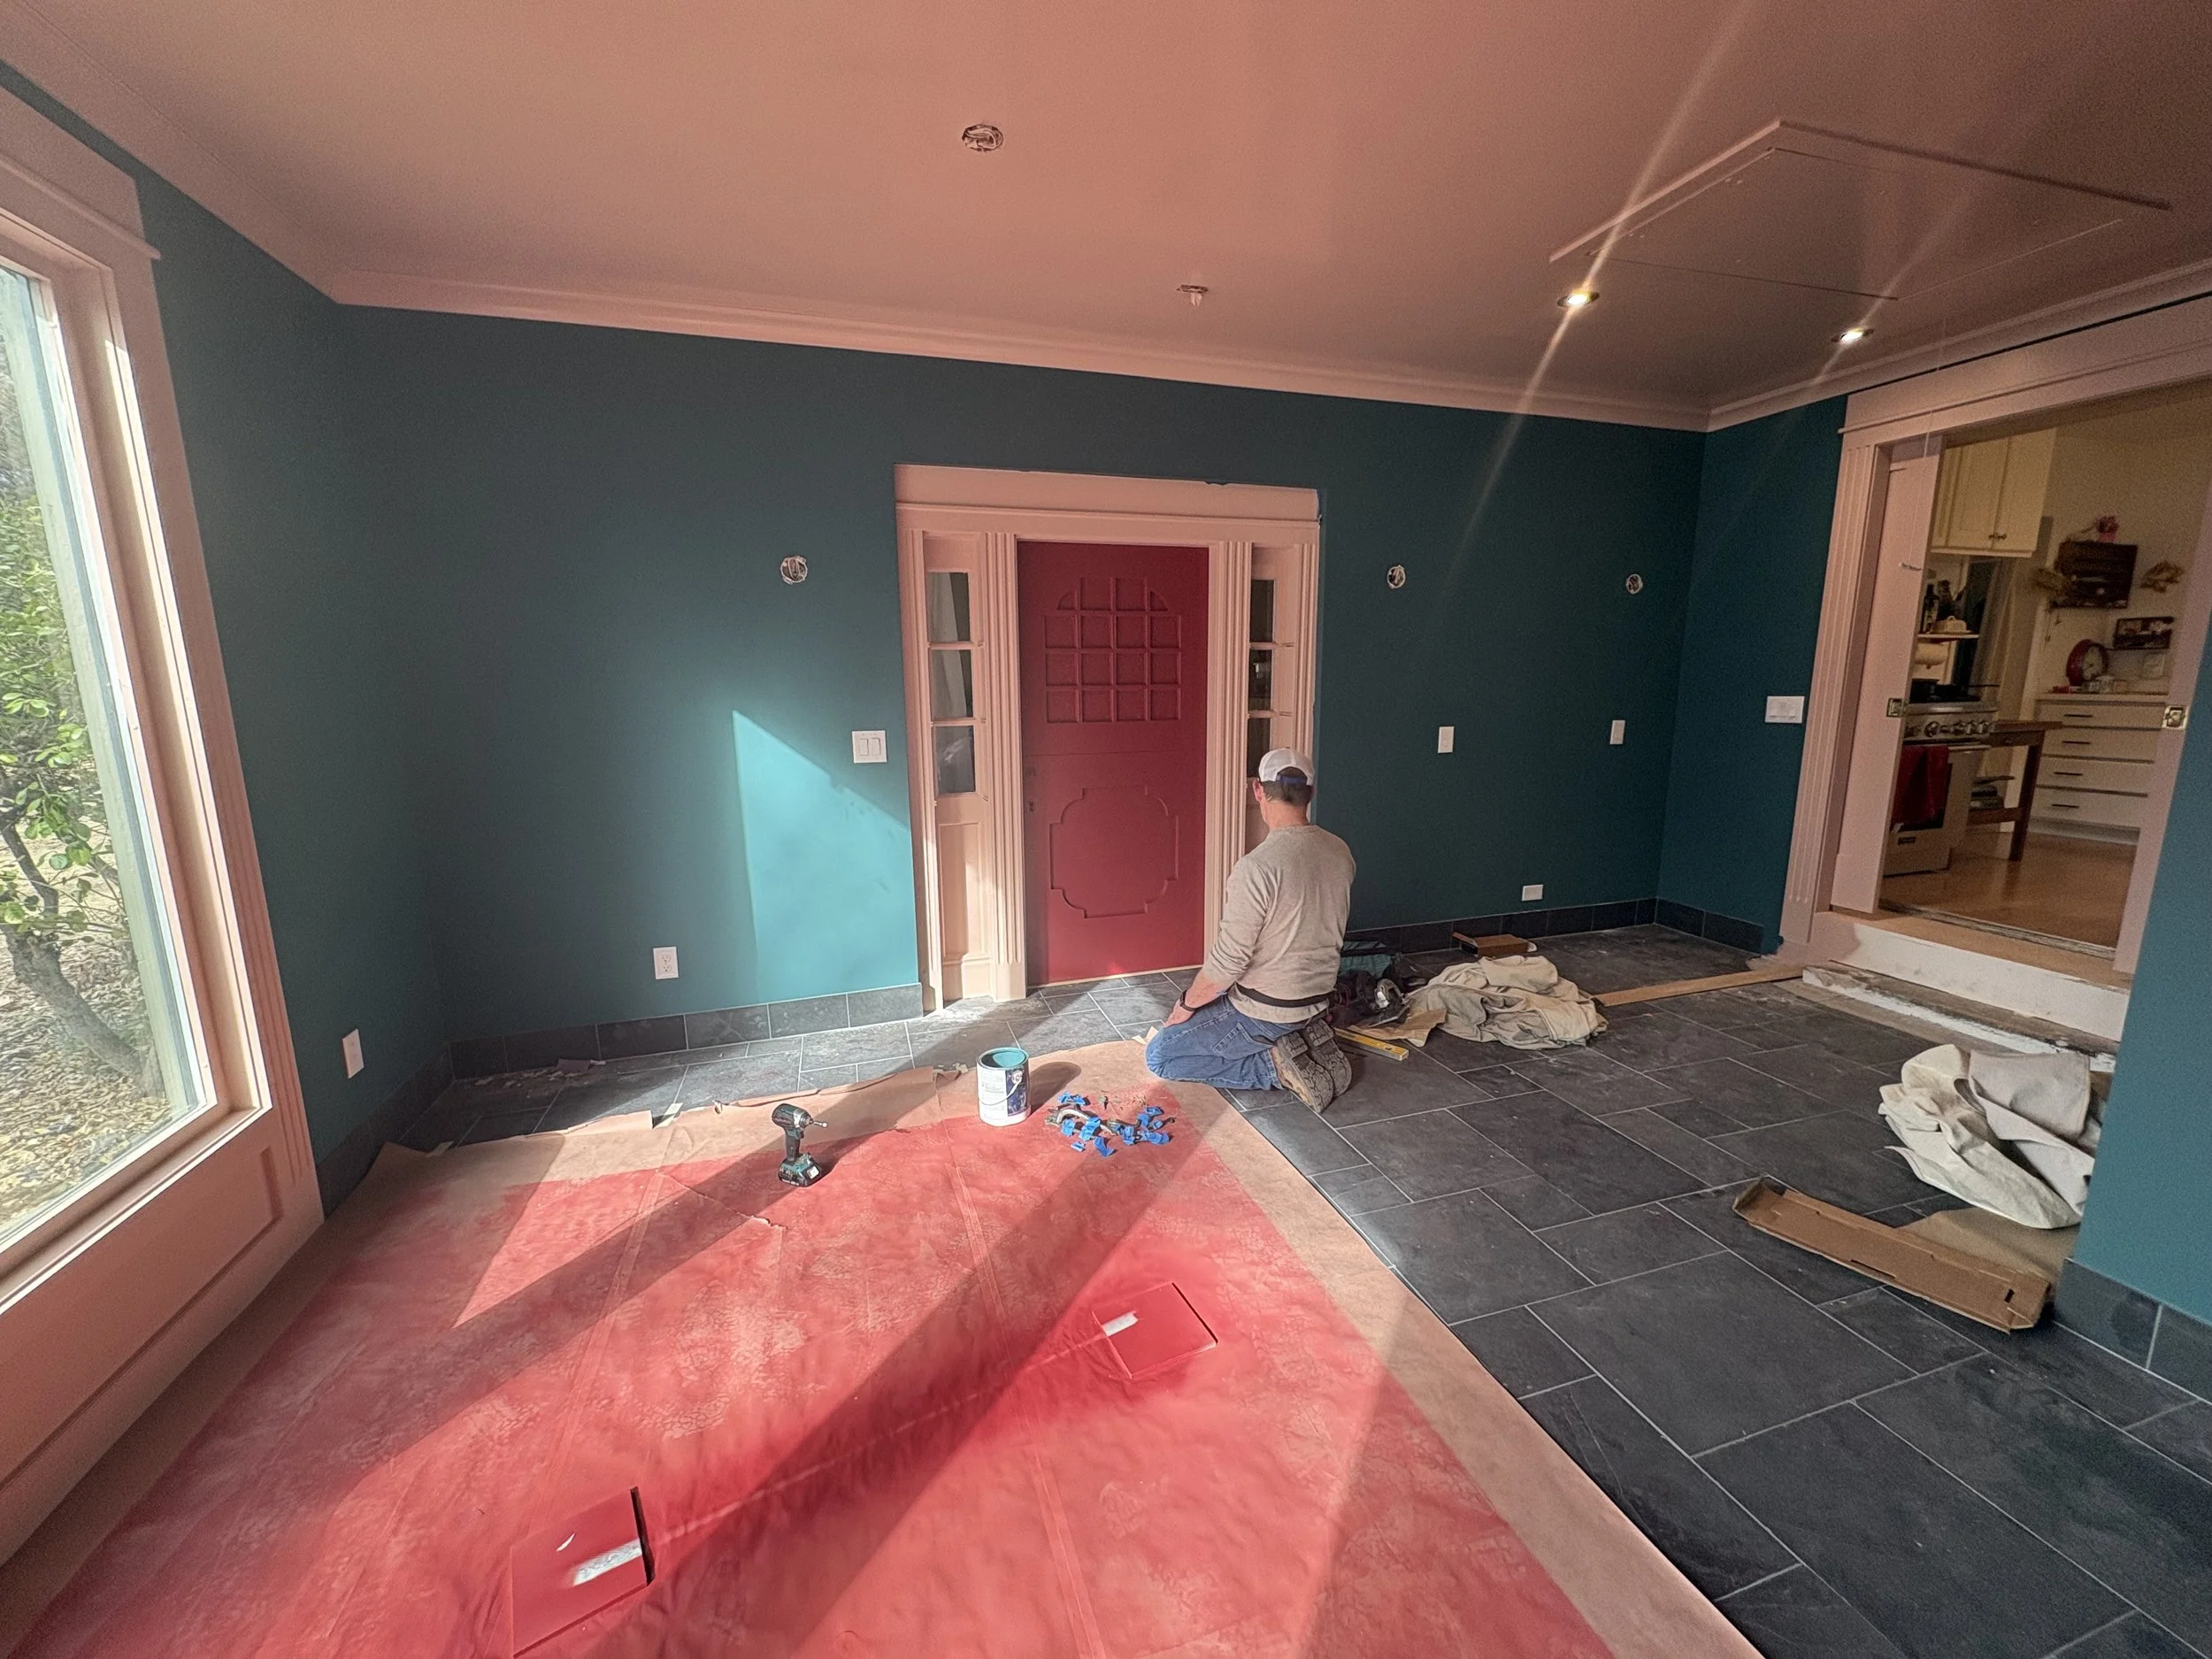
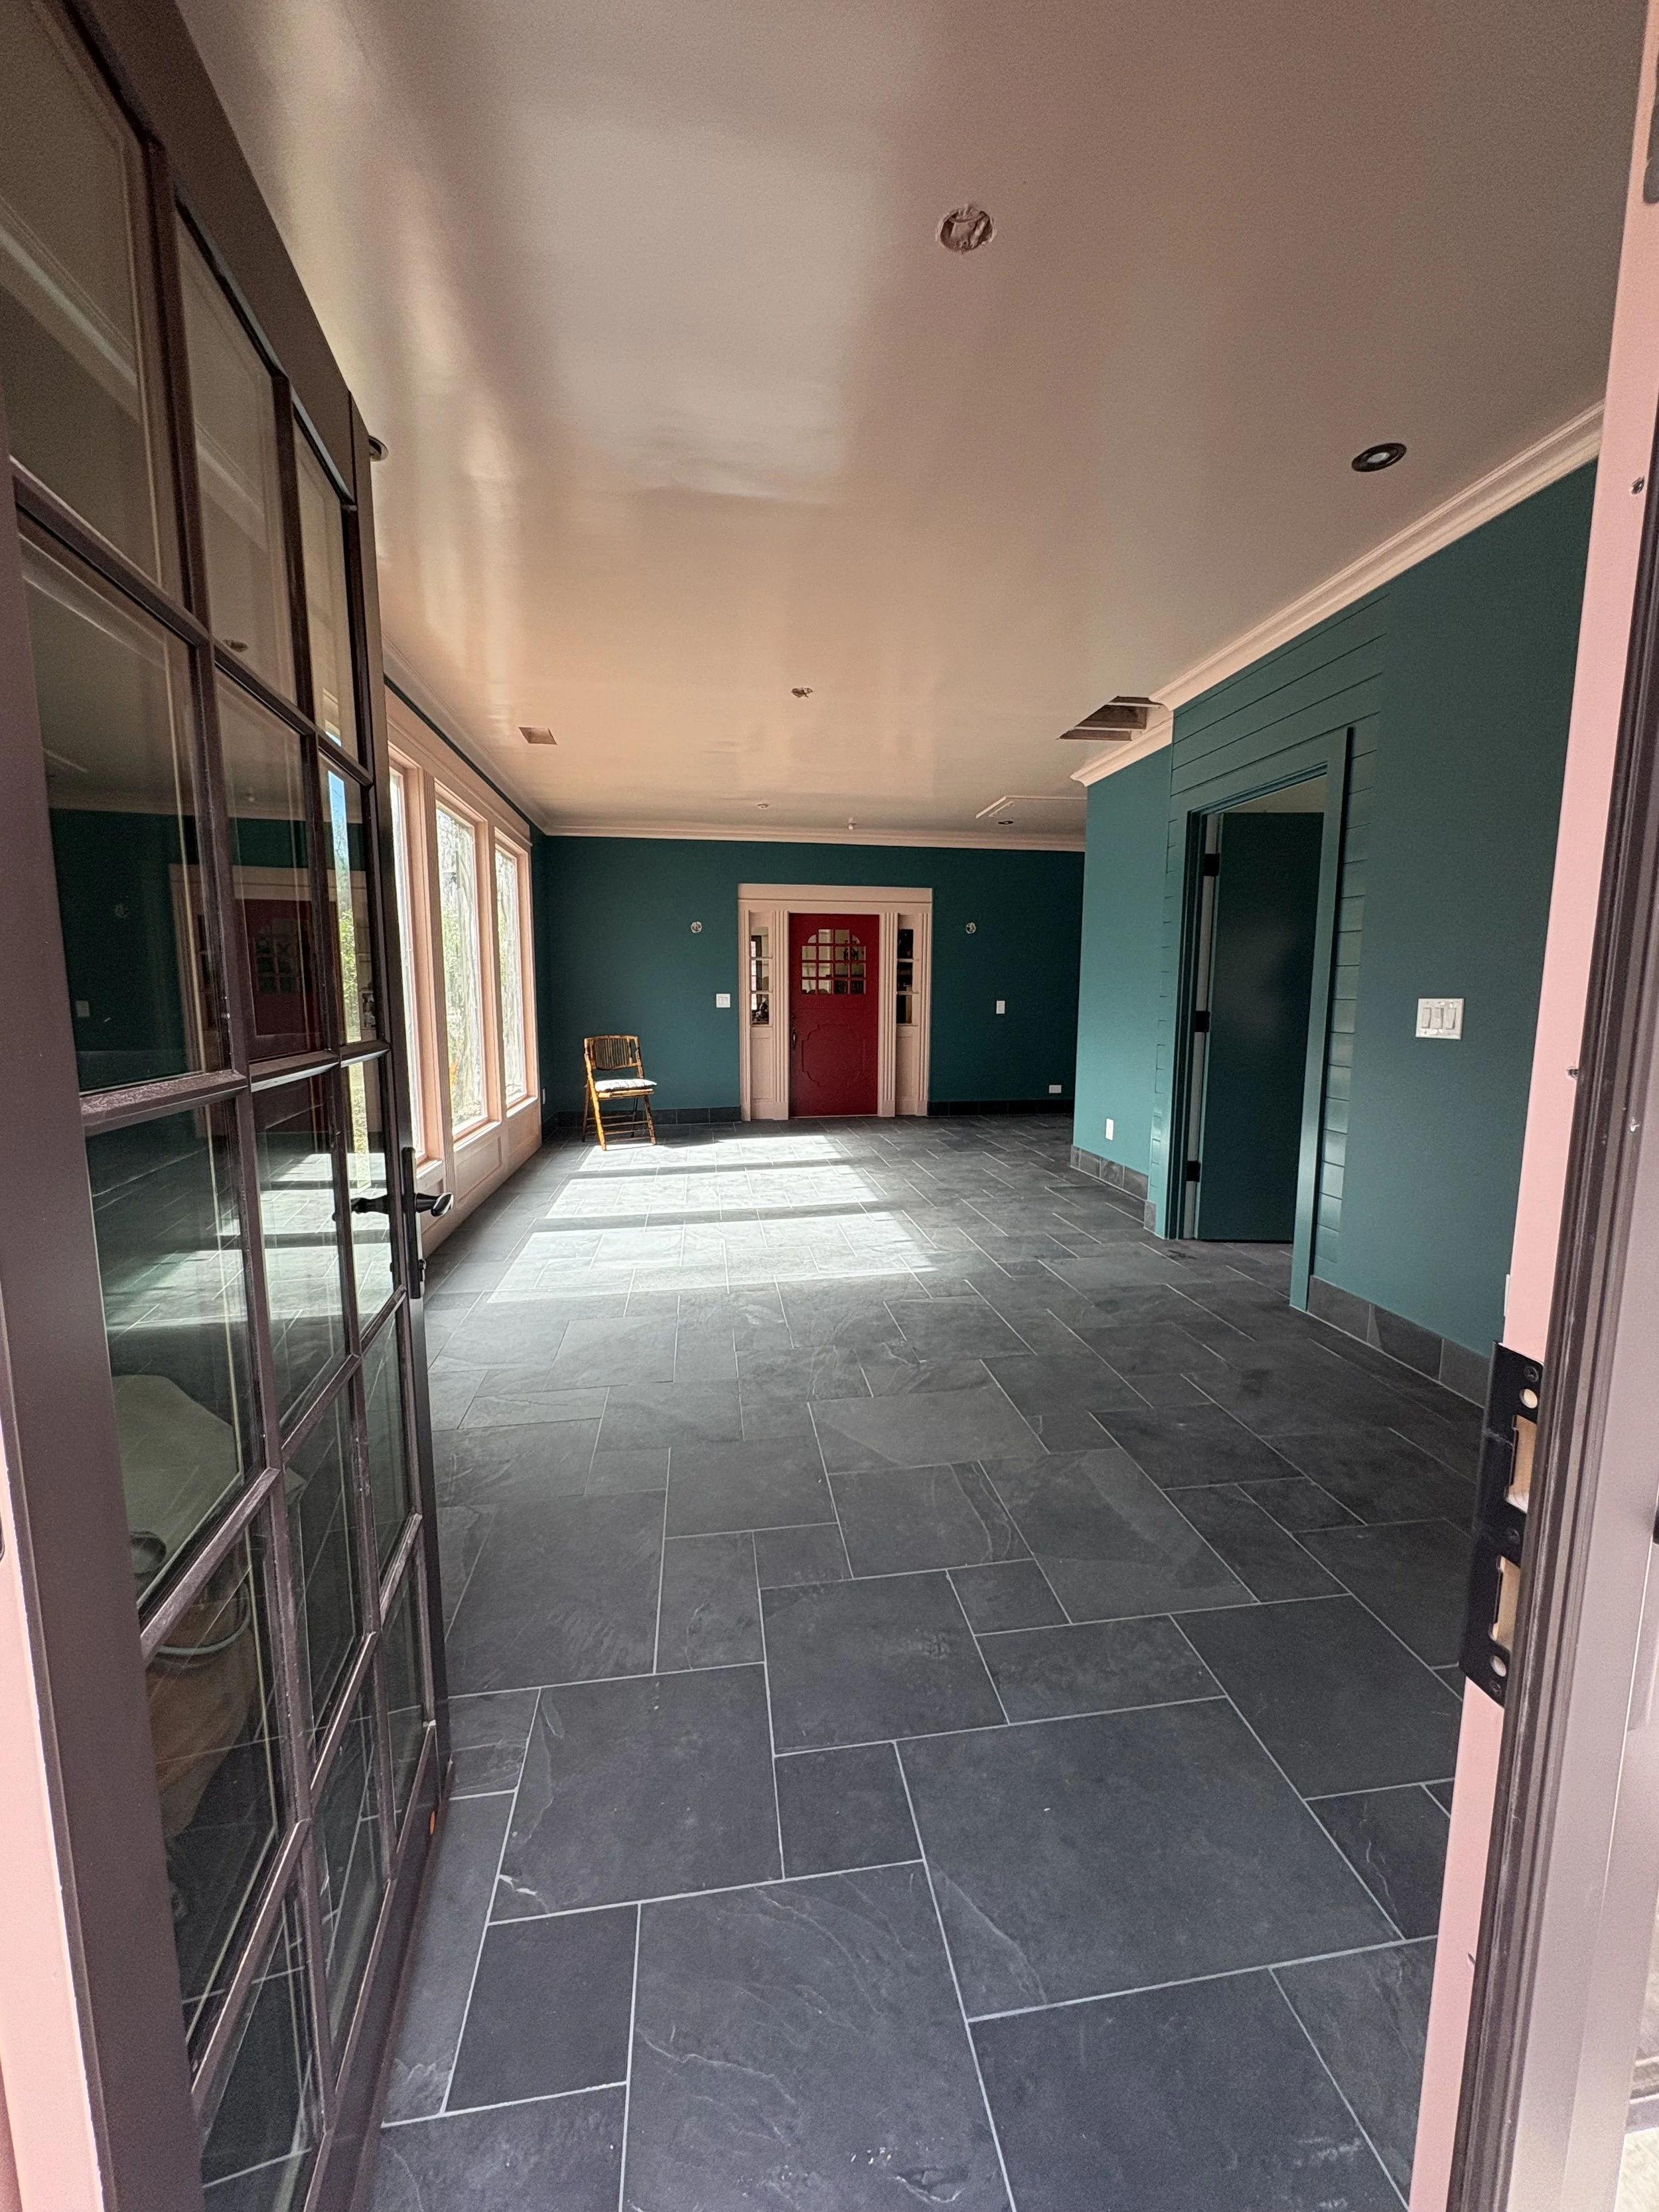
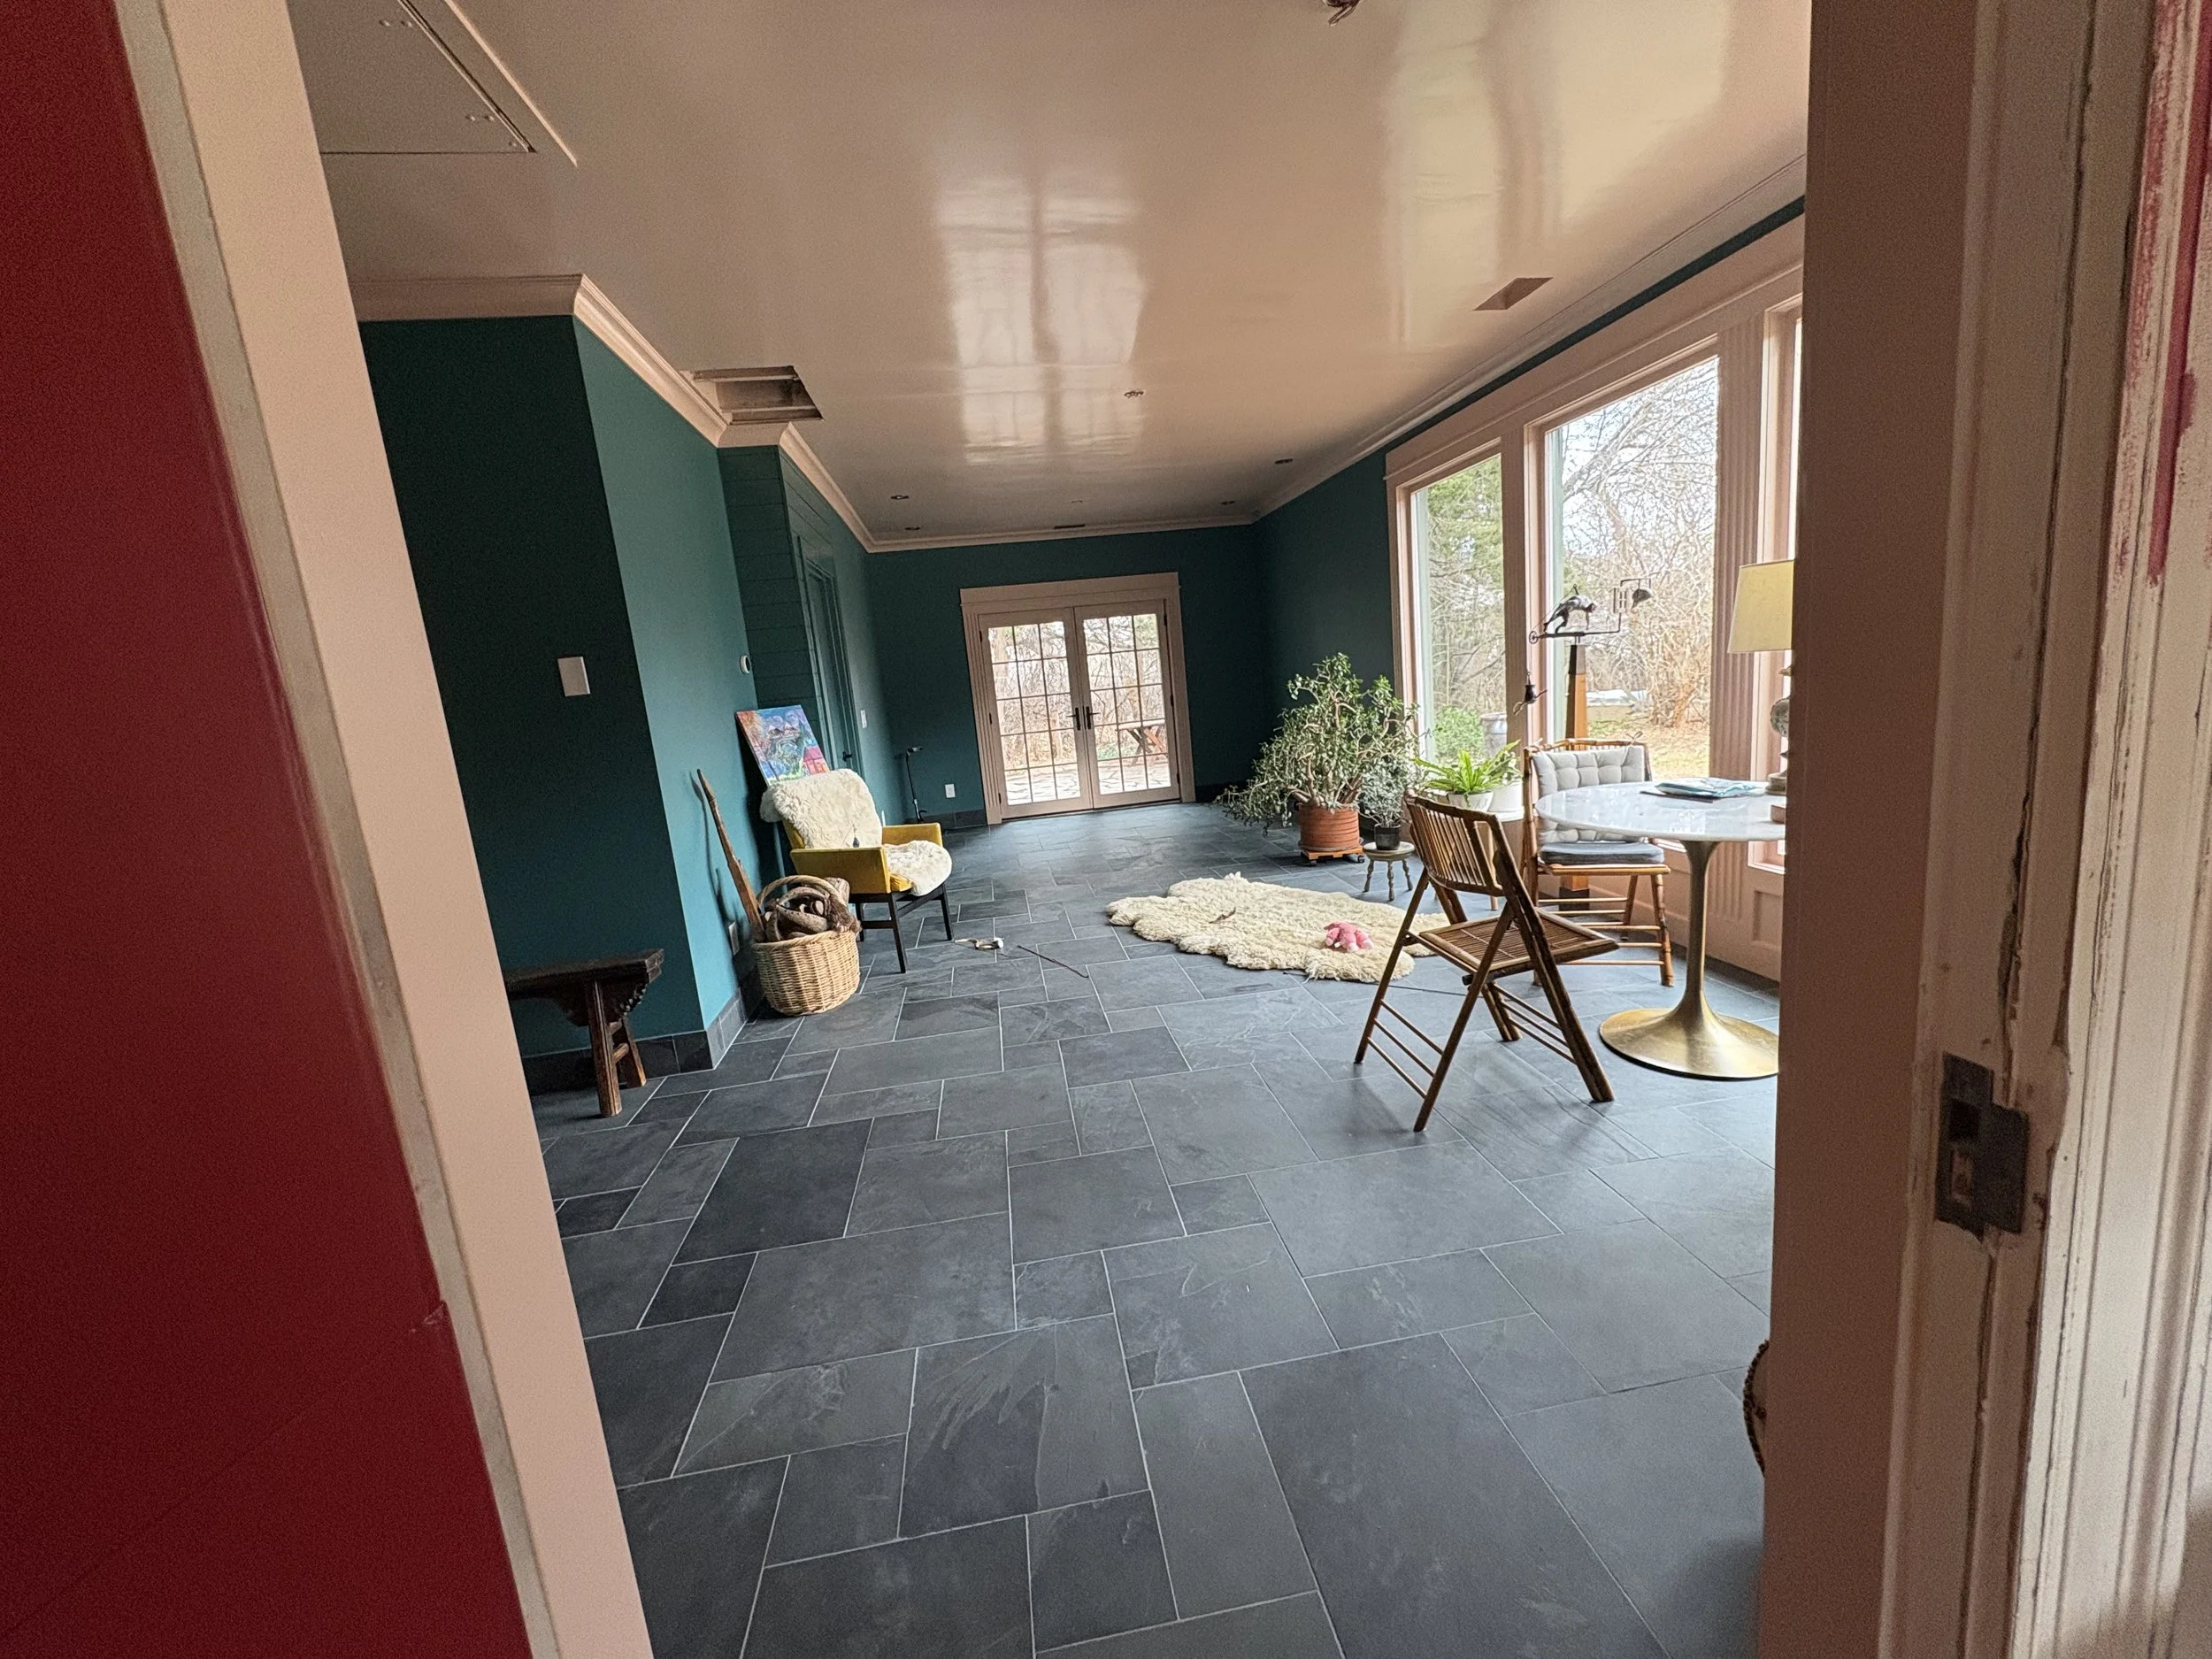
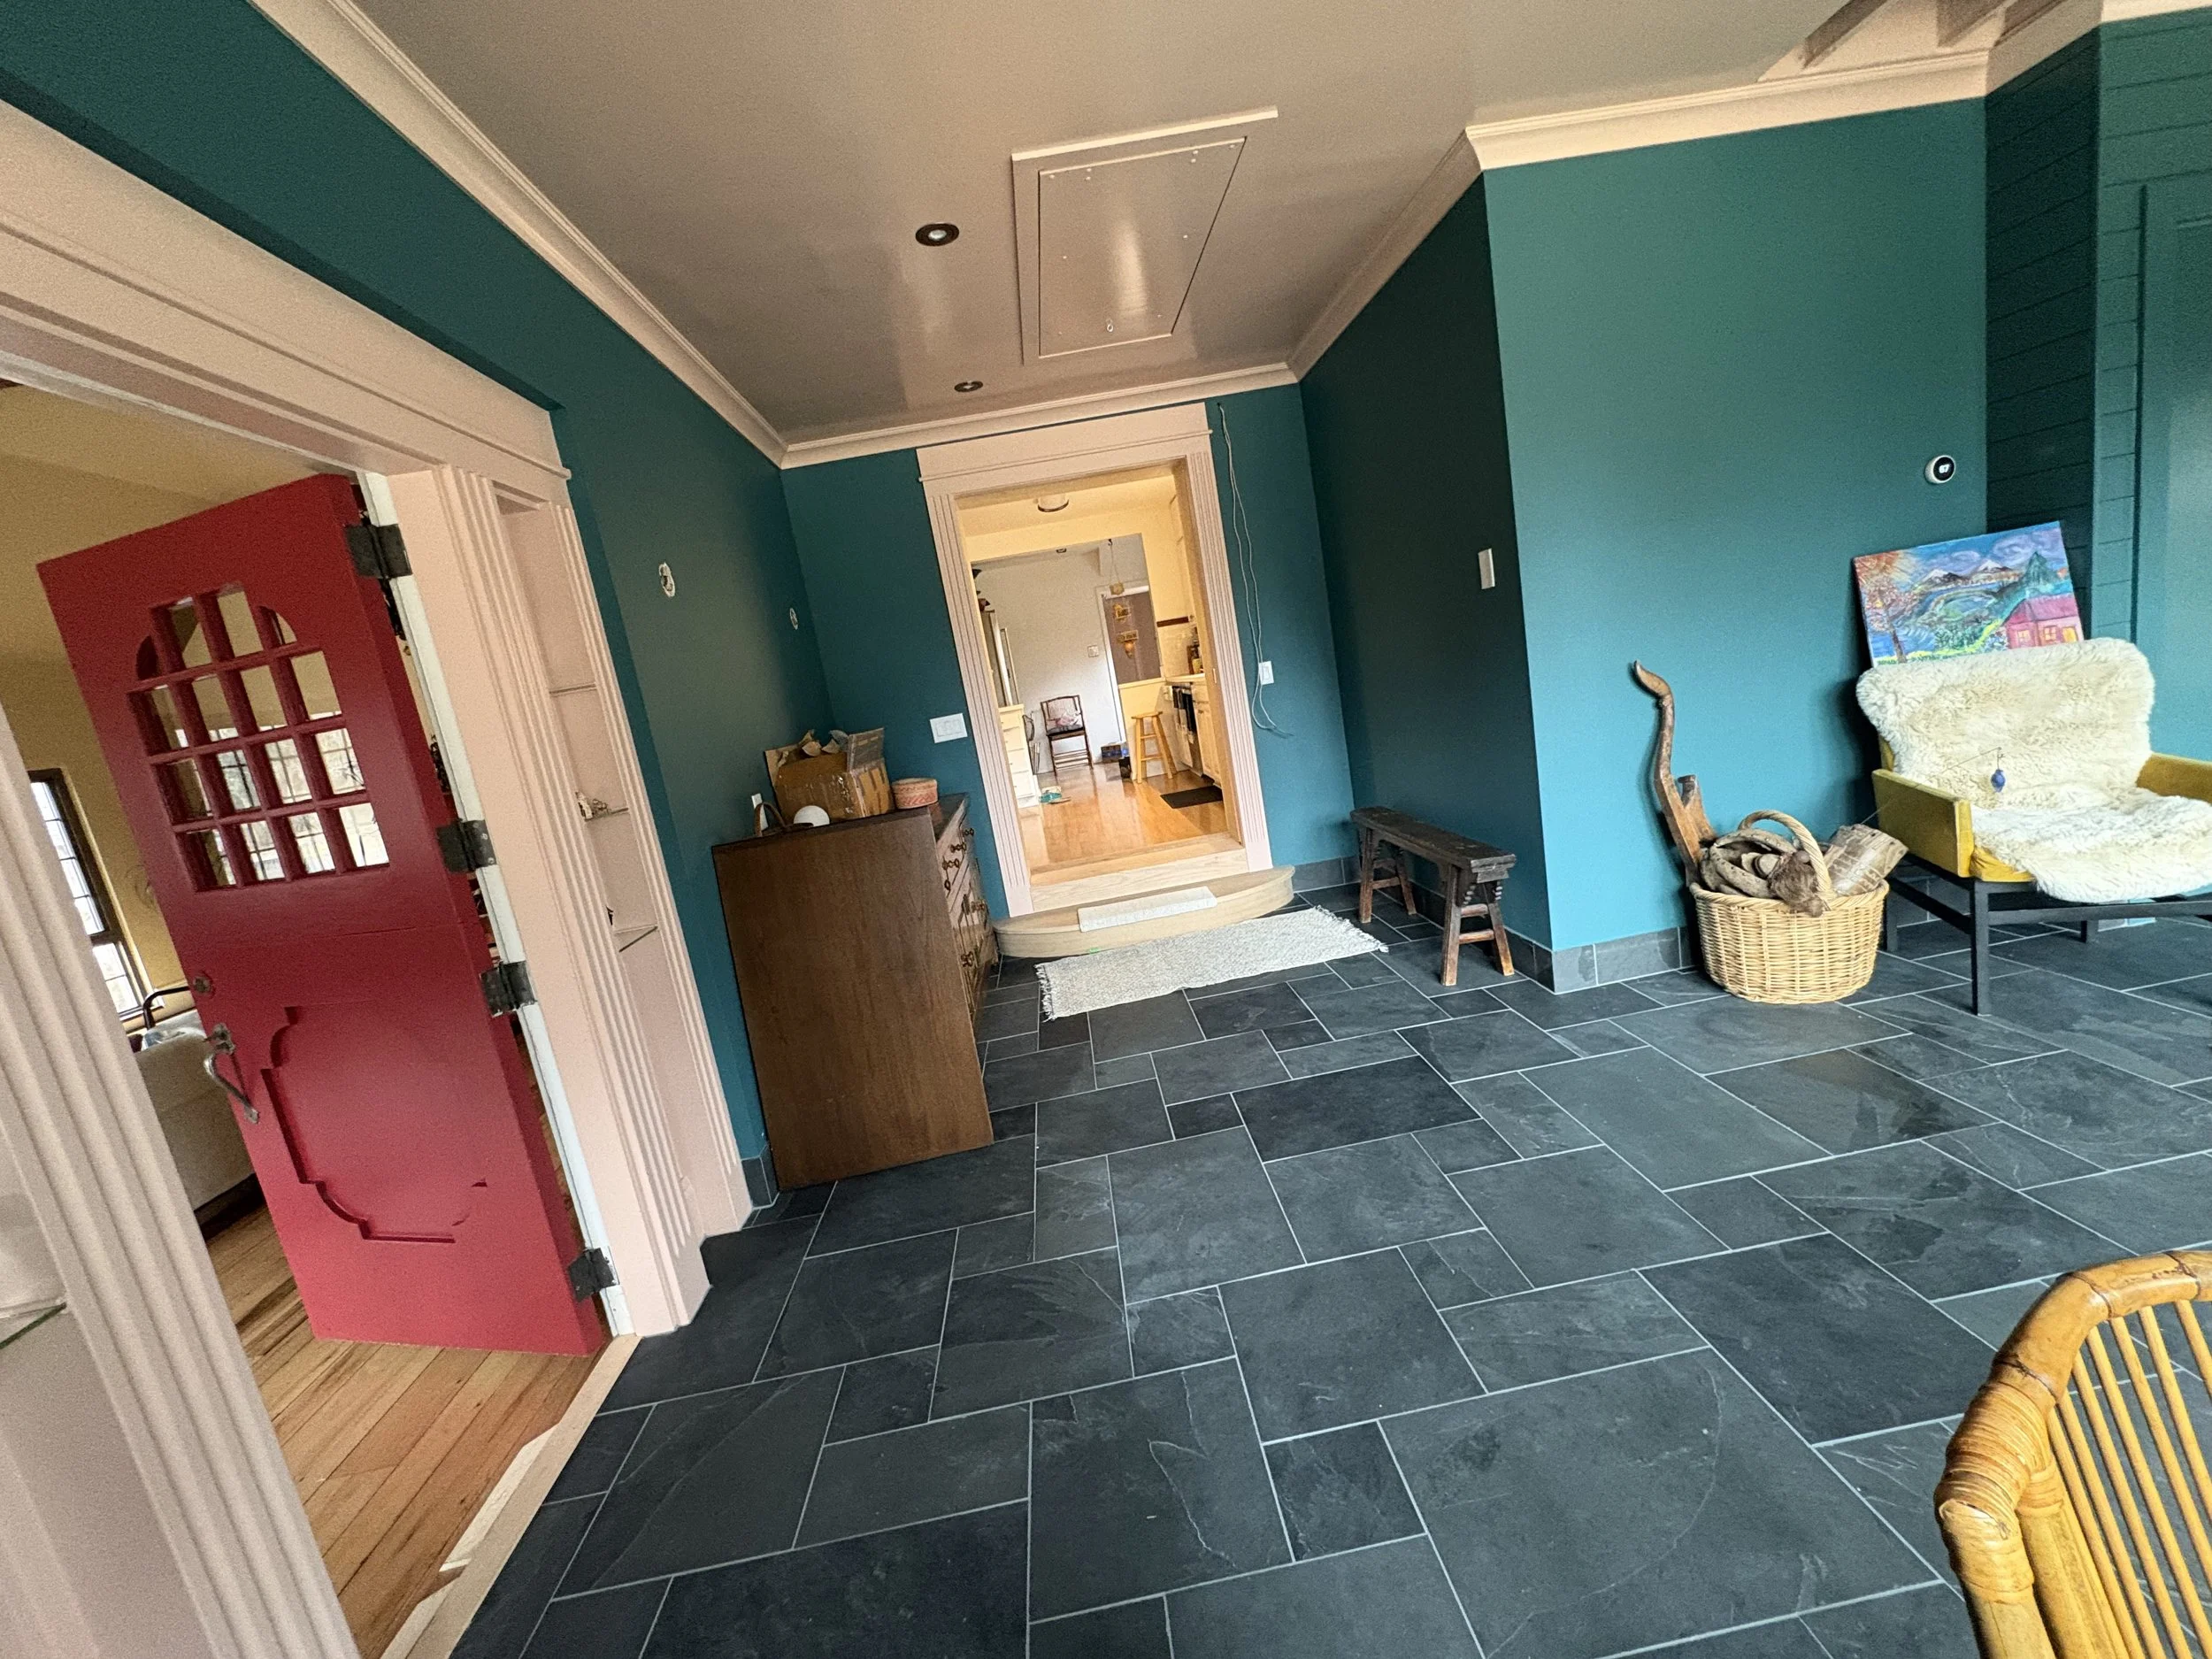
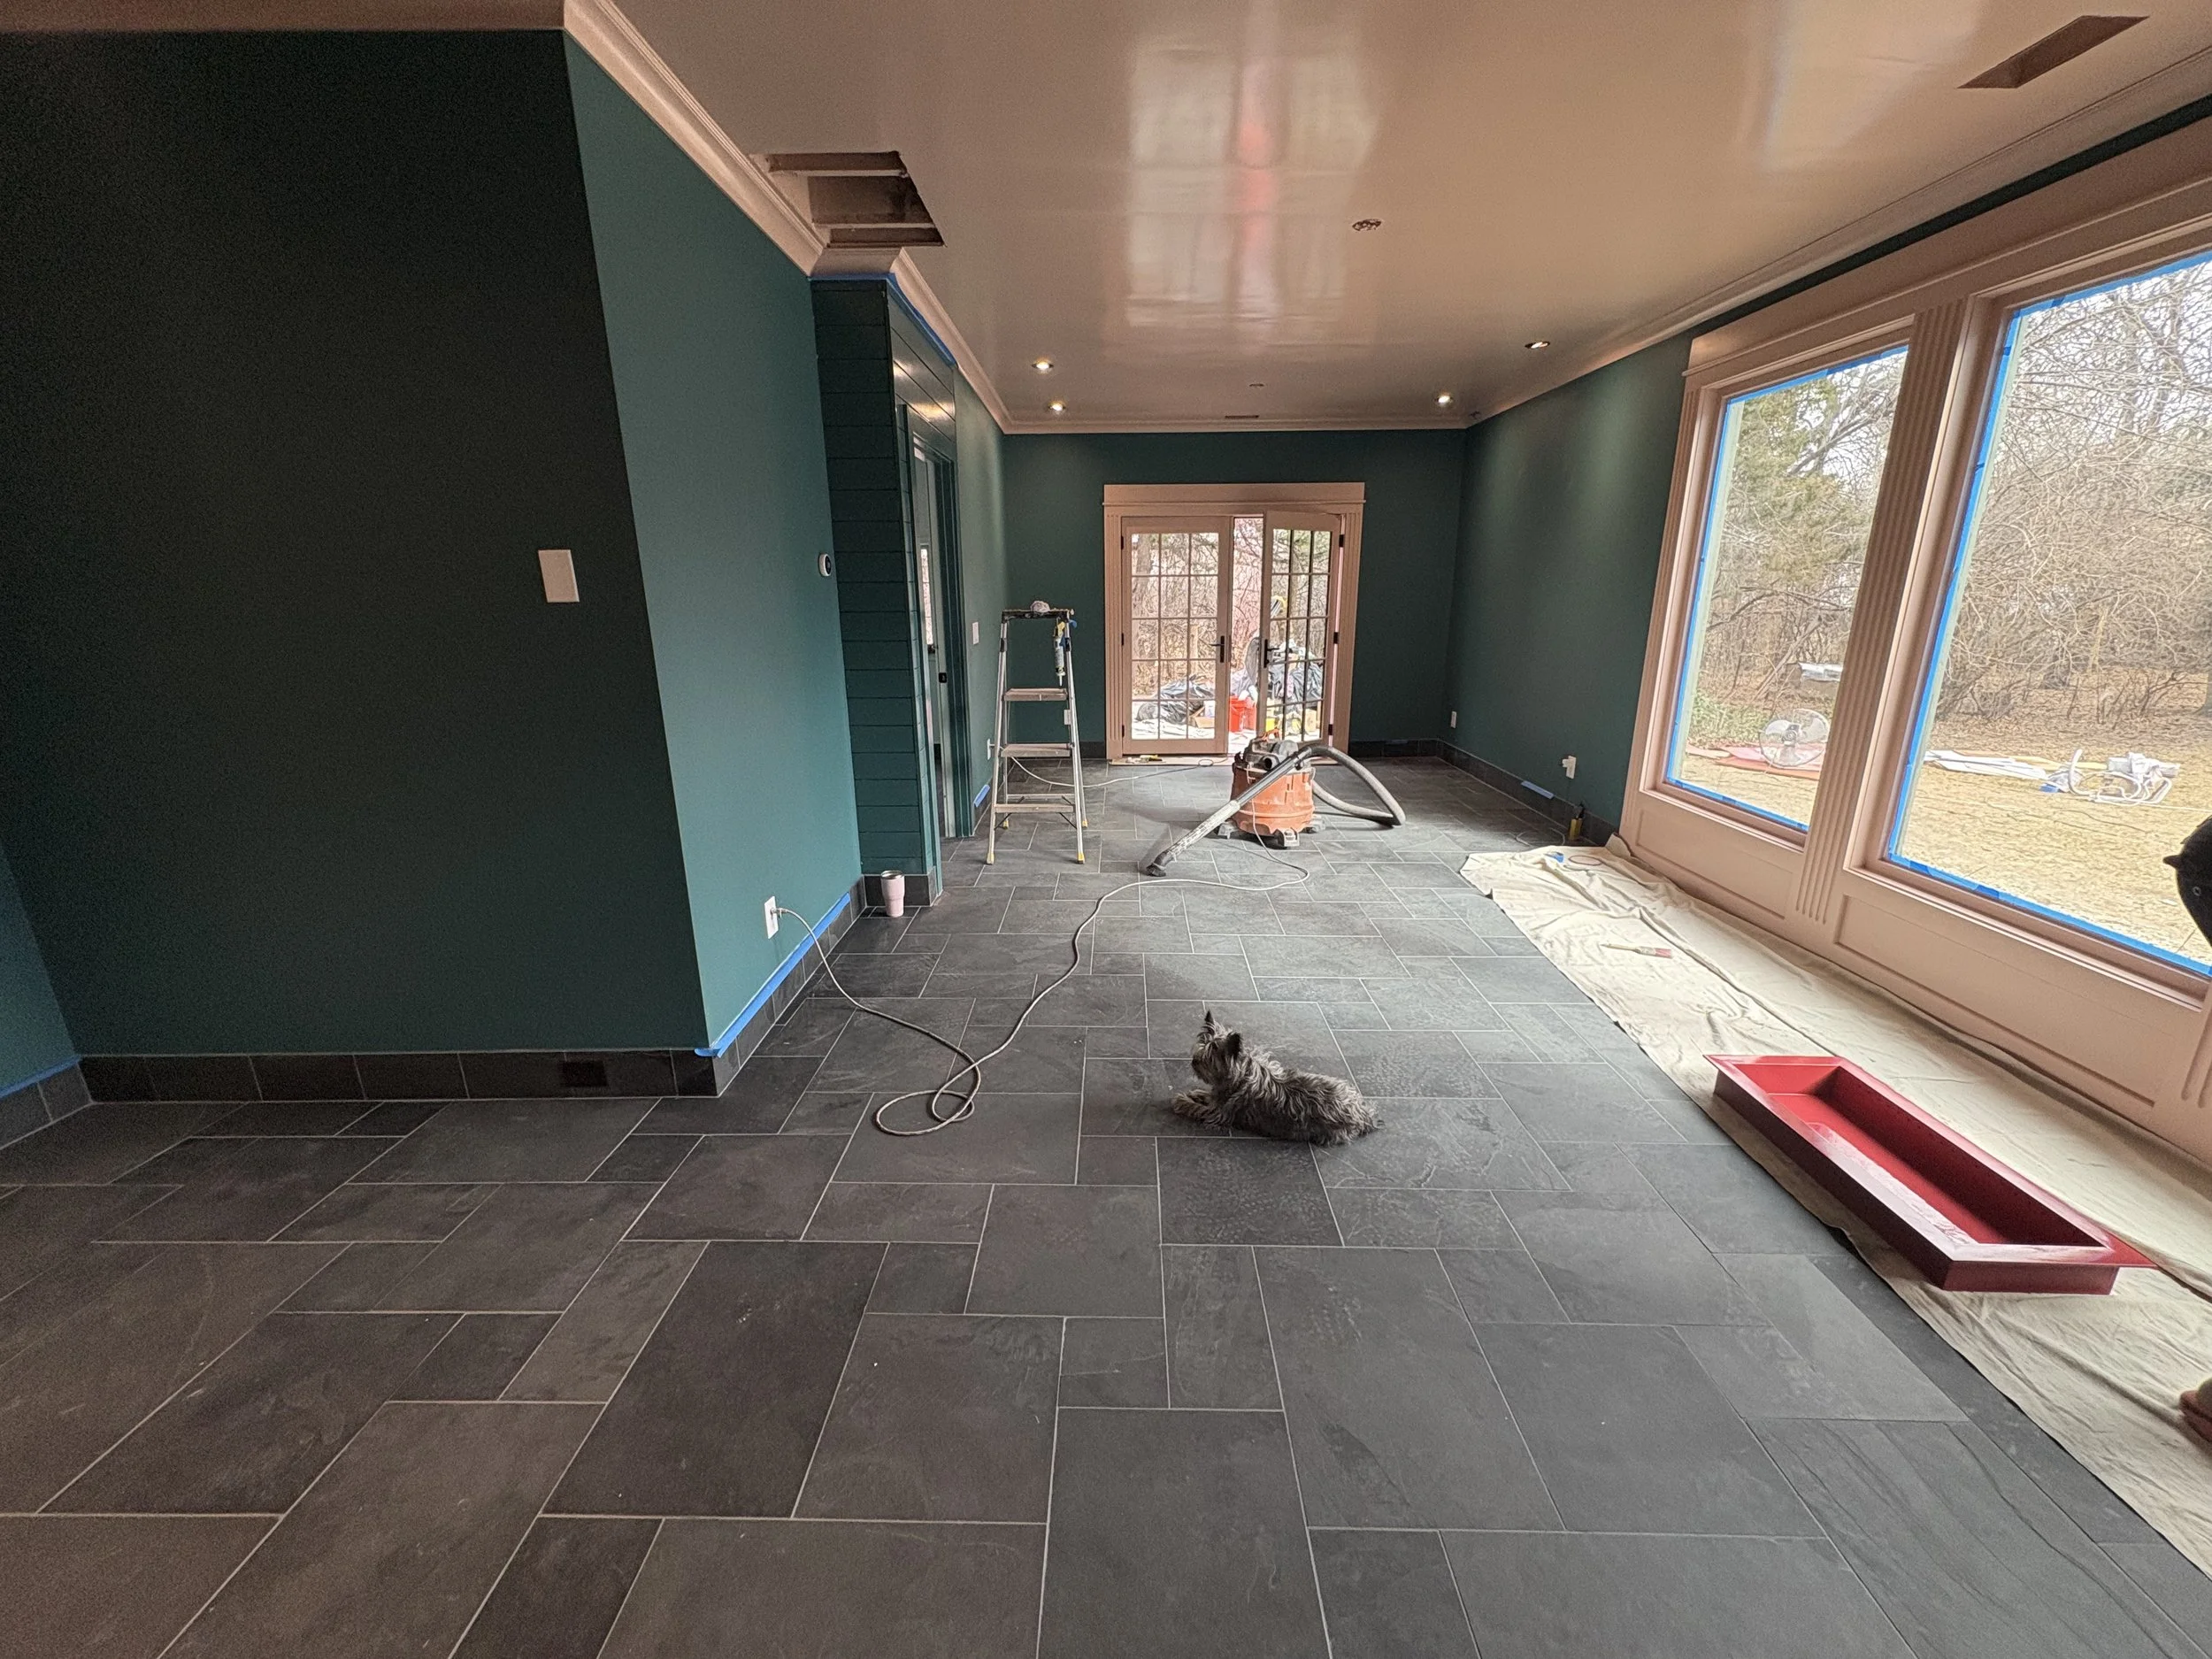
Some structural adjustments were made, once we got demo underway and could see what was happening under-the-hood: better HVAC ducting in the attic, and repositioning the vents to allow for crown moulding to be added. Electrical needed to be deleted, updated, and increased. Pantry deleted and plumbing/plumbing-chase were made more civilized, and gained us a little square footage. Attic stair unit was replaced b/c it was old and could stand to be more robust. We opened up the space in two key ways: cutting a much wider opening for an exterior French door on the East wall (previously no windows and only a small man-door), and widening the passage between the sunroom and kitchen by cutting through what used to be a thick, brick exterior wall. Hopes of finding a good, used French door were futile, so a new/quality one had to be ordered with enough lead time, about 8 weeks. Our project start date depended on when those doors would arrive, and also, tile. Which can be easy — or careful.
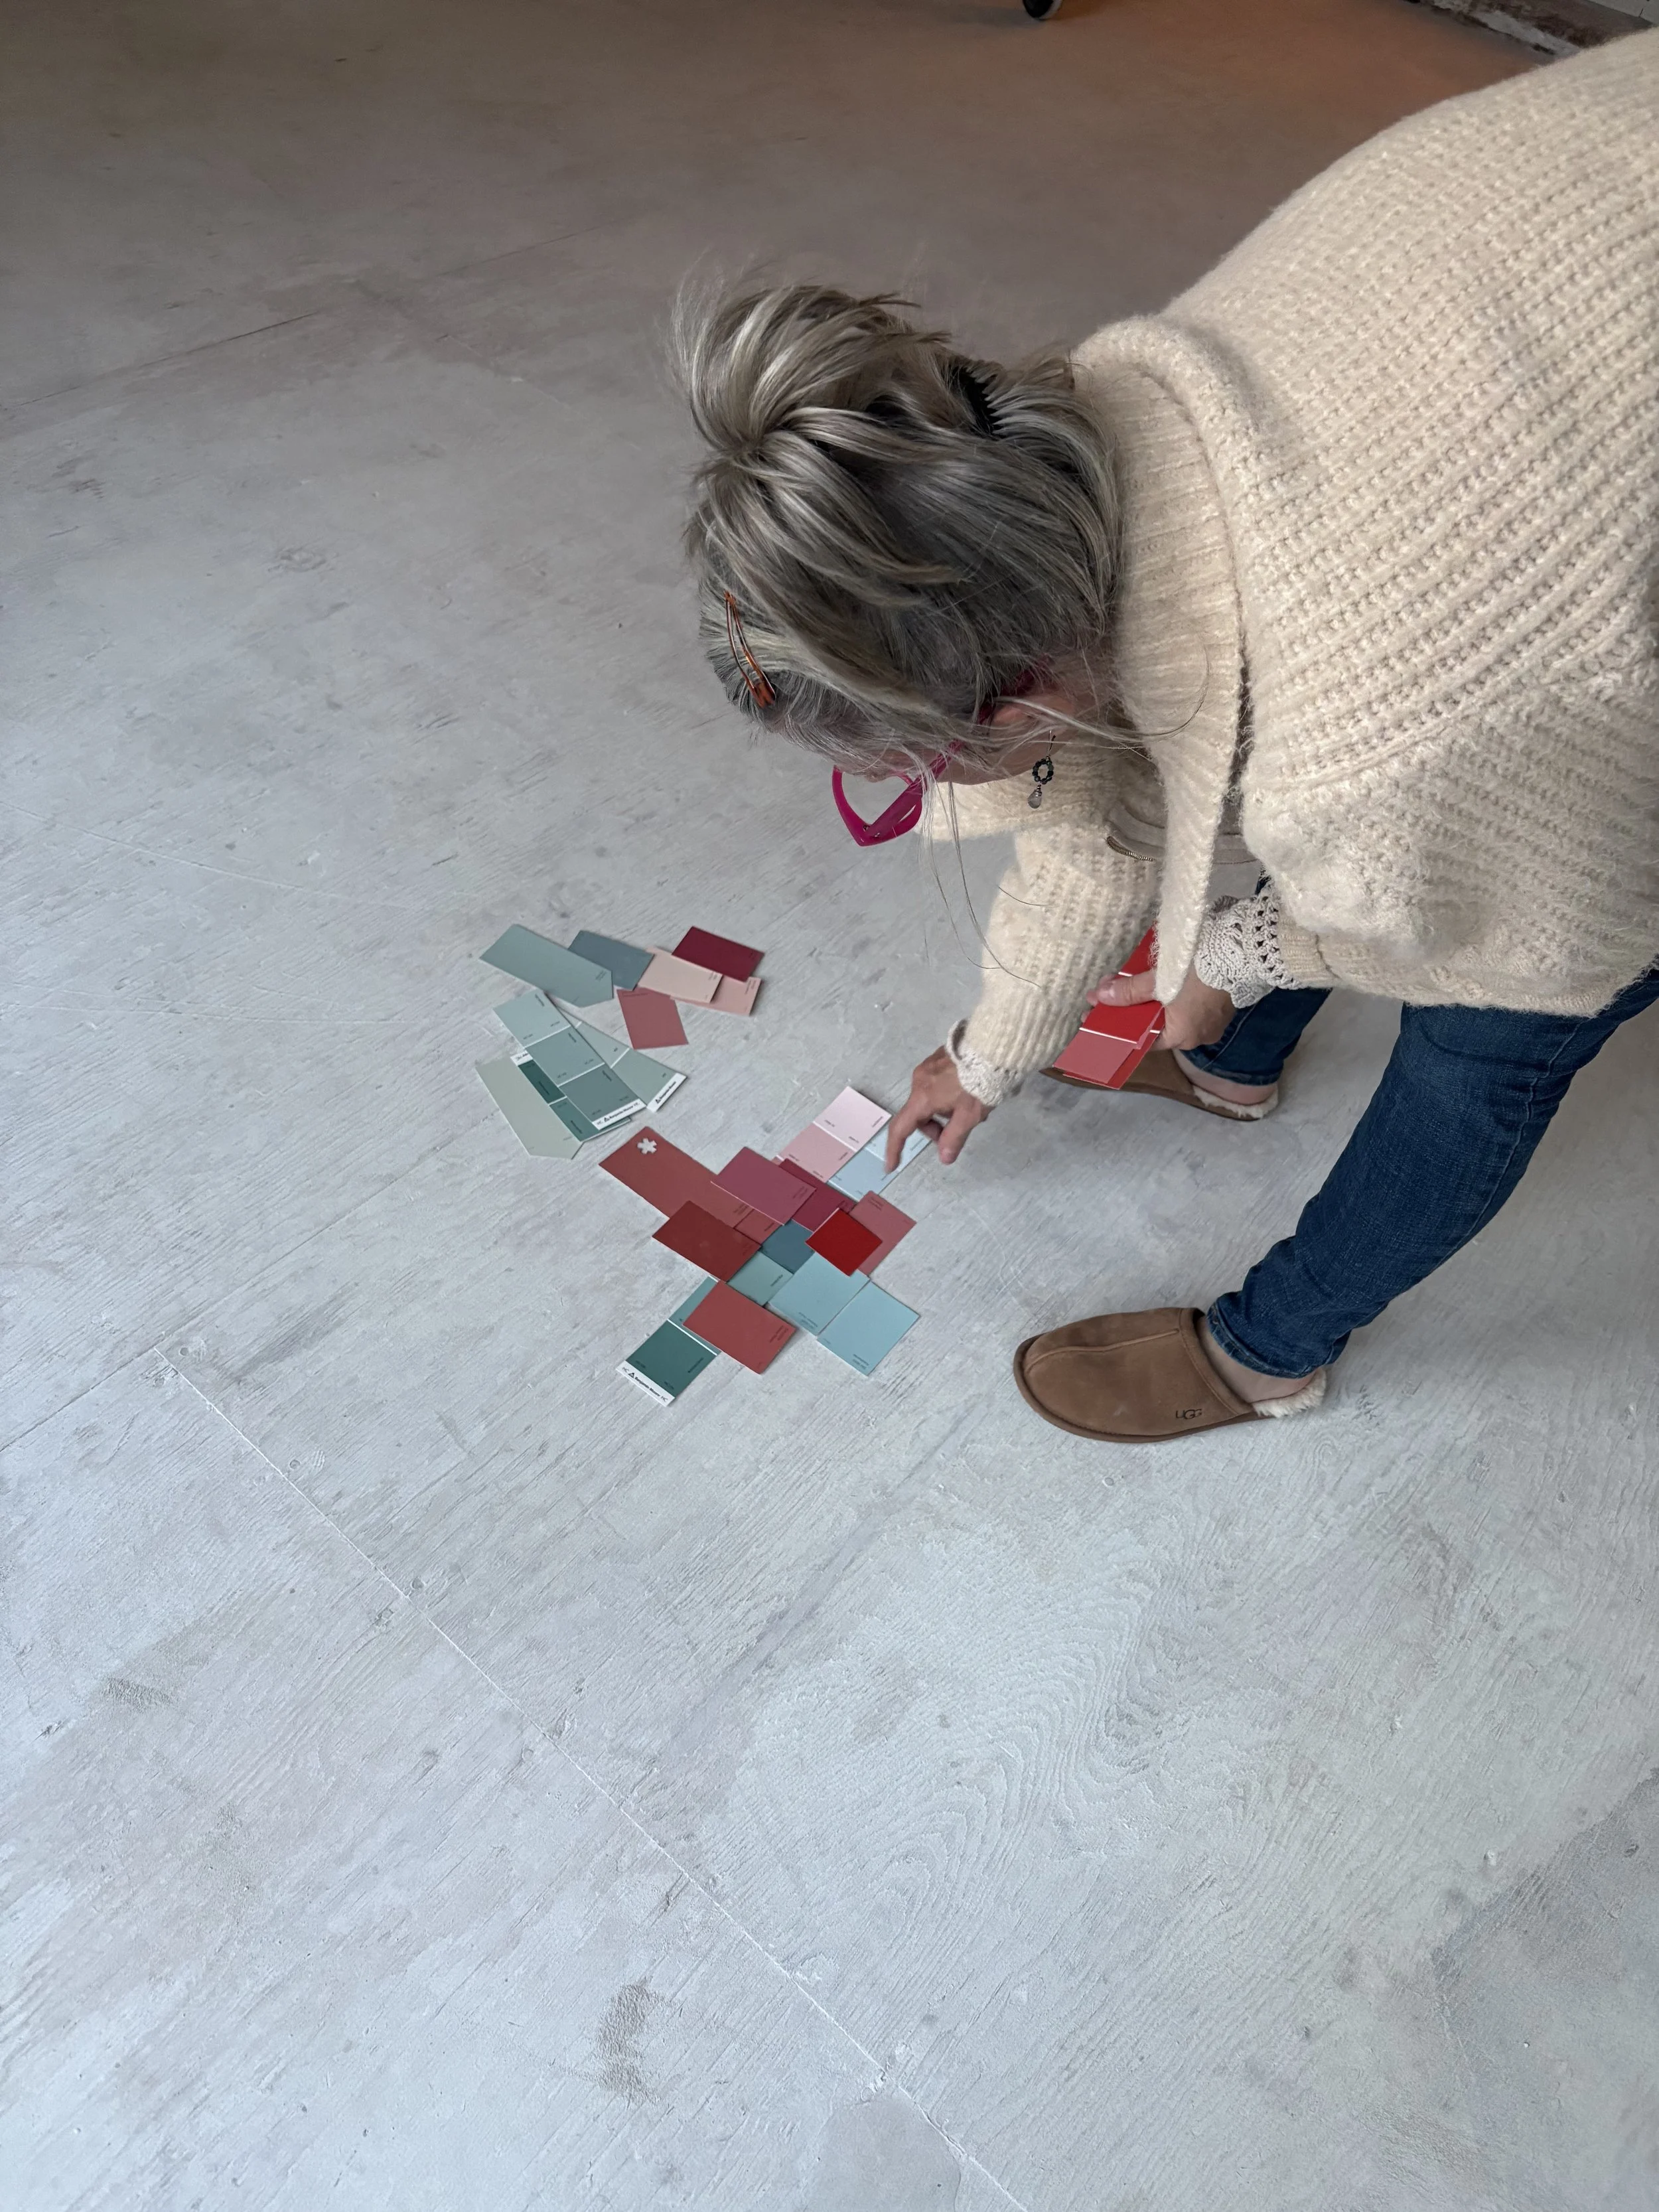
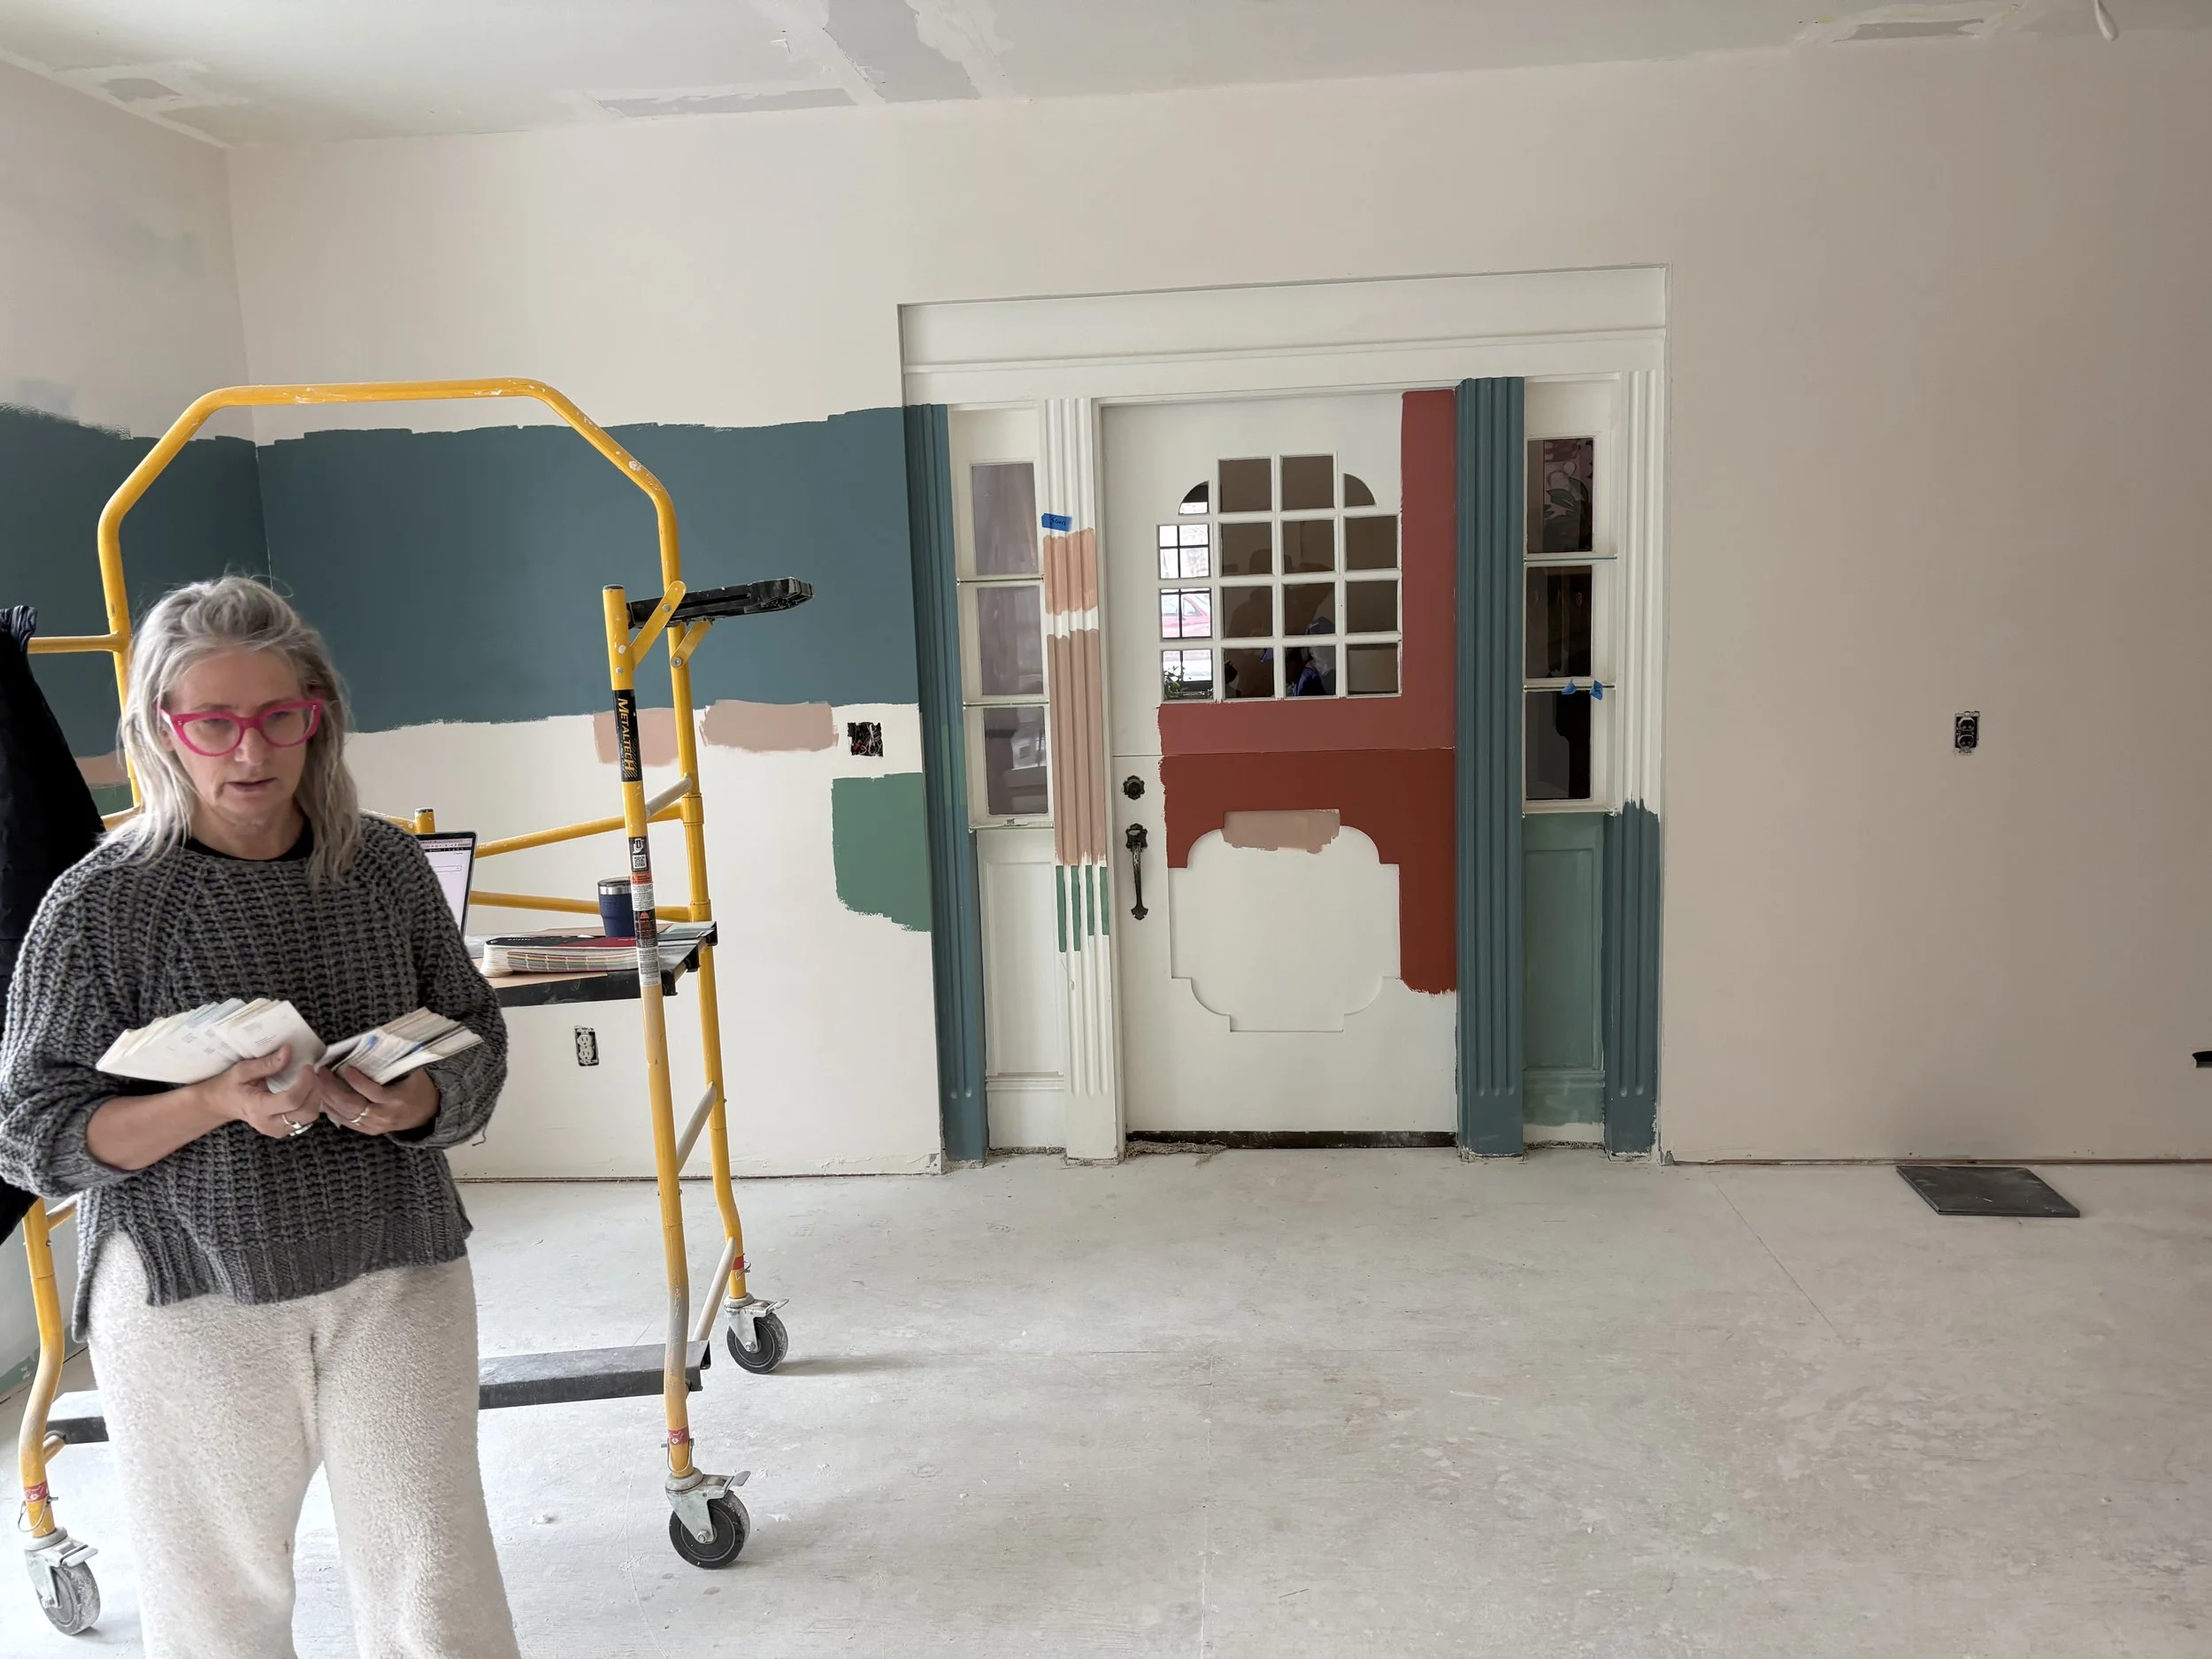
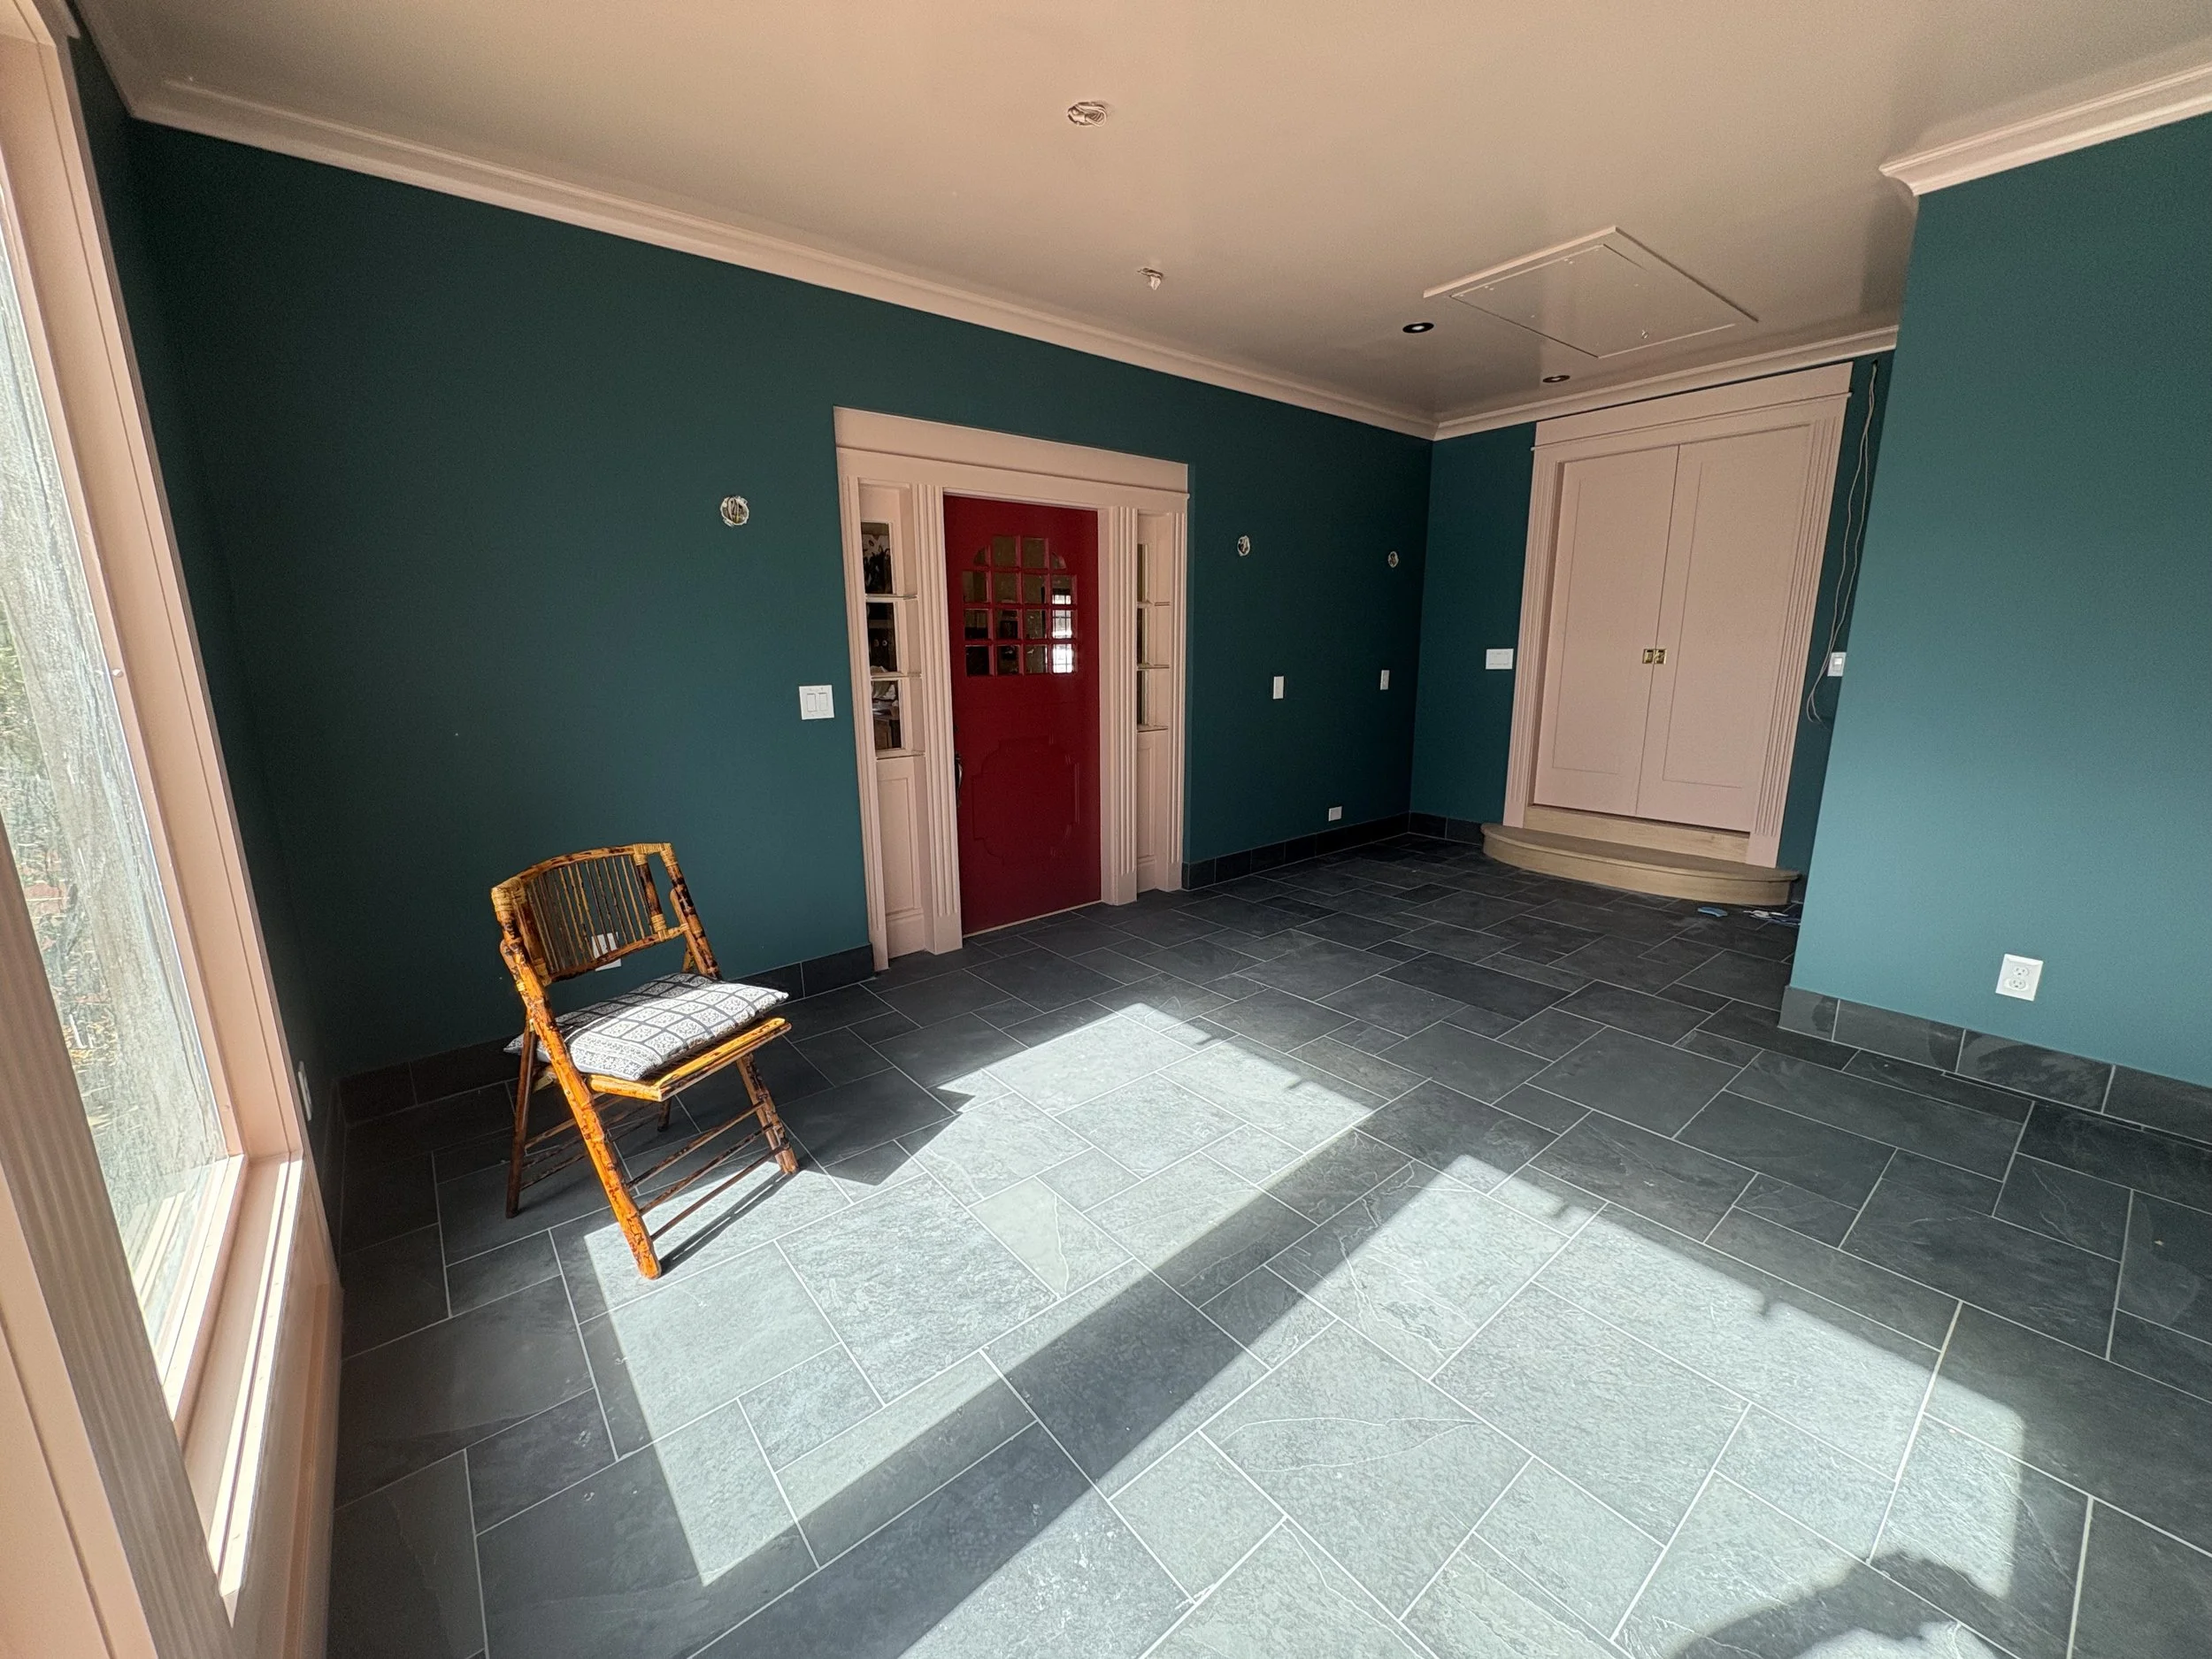
One can find “good enough” (even great!) tile at a place like Floor n Decor, surely… but artesian tile, especially in real earth materials, takes time to commit to, especially if there’s no local showroom and must resort to ordering (and paying) for samples. If you are committed to a special material, give yourself at least 3 months of dedicated searching and ordering samples on a regular basis. Give yourself a few hundred dollar budget to sort out the tile, paint, countertops etc. The tile in this home was researched & workshopped extensively, and everything we’ve installed so far, is amazing! On this project we used a natural slate in the Ashler pattern. Natural stone MUST be sealed, so make sure your tile installer knows how to work with it! Because the floor was sloped (and not worth the calculus to correct), our installer had to be very mindful of lippage (where the tile is meeting another tile; if there’s a difference in the plane, you’ll stub your toe). He back-buttered a little thicker is some places to make it work. A true artisan tile setter will know how to work with imperfect spaces for the highest possible results. There was only one location where the lippage was unavoidable, and he had to carefully grind down the high tile to align with the rest. The visual impact is not much different than the usual scuff marks that happen on softer, natural stone like slate, travertine, or even marble. If you want PERFECT surfaces, and will be driven INSANE by new scratches in the finish appearing, don’t go with natural stone floors!
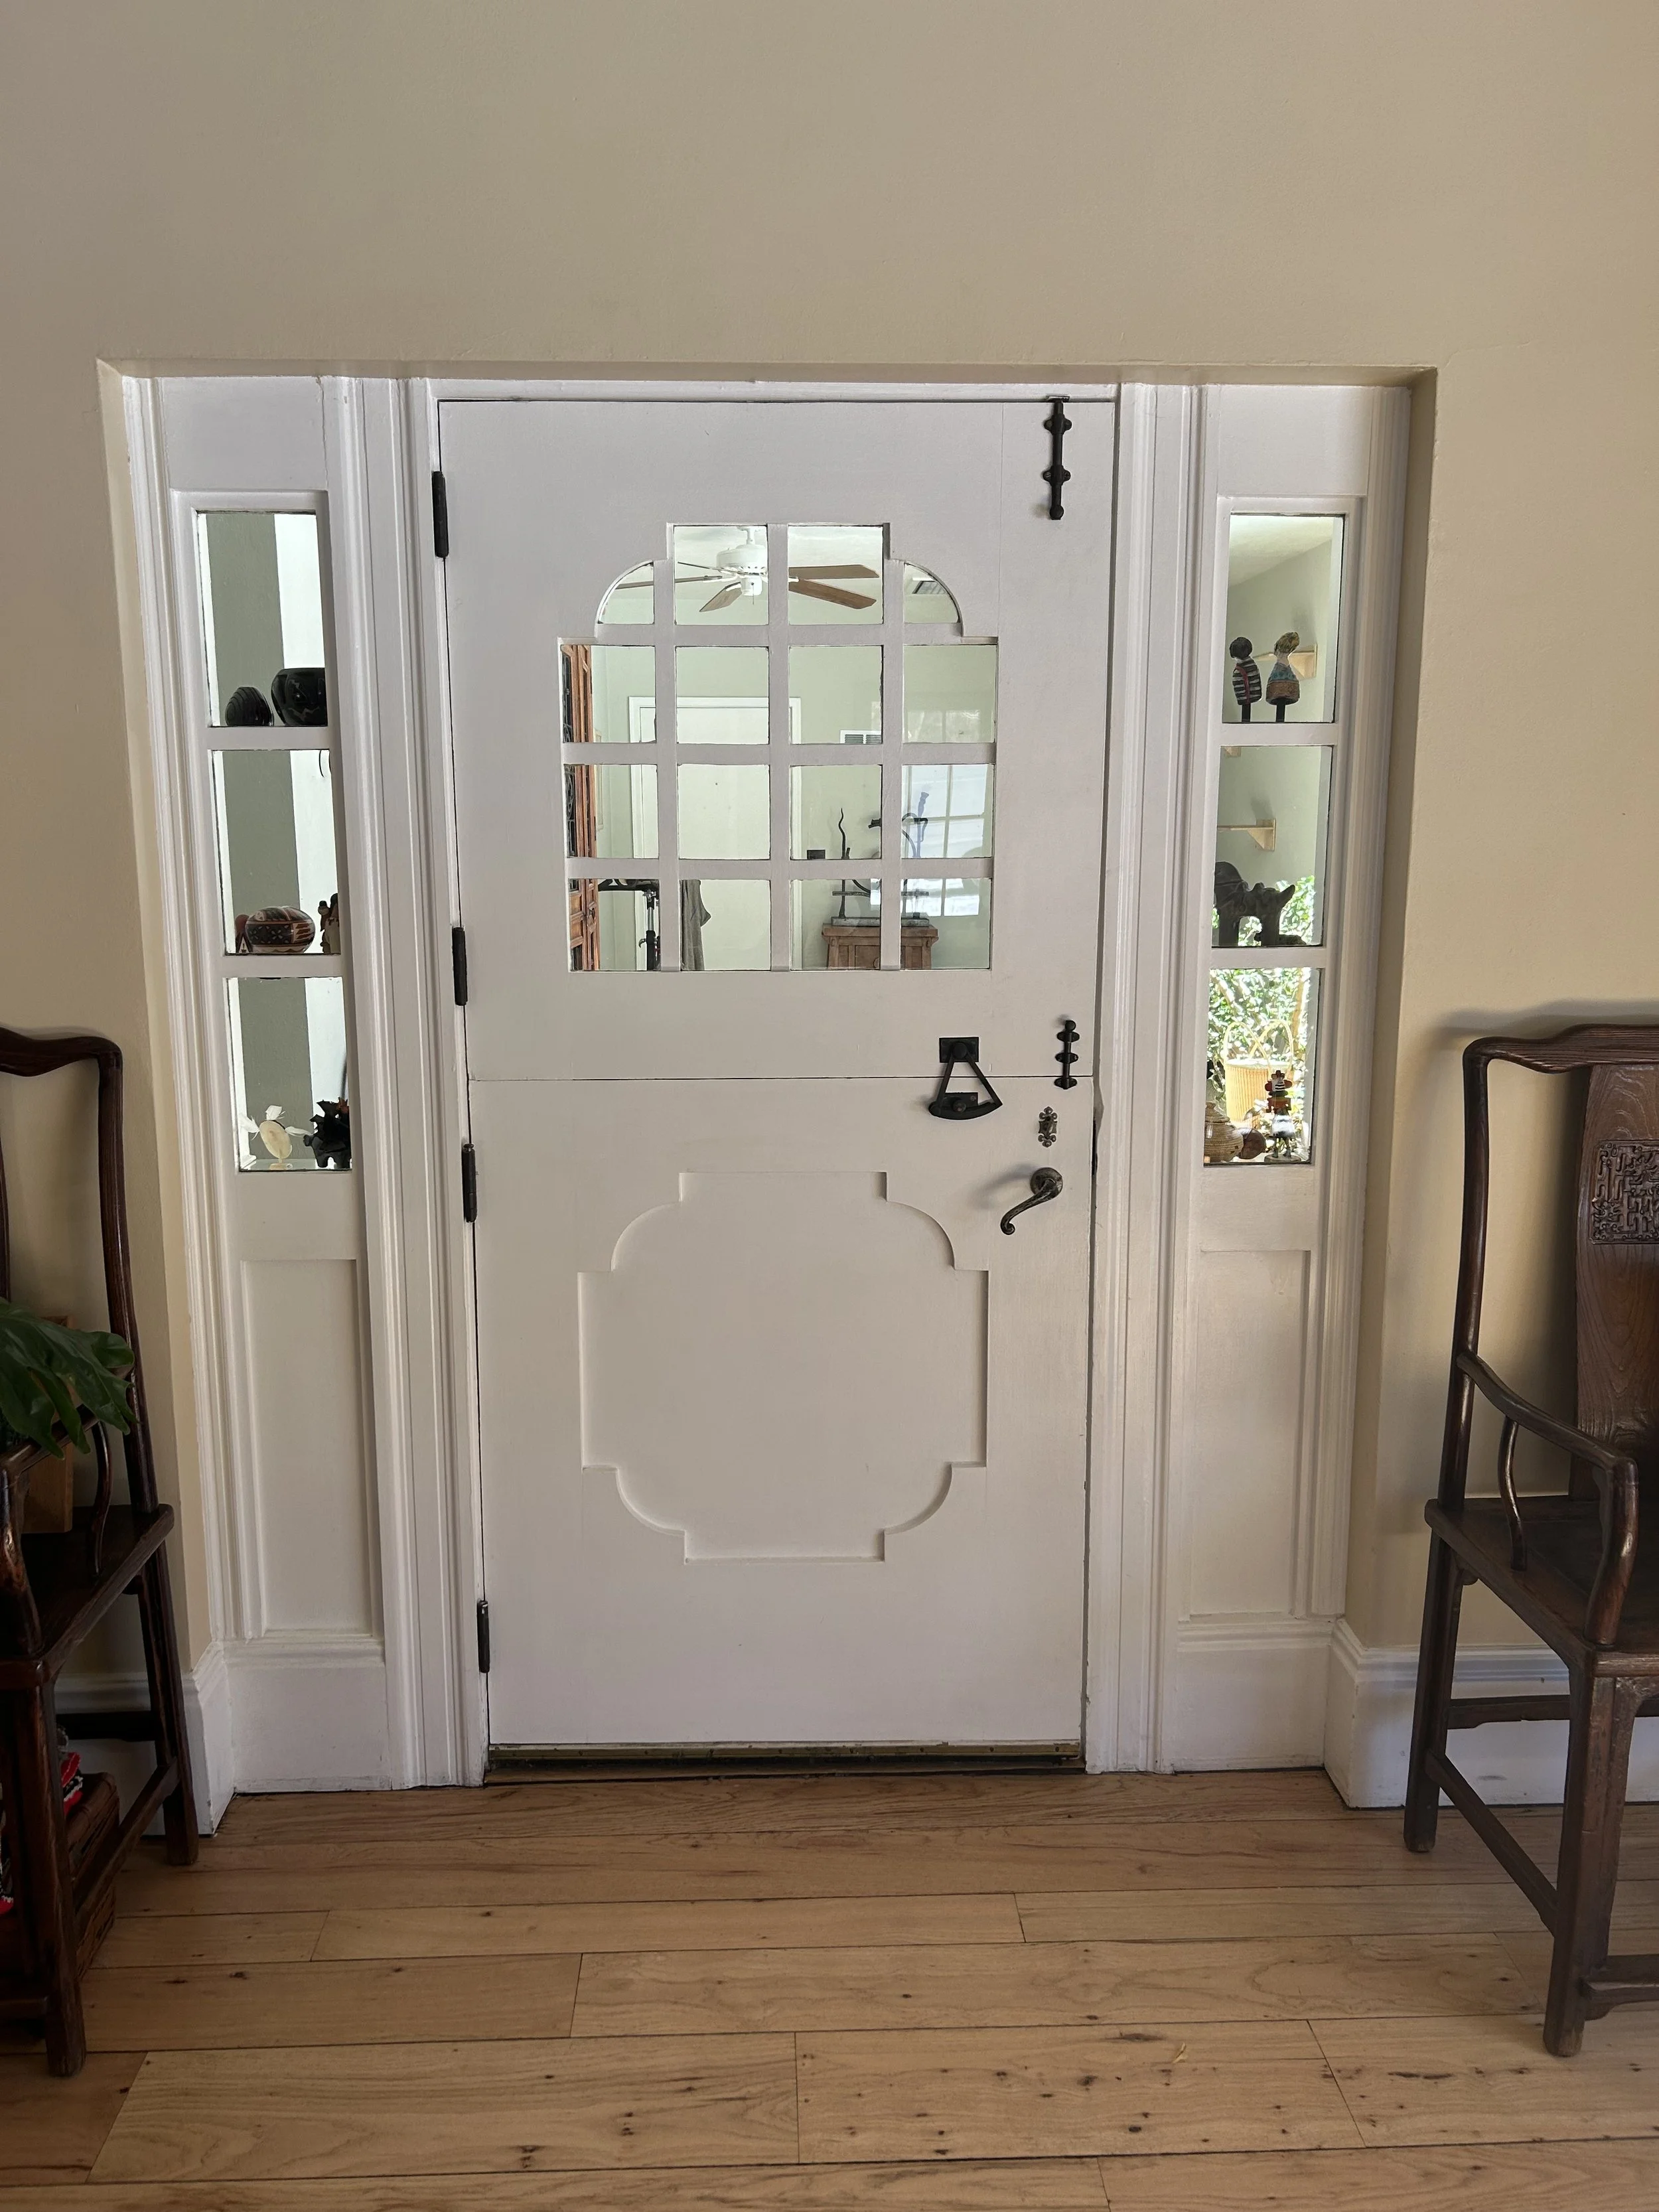
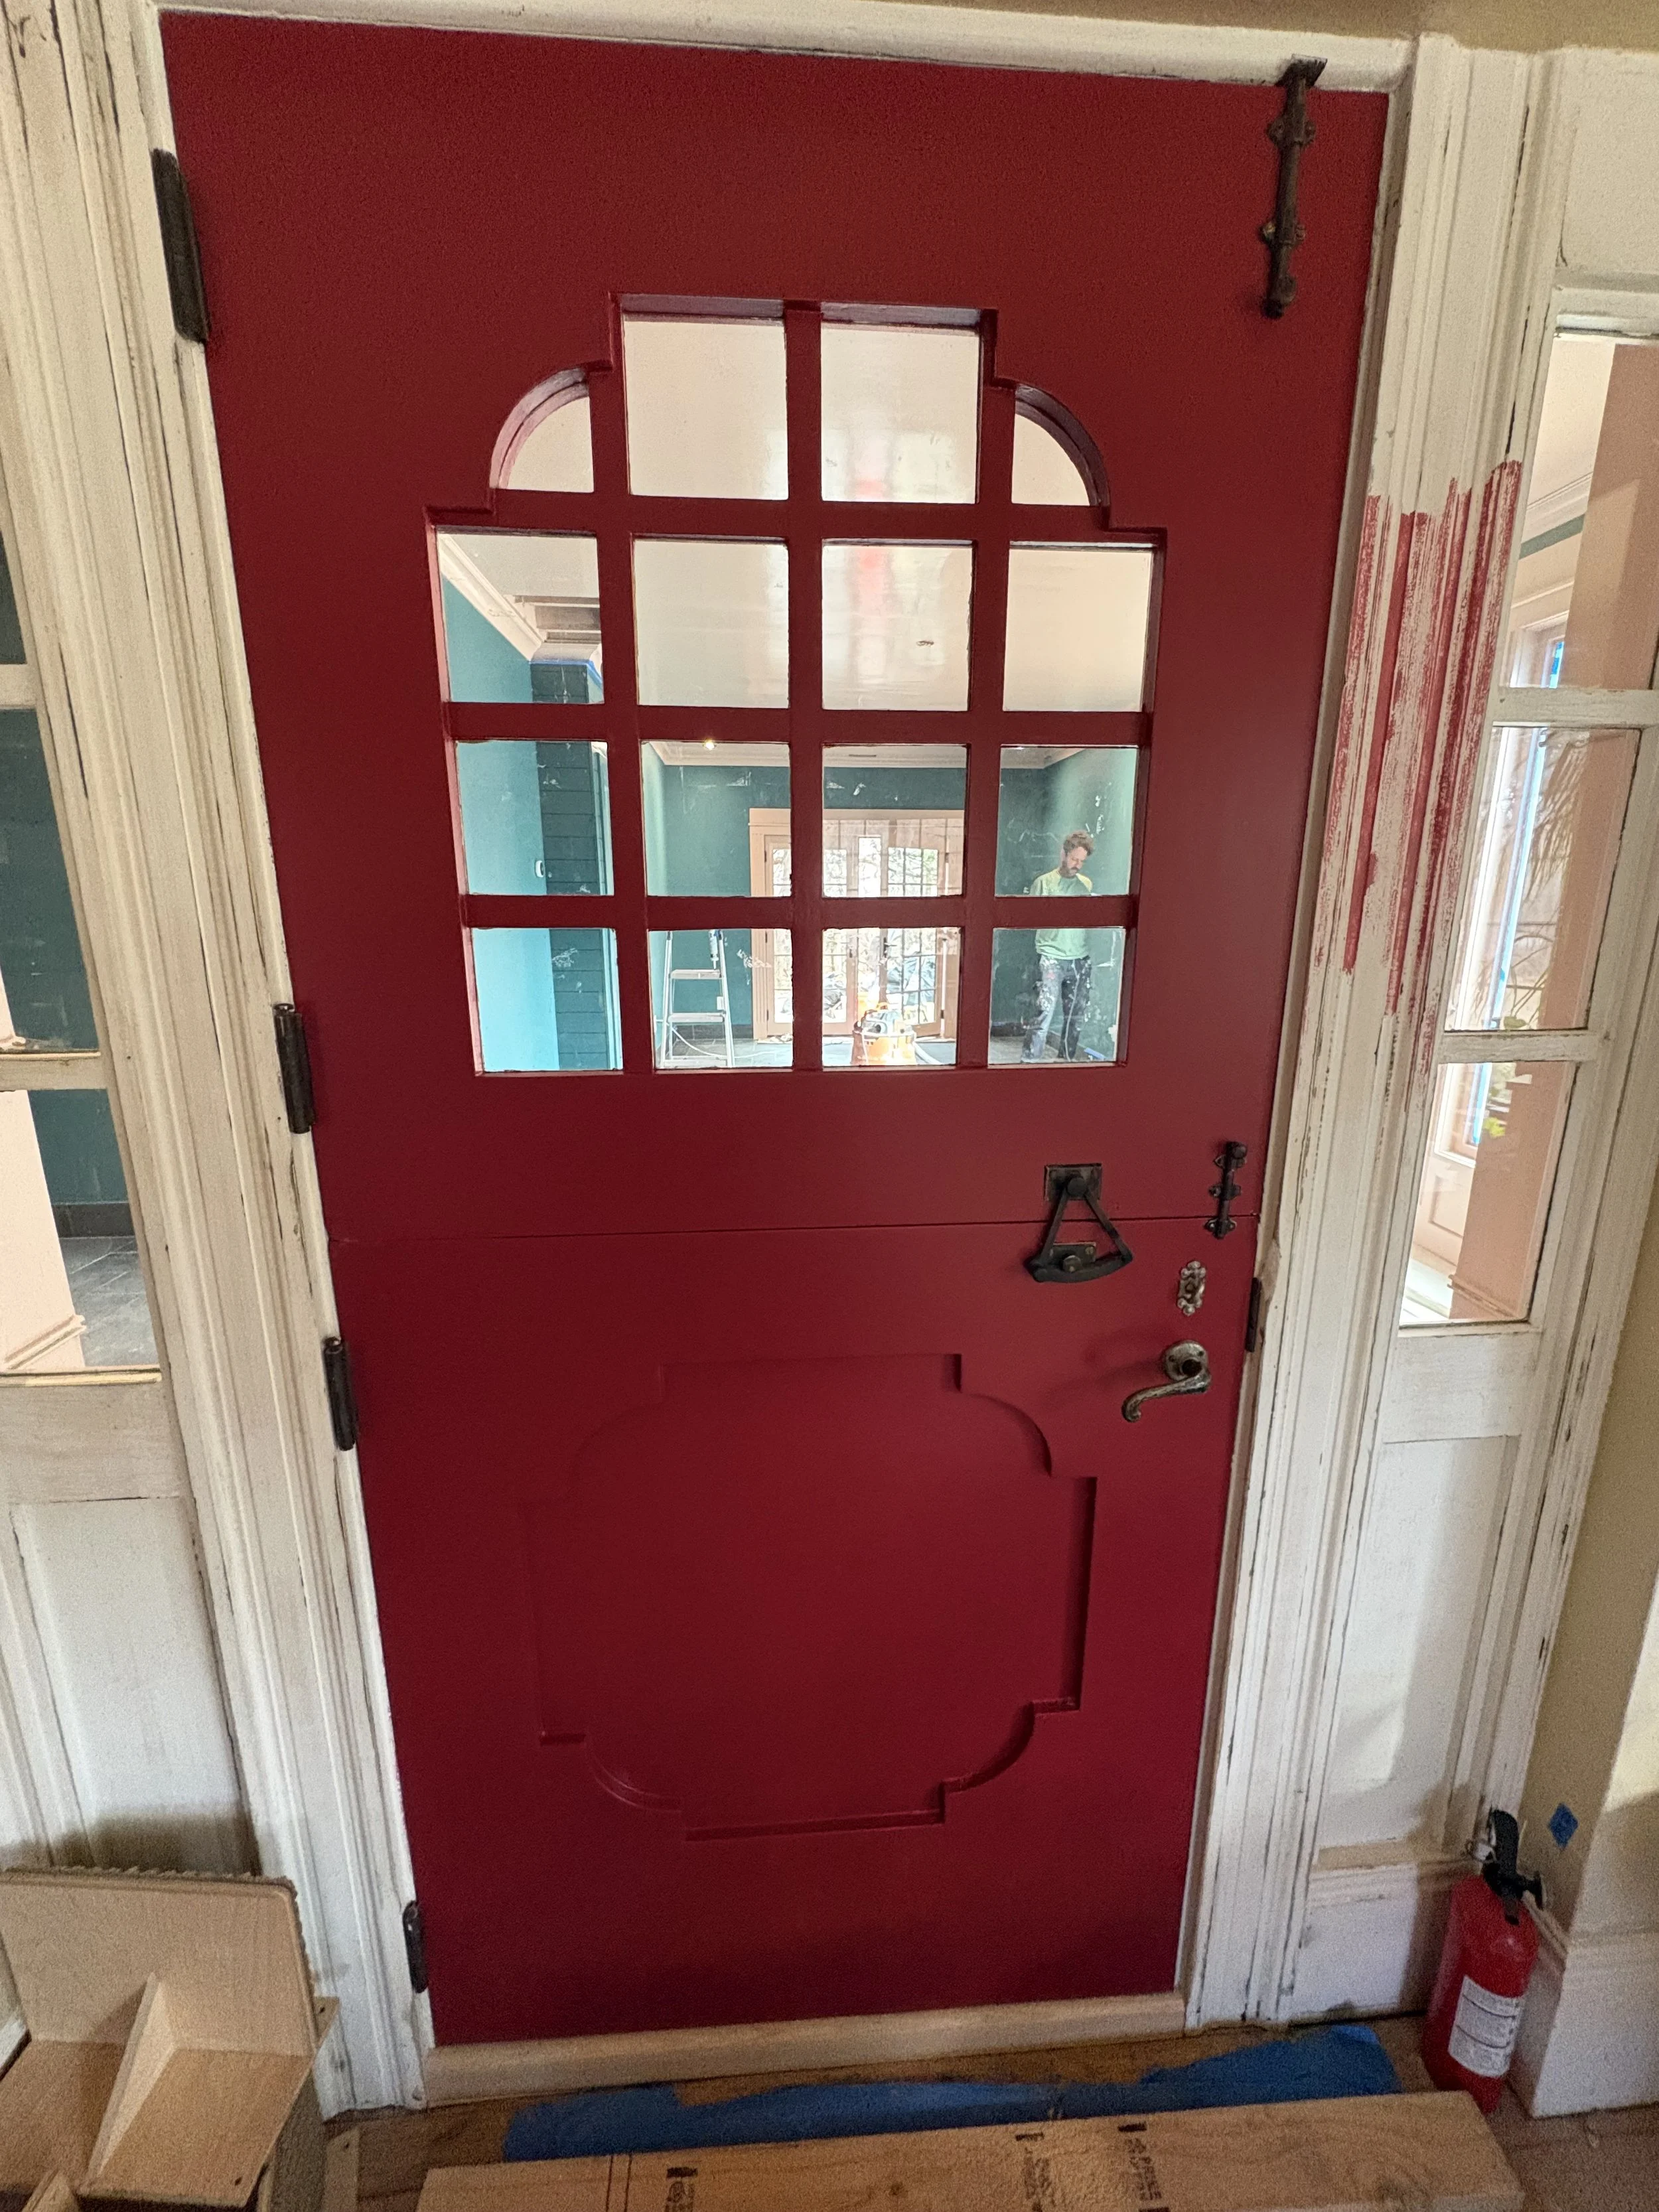
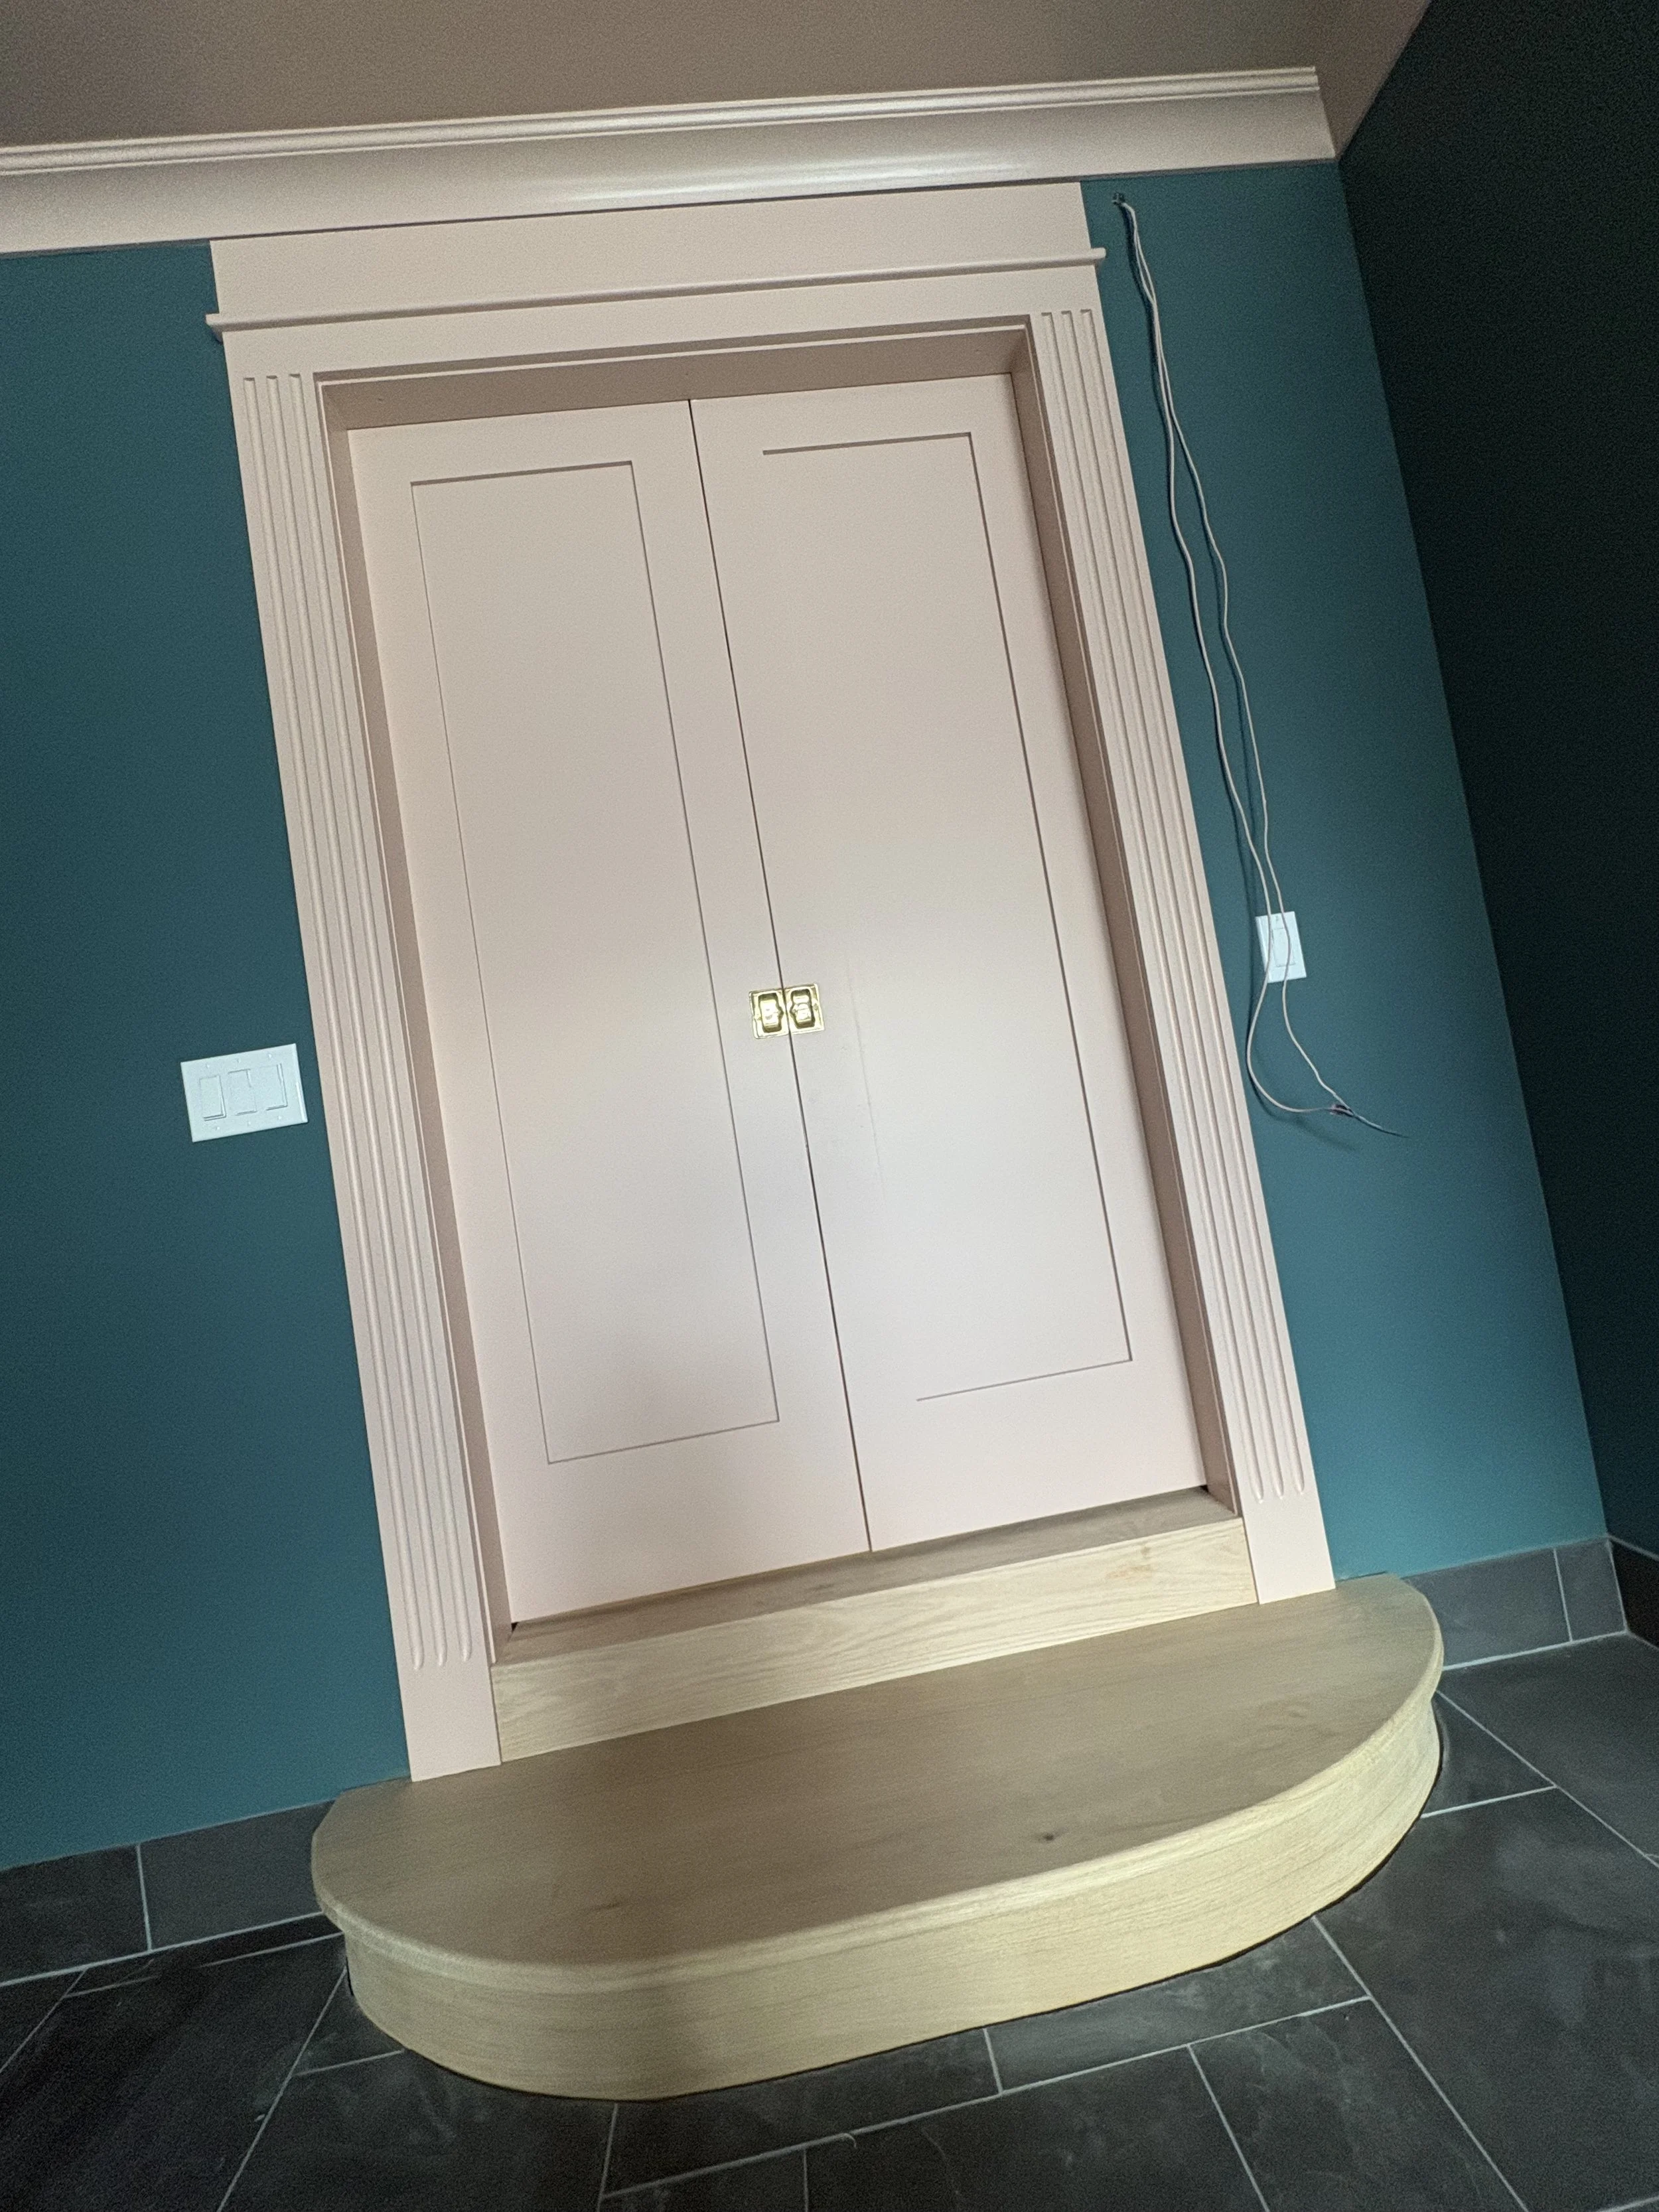
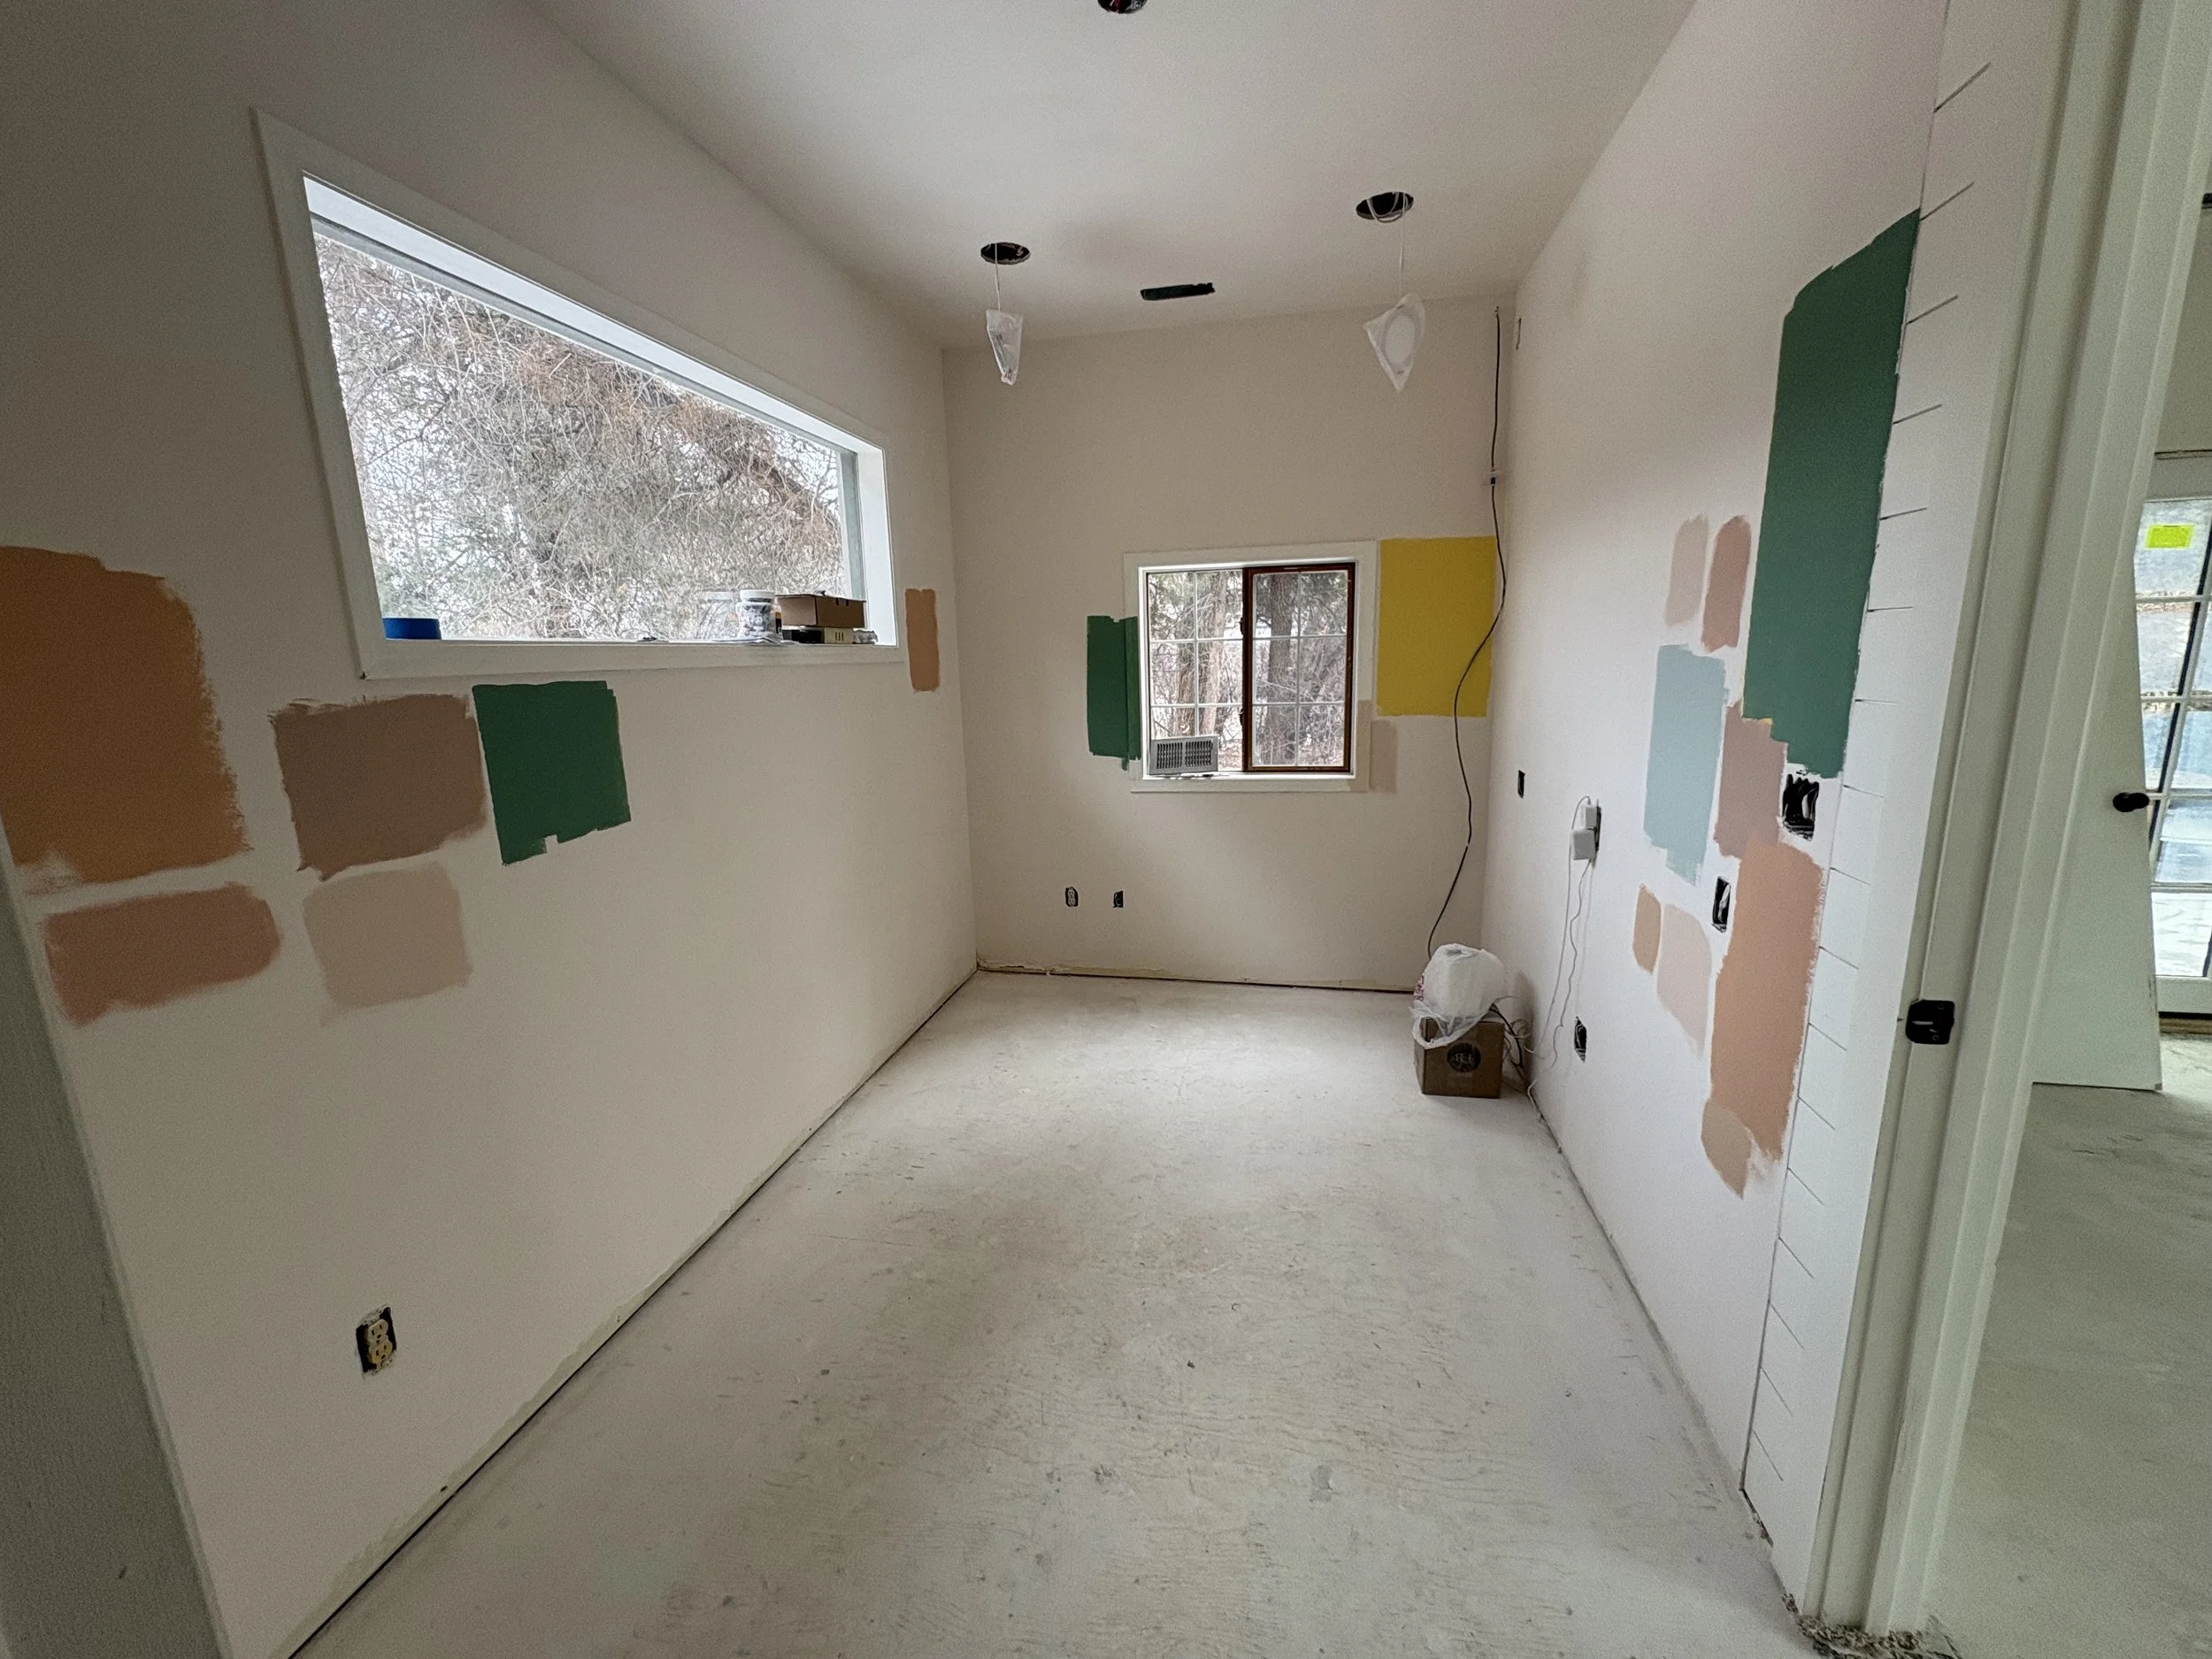
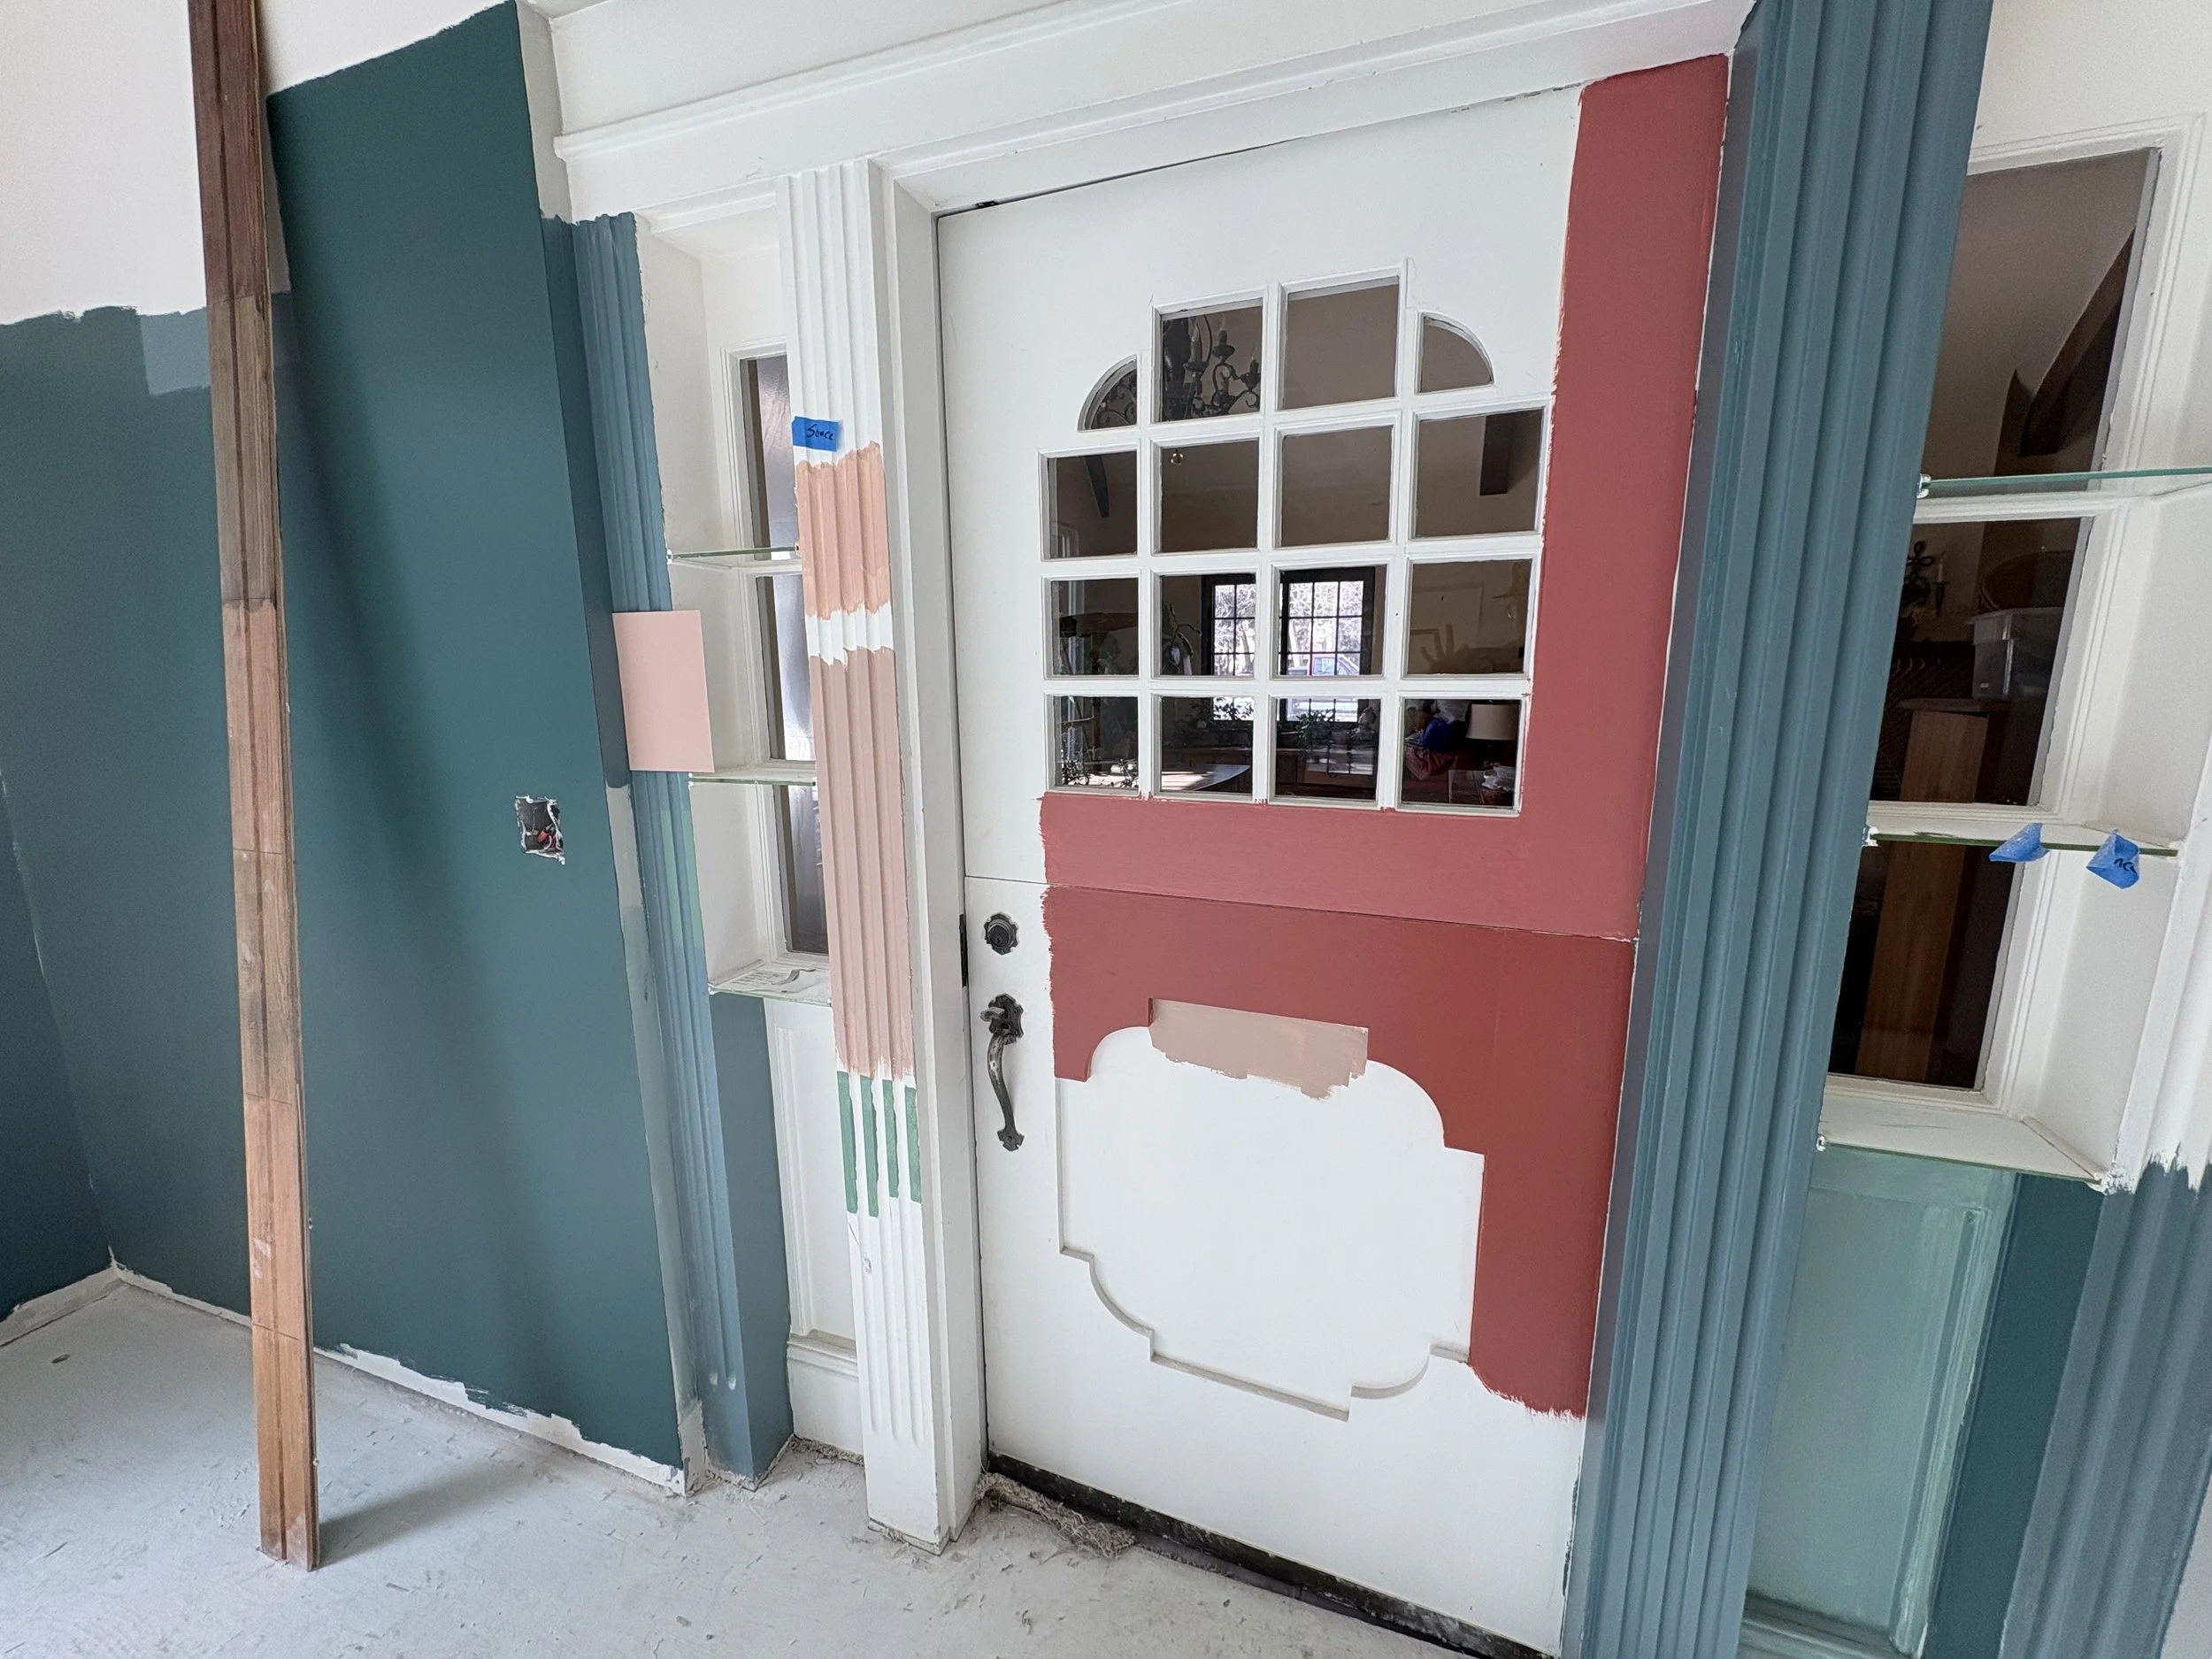
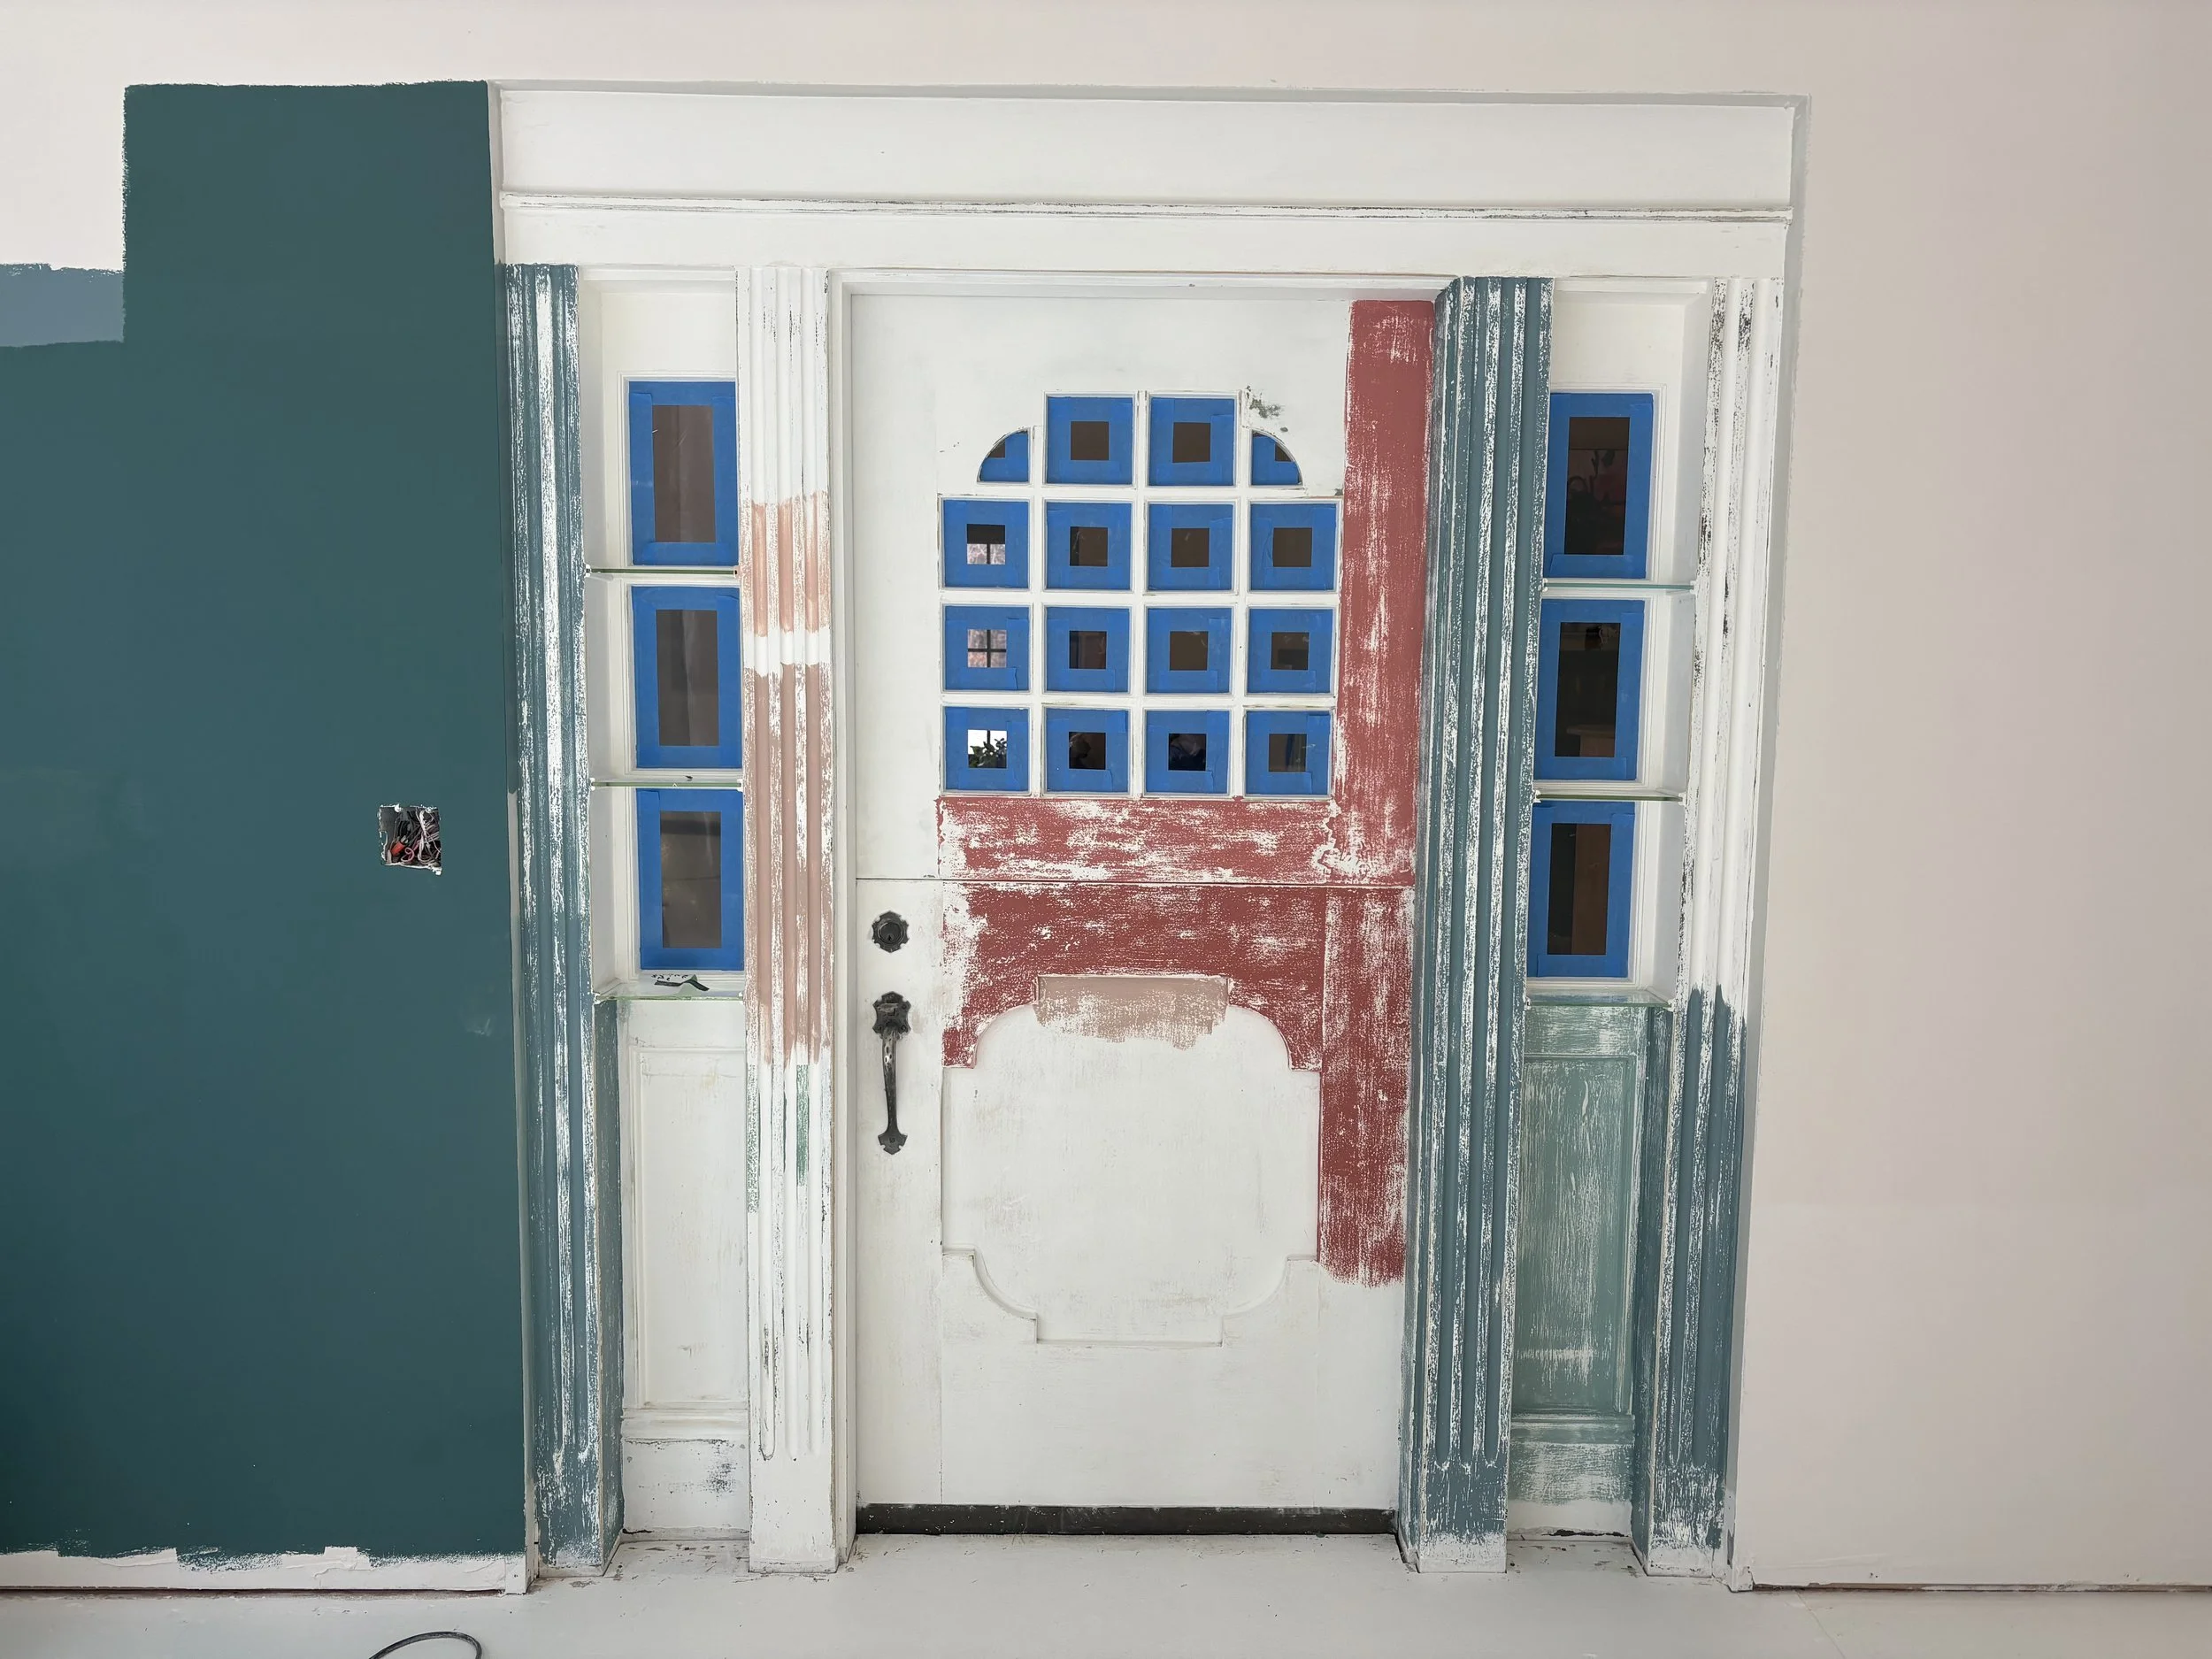
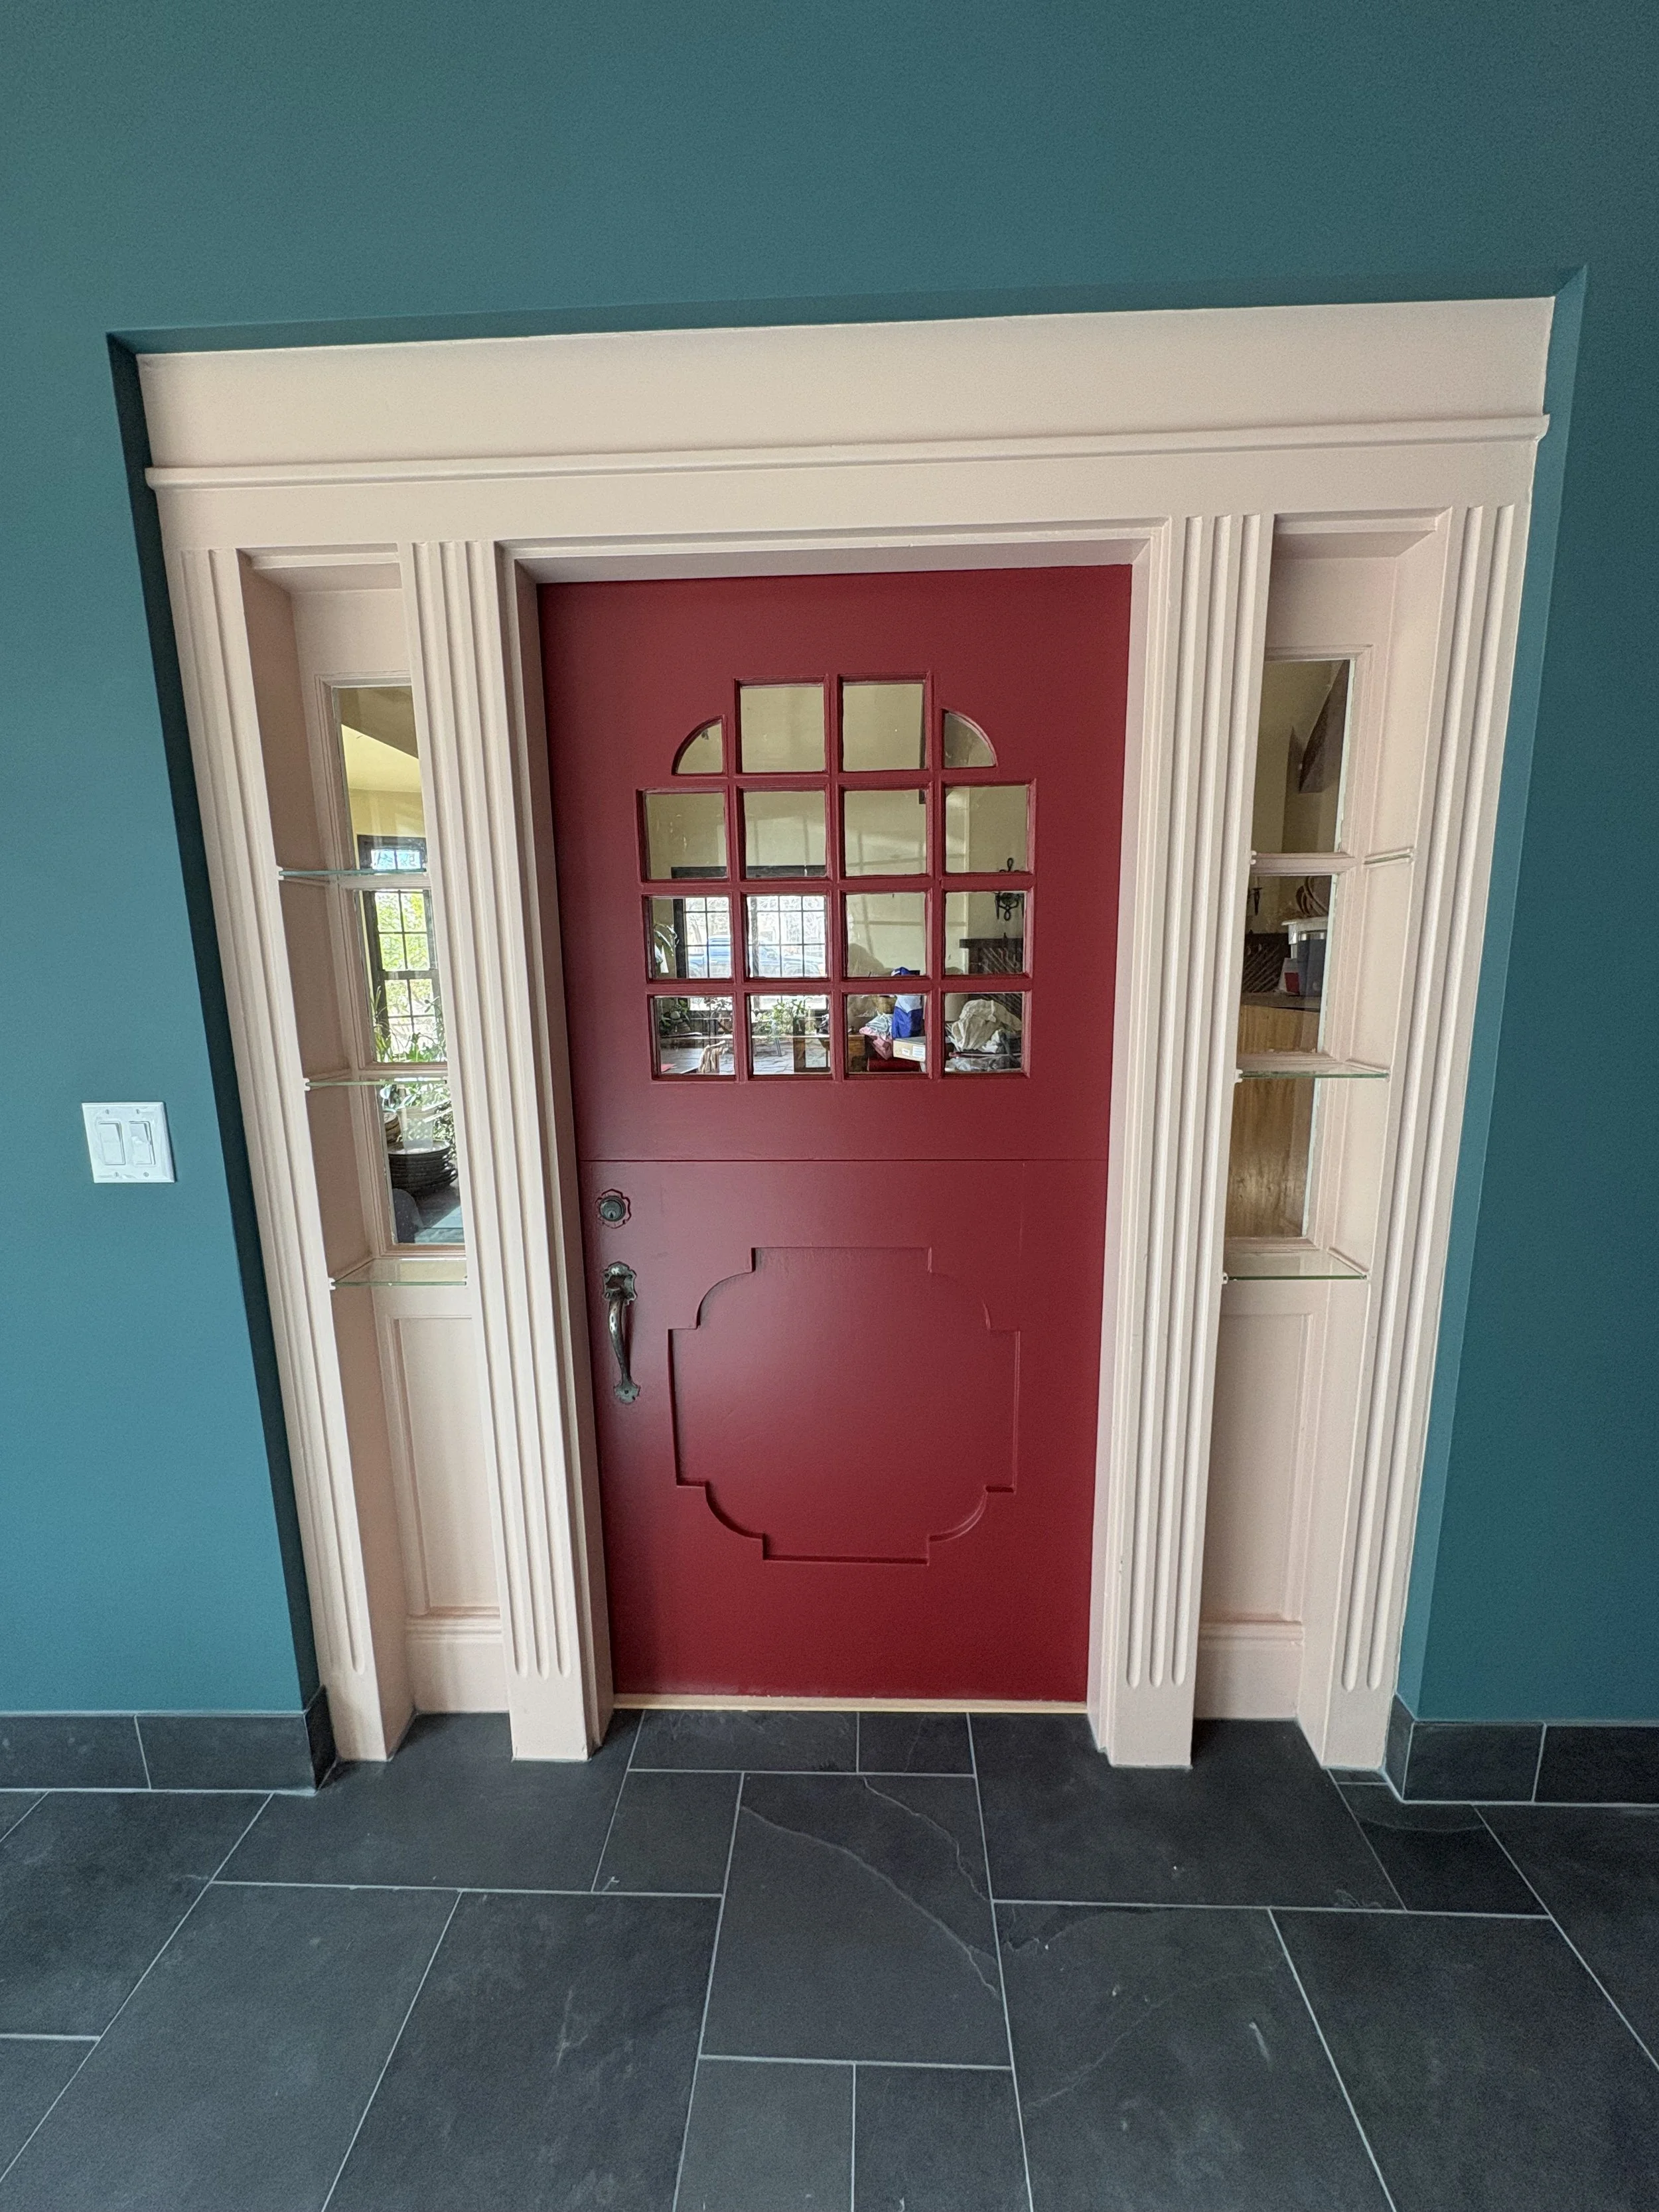
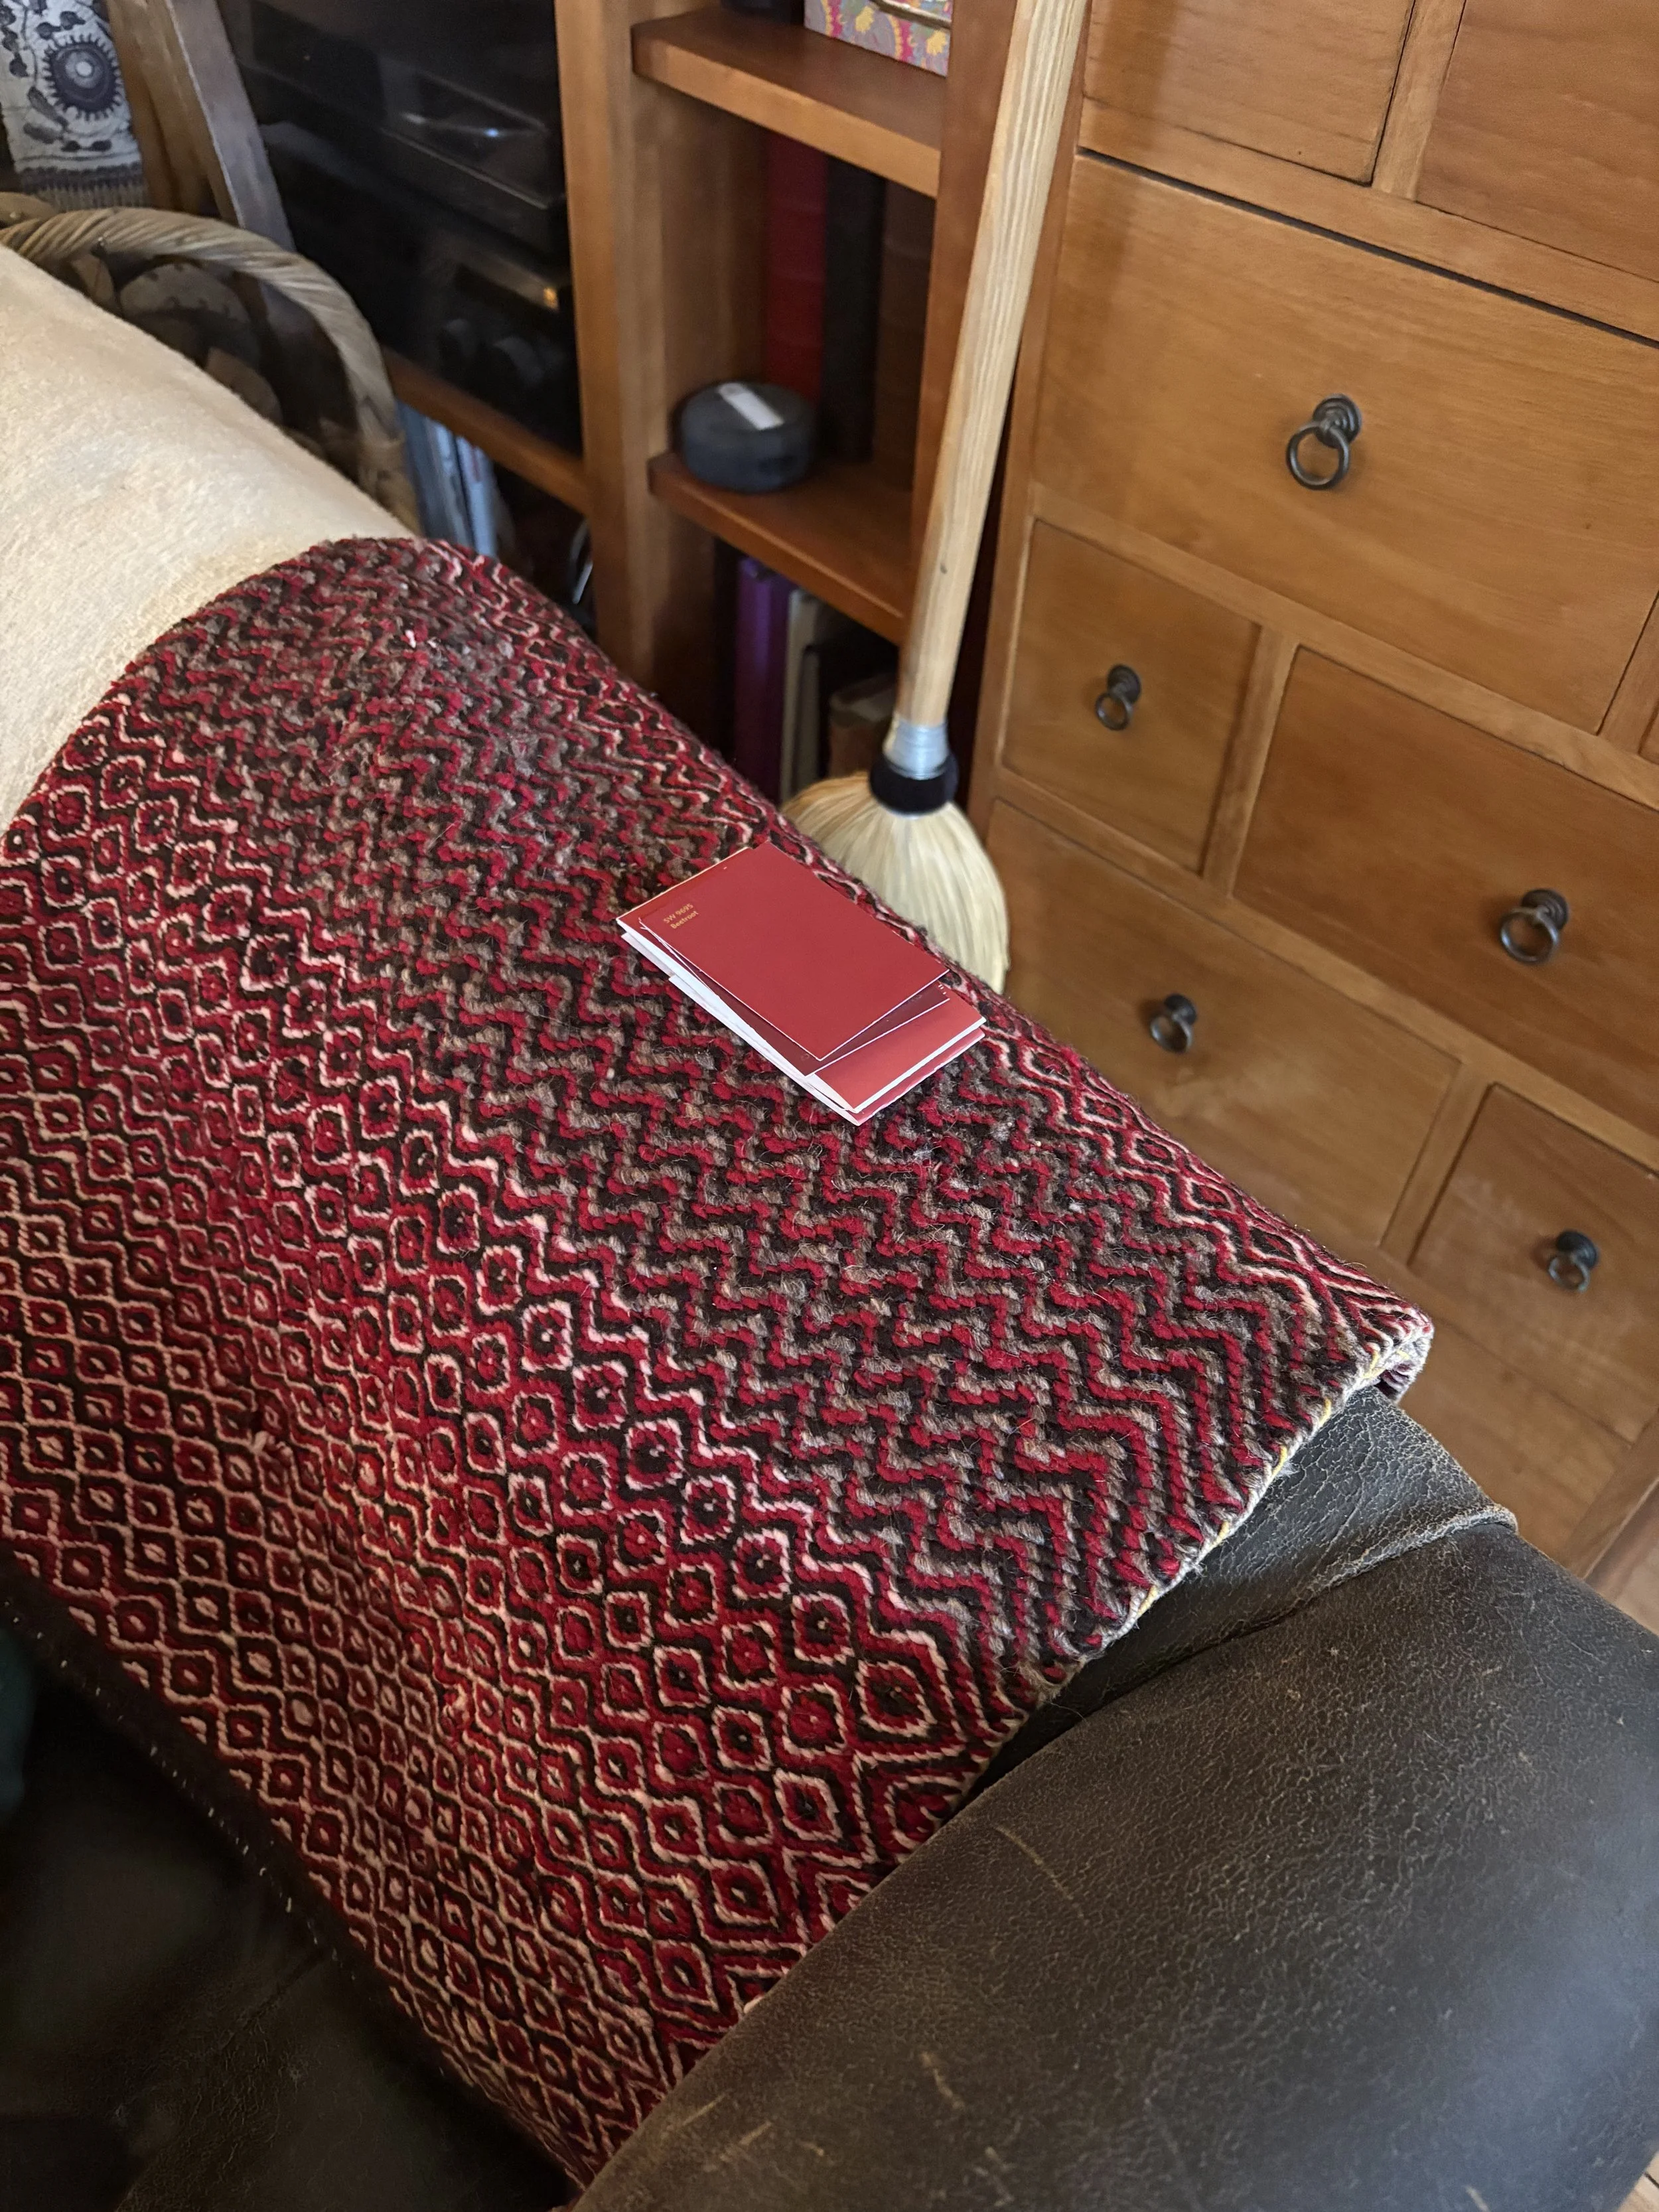
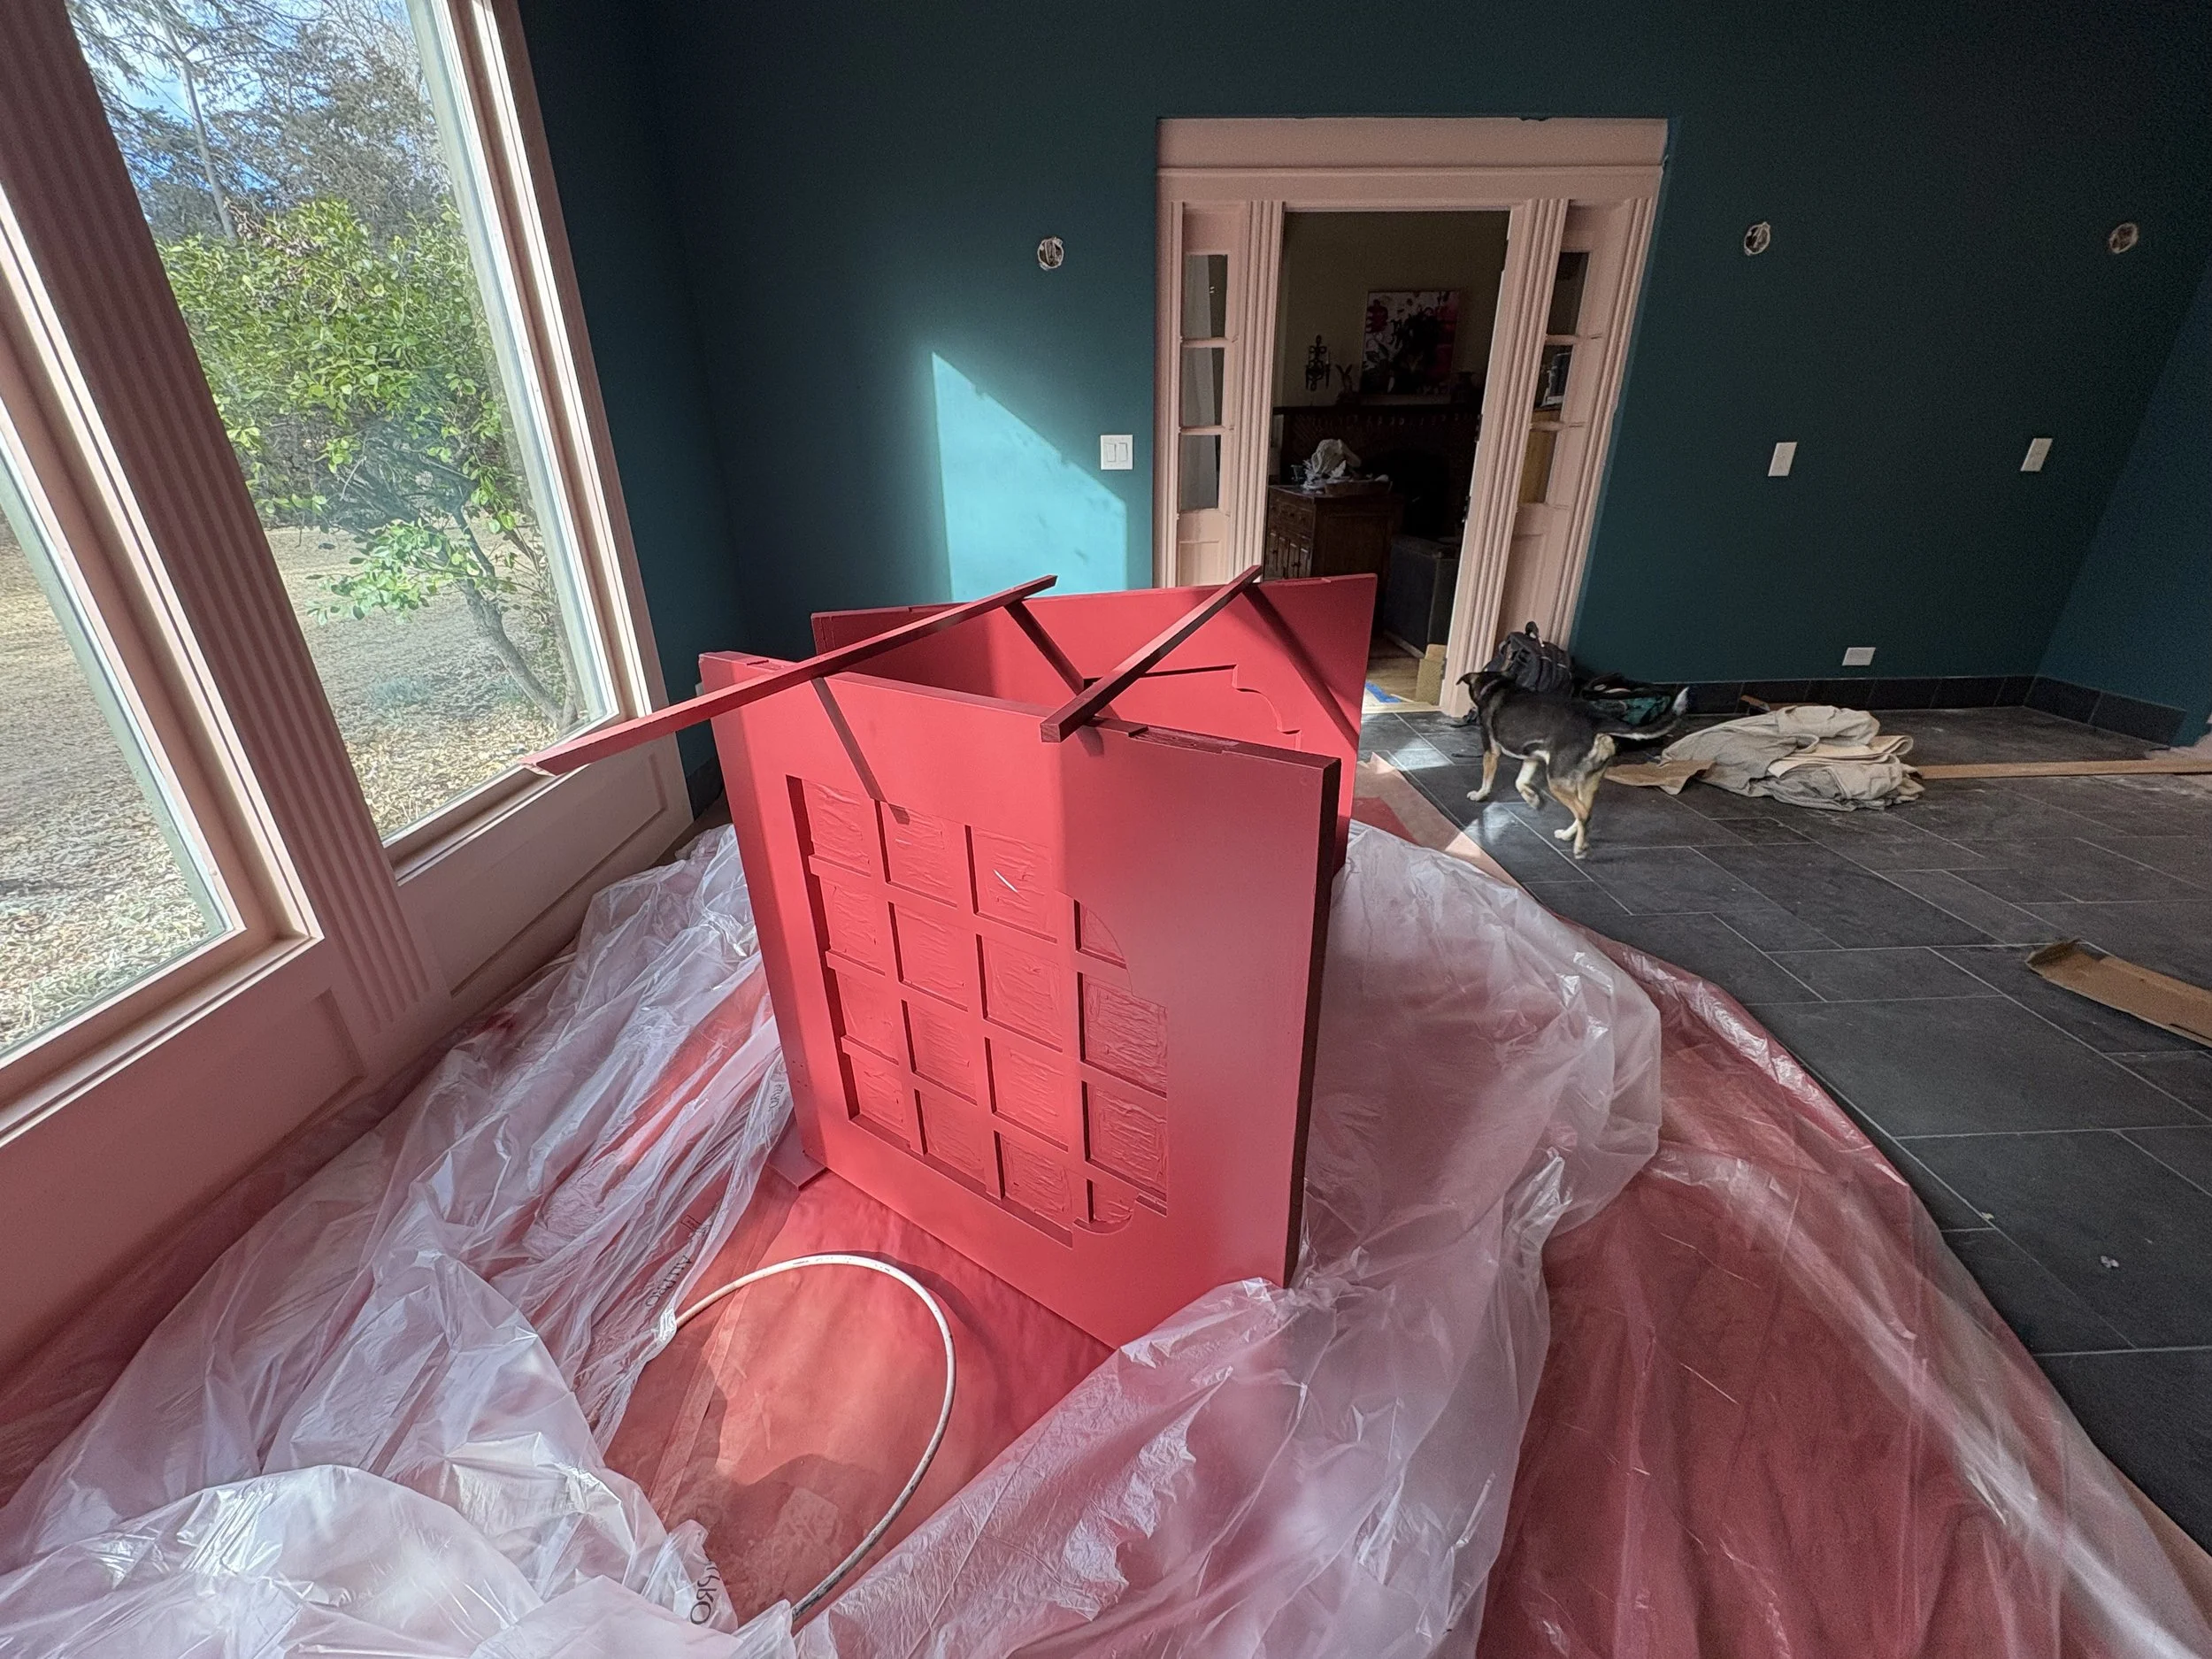
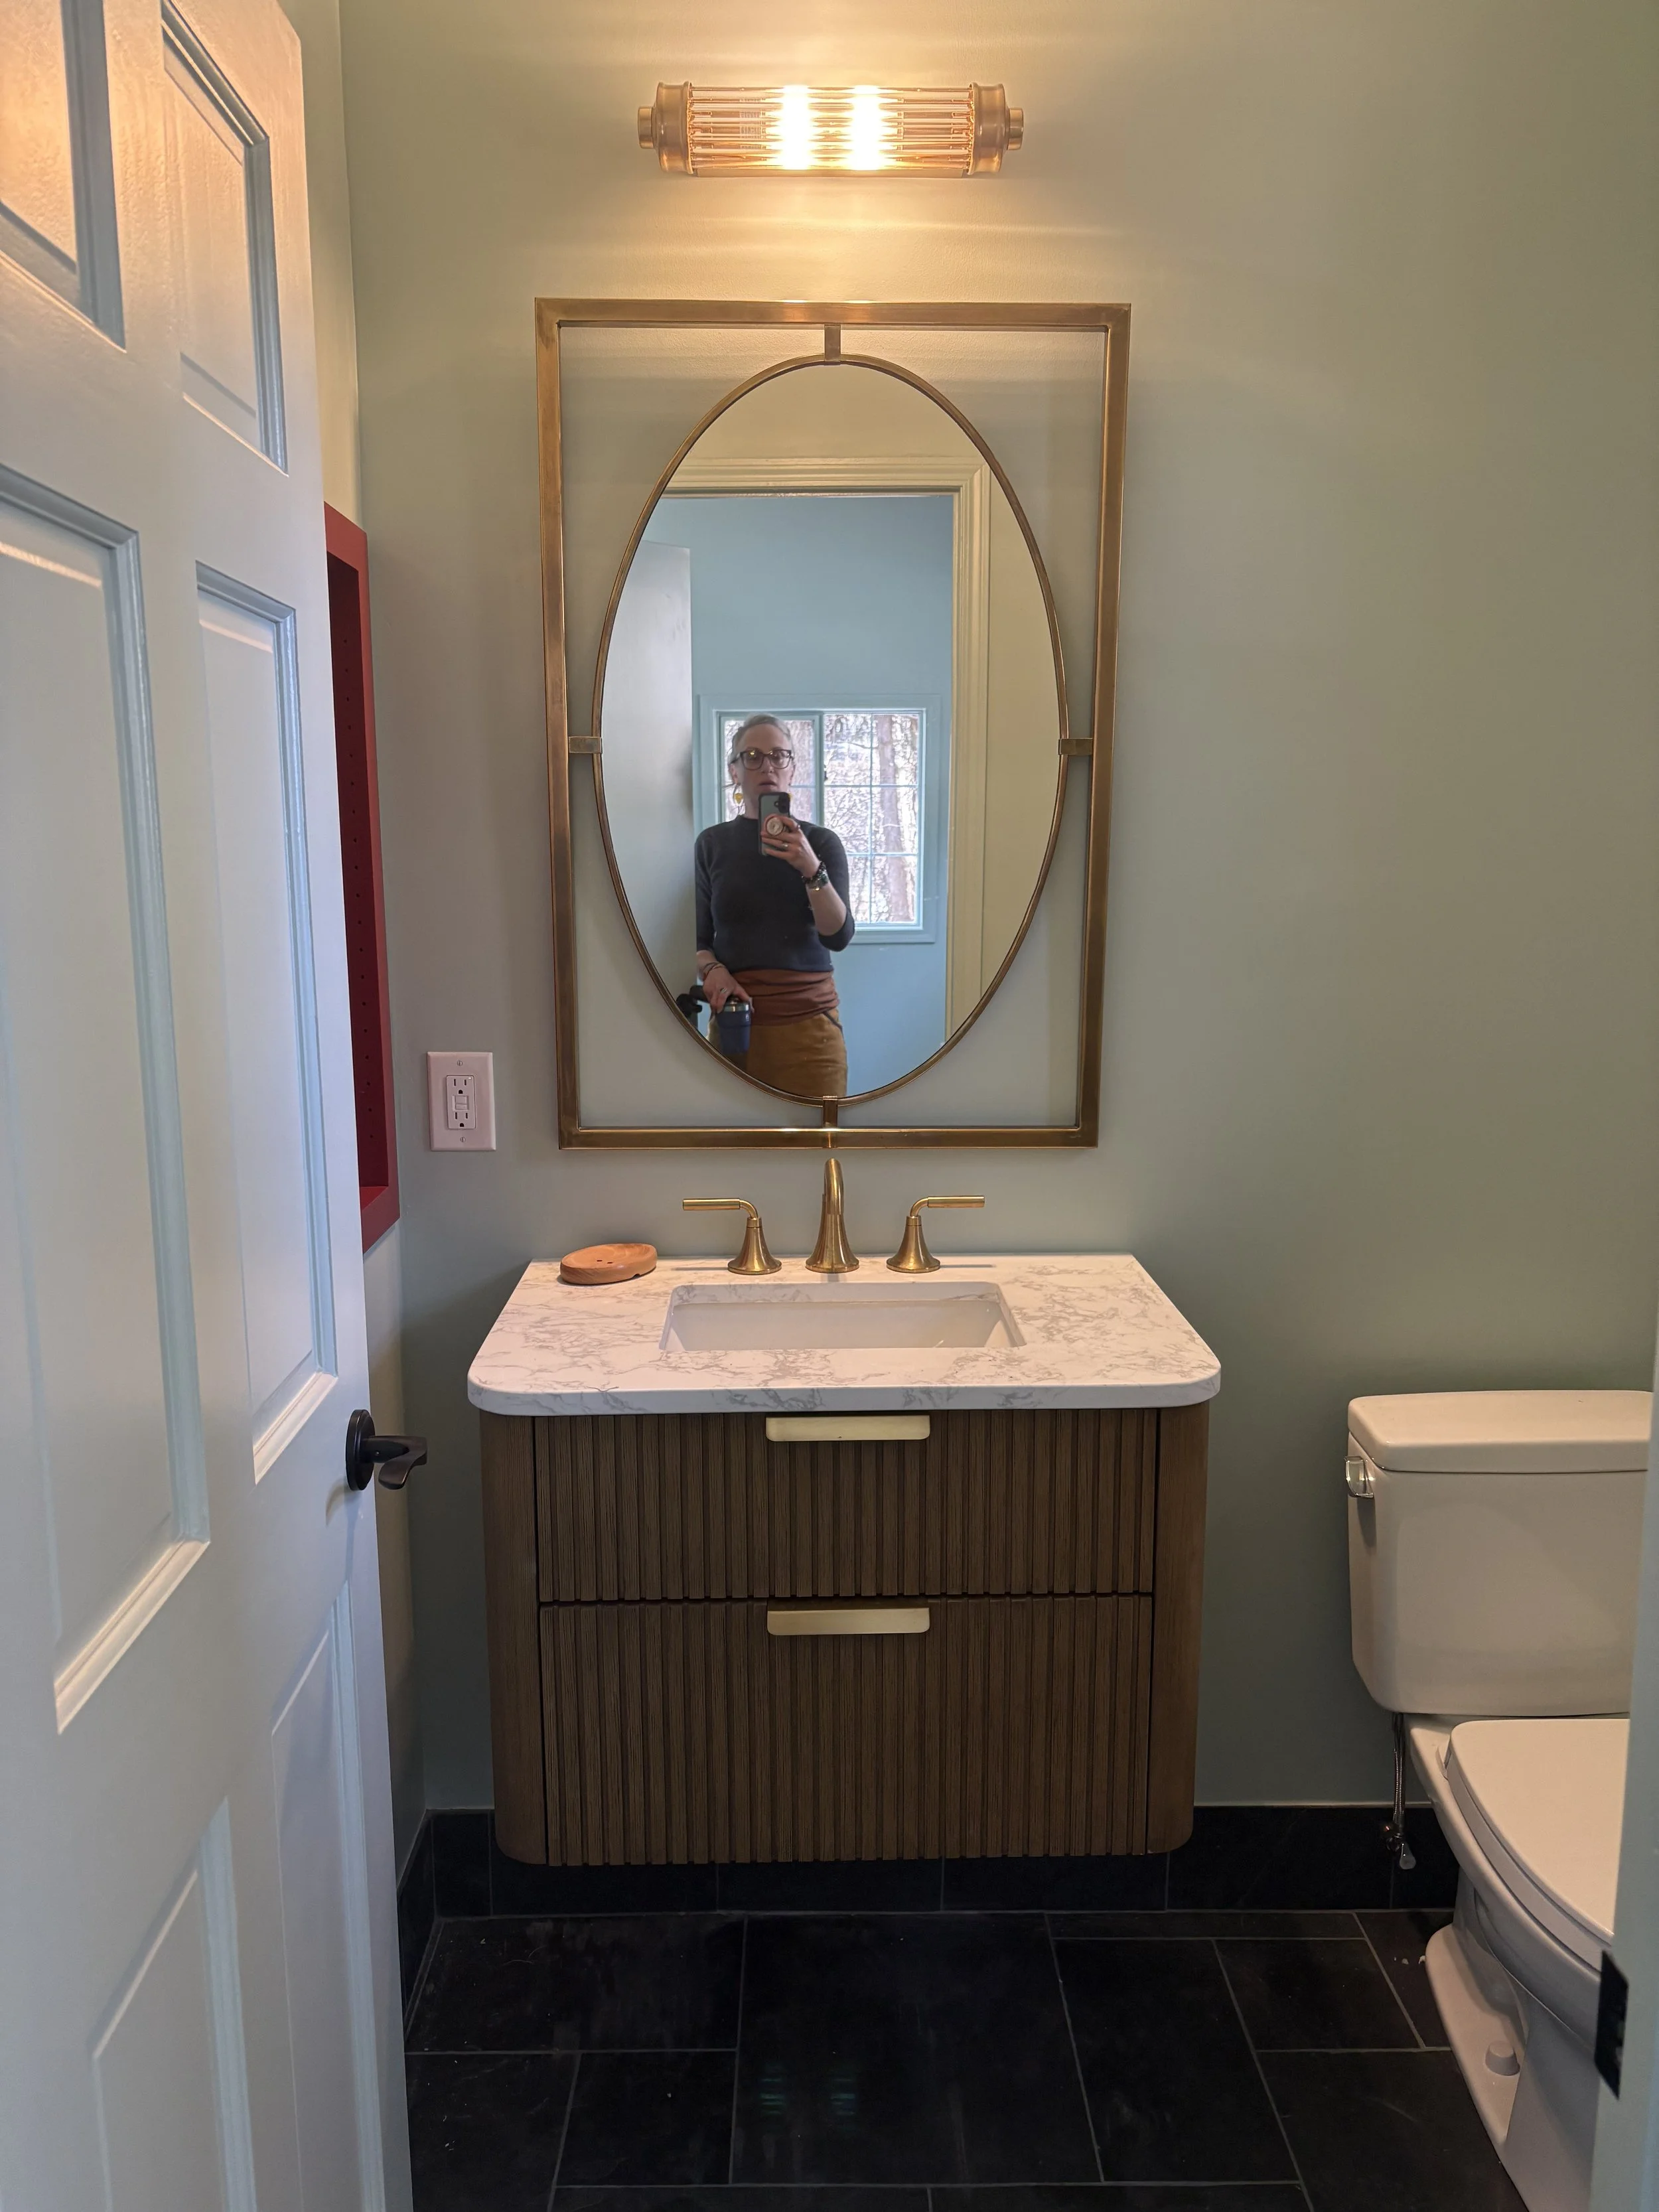
Once we sorted out the tile (about a month before breaking ground; we needed that time for it to ship!), we took our time figuring out the colors. The walls went darker than initially expected (SW Rookwood Sash Green 2810), and we elevated the trim color (BM Chippendale Rosetone HC-58) with a high gloss sheen on the crown moulding and ceiling, for added contrast and reflectivity against the dark surfaces of walls and floor. The adjacent office and bath were colored-drenched (walls, ceiling, trim, doors) in a lighter, mint tone (BM Blue Grass CC-640). Additional trim was added throughout the main sunroom, to elevate the ceiling transition and to echo the fluted, historic trim around the period barn door - which was the last color to figure out, and took us a few tries to get it right (SW Beetroot 9695). Ultimately Mya took in a small rug from the home and found its best companion color… and it ties in both sunroom and great room, especially the way they are furnished with textiles with this deep and saturated red range.
Project took about 8 weeks to complete 95%. Delays in shipping the light fixtures means we’ll come back in a few weeks to put them in (can’t wait!!). It’s the client’s new favorite room in the house, now! We can’t wait until they fully put it together and get some art on the walls, and have a party!